Due Tuesday 3/16 at 11:59 pm. You must work individually.
Integrate the various concepts learned in the lectures and create a program that can color the mesh with various materials, lights, and shaders.
Start with the skeleton code. The input argument should be the path to the resources folder, exactly as in Lab 0. Optionally, there is an argument that sets the OFFLINE flag to true, in which case the program will save the first OpenGL screen as an image file and then exit. We will be using this to help speed up the grading process, so do not modify the way arguments are parsed.
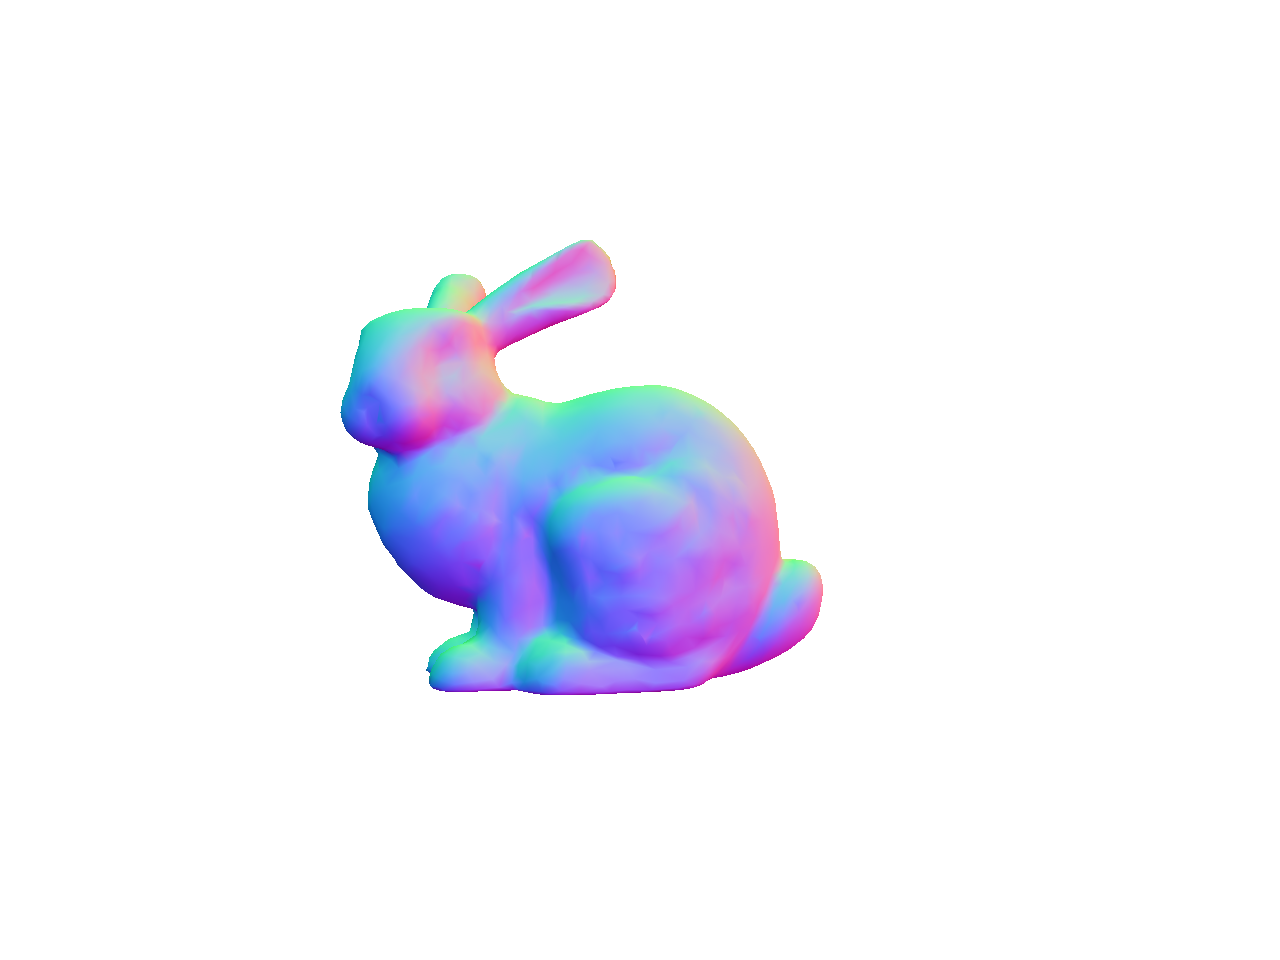
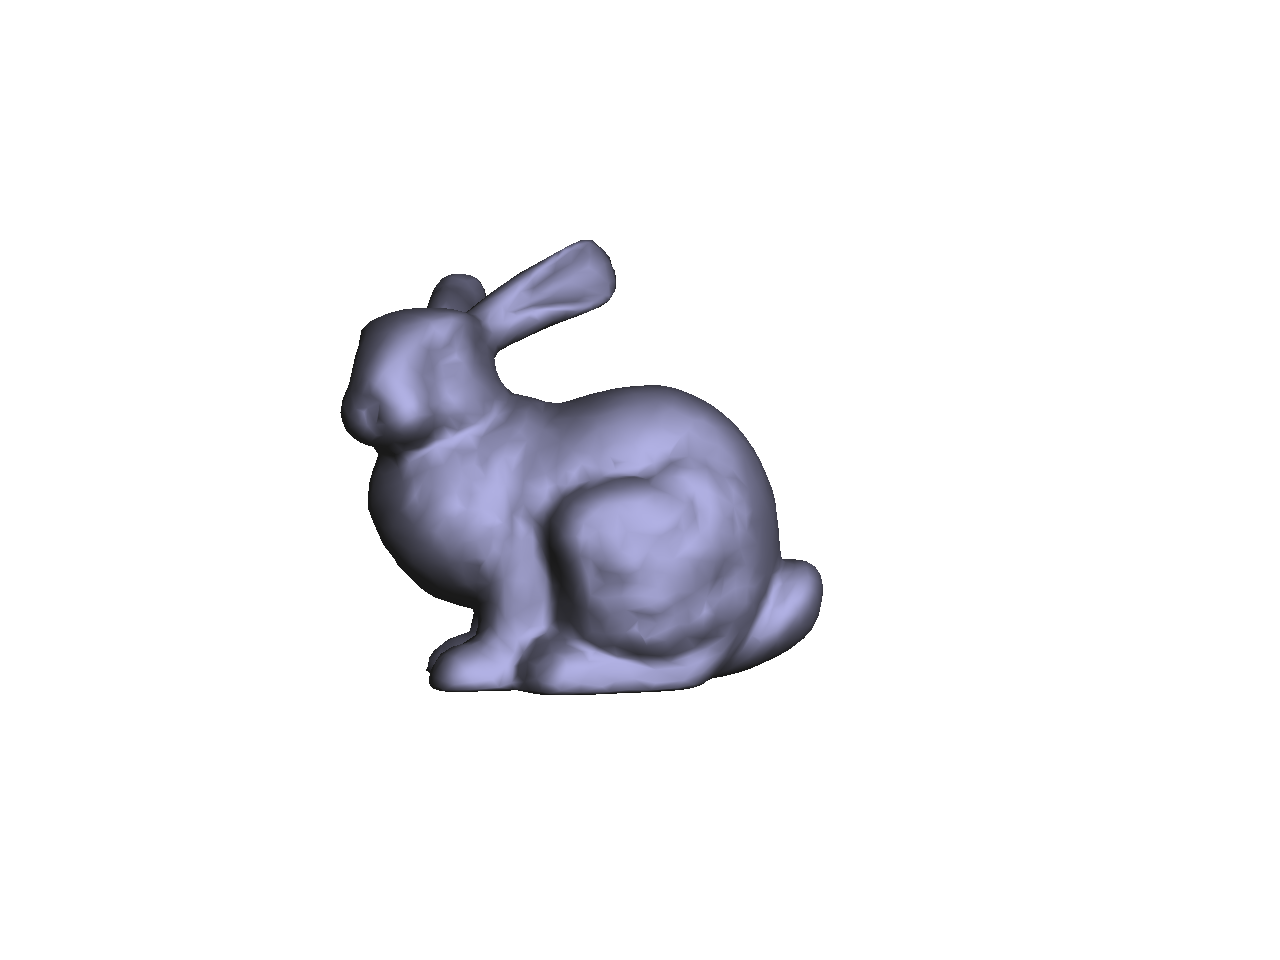
The initial scene draws a single bunny. The only transform applied is the viewing transform, implemented in the Camera class. The initial camera position is at (0, 0, -2), and the mouse applies a turn-table style rotation about the world origin. Try dragging the mouse around to rotate the bunny.
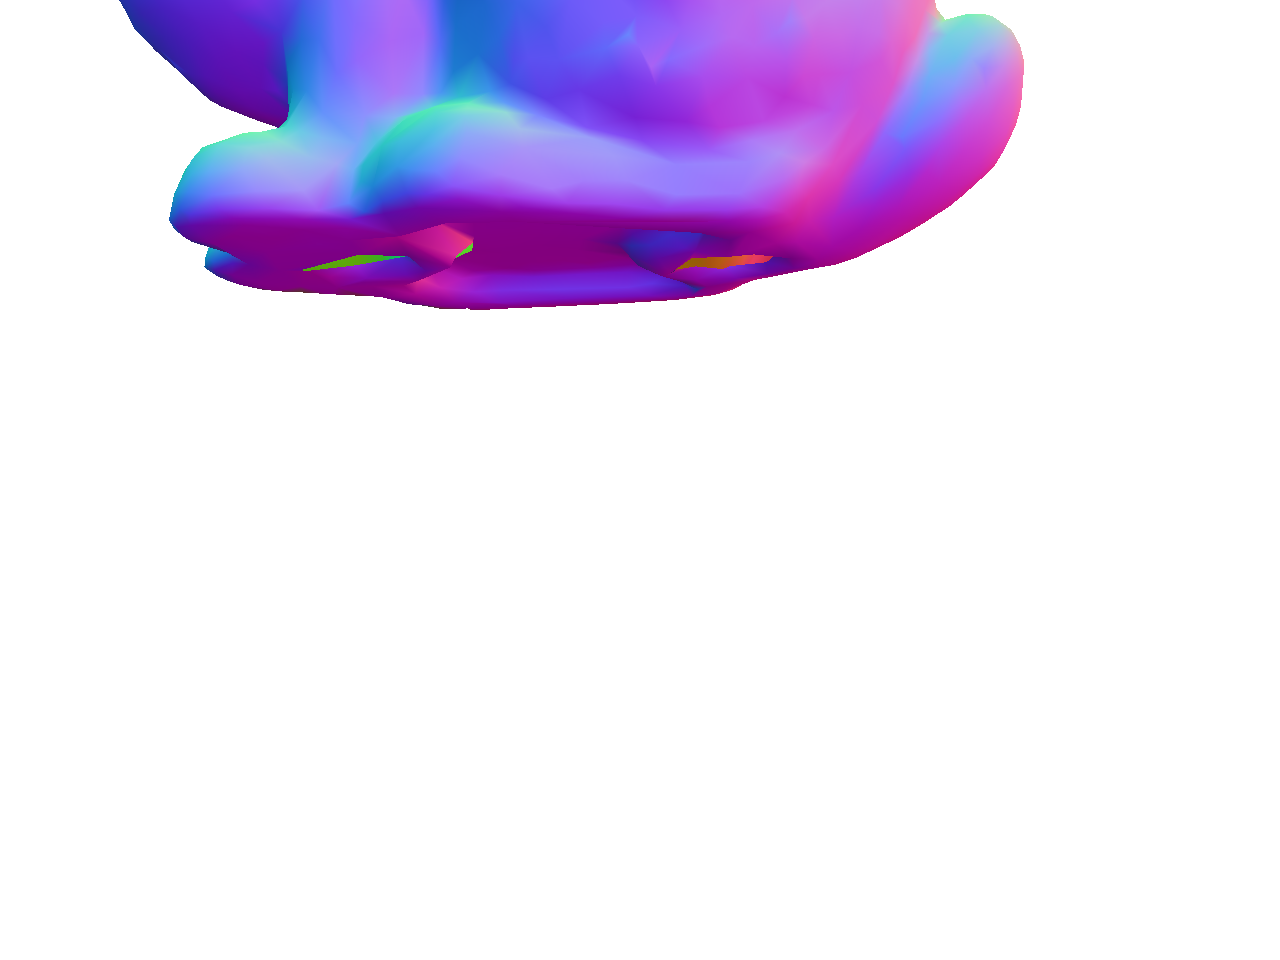
Transform the bunny so that it is scaled by 0.5 and is translated by (0.0f, -0.5f, 0.0f). The resulting bunny should appear near the center of the window. Note the right ear of the bunny. If it looks different from the image, try swapping the order of translation and rotation.
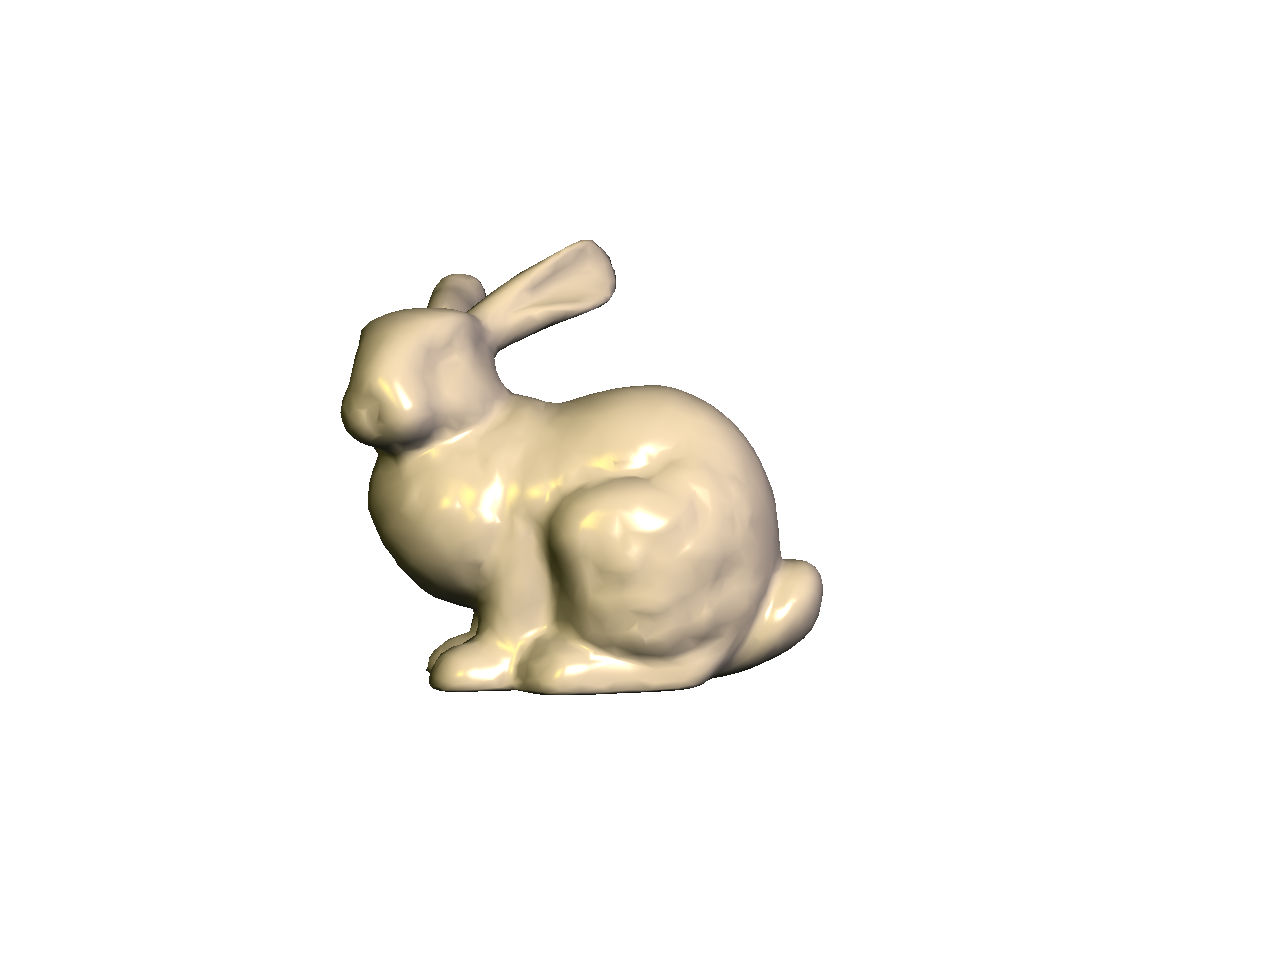
Next we’re going to add a Blinn-Phong shader. (Look at Lab 7.) Set up the code so that pressing the s/S keys cycles through the two shaders (Normal and Blinn-Phong). As we add more shaders in the subsequent tasks, the s/S keys will be used to cycle through more and more shaders.
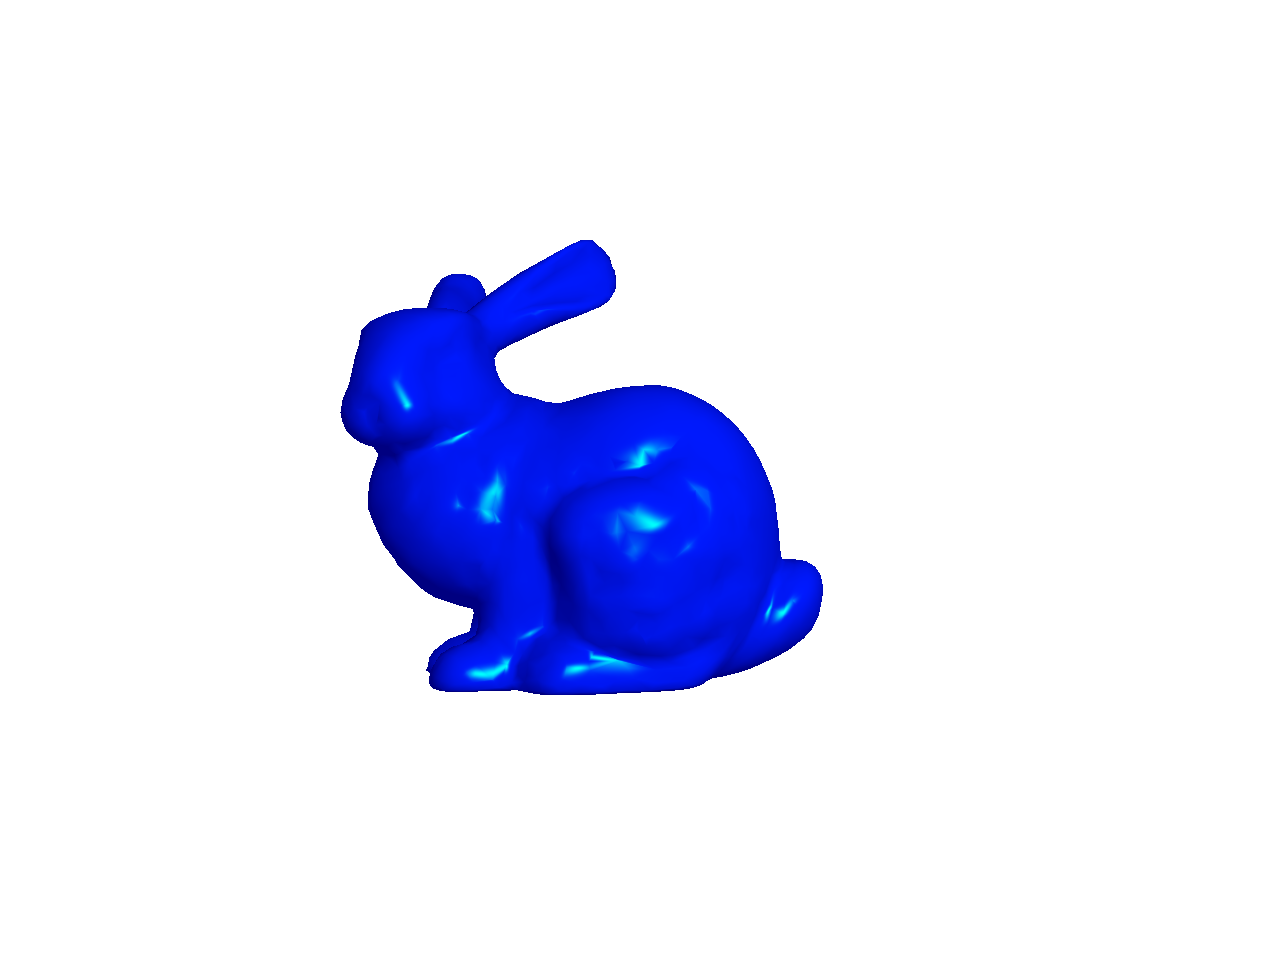
Create three materials and add keyboard hooks to cycle through them using the m/M keys. You should create a Material class for this. (After you create new files (cpp/h), you have to rerun cmake. You don’t need to delete your build folder to do this.) The three materials should look like the following.
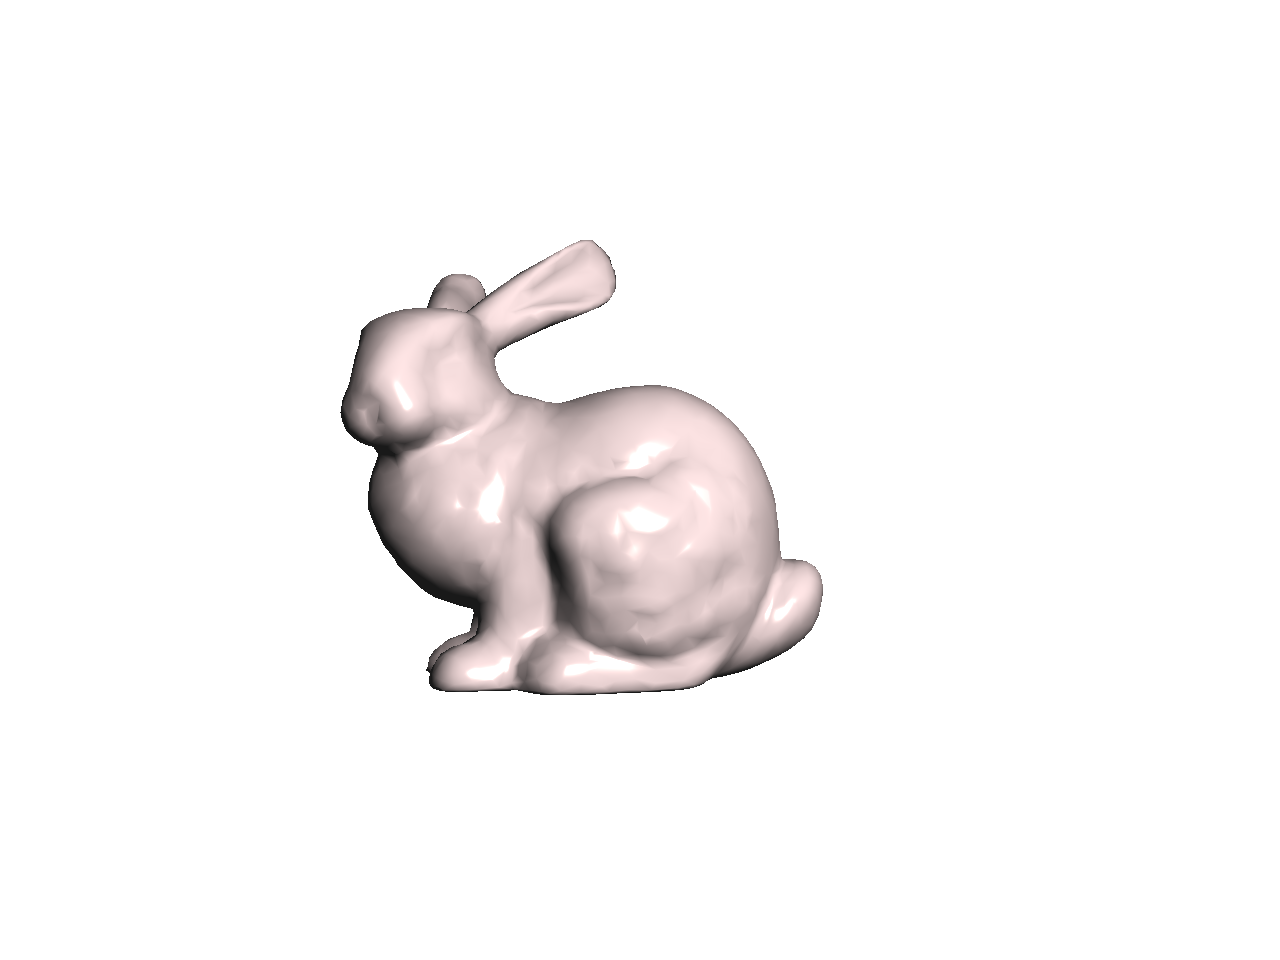
In these examples, the light color should be white, and the light position should be (1, 1, 1) in camera space.
The parameters for the first material must be exactly the same as in Lab 7:
For the second and third materials, you will have to try some values to get the desired effect. Feel free to message us on Canvas to check if your results are acceptable.
Make sure to use the inverse transpose of the modelview matrix to transform the normal. The inverse transpose matrix should be calculated in your C++ code and passed in as a uniform mat4 to the vertex shader. (Look at the GLM docs for inverse() and transpose().) After transforming the normal with the inverse transpose modelview matrix, the resulting normal should be normalized and then passed to the fragment shader. The interpolated normal in the fragment shader should be normalized again. Note that this was optional in Lab 7, because the modelview matrix only consisted translations and rotations. In this task, we have a scale, and then in a later task, we will include a shear.
As in Lab 7, we’re not going to do attenuation in this assignment.
Note that you should not use an if/switch statement in the vertex/fragment shader to toggle between the Normal and Blinn-Phong shaders. Even though this works fine, it is not the right way to do things. First, it adds an extra conditional in the fragment shader, which is executed for every single vertex or fragment, which is bad from an efficiency point of view. Second, this may work for a simple assignment, but in a bigger project with multiple objects, this will get ugly quickly. The proper way is to put the if/switch inside the CPP file. You should do something like this:
if(something) {
    glUseProgram(pid0);
} else {
    glUseProgram(pid1);
}
Of course, there are other ways to do this as well. The important thing is to not have the if/switch statement in your shaders for toggling between programs. We want the shaders to be as simple as efficient as possible, since they are run for each vertex and fragment.
When working with multiple GLSL programs, make sure you create separate handles for the attribute and uniform parameters for each GLSL program you create. For example, the call
glGetAttribLocation(pid, "aPos")should be made for each pid you create. In other words, you need to call addAttribute(...) in each Program instance you create even if the attribute name is the same for the two programs. Ditto for uniform.
Add an extra light to the Blinn-Phong shader. You should create a Light class for this. The final fragment color is going to be a simple sum over the lights. For each channel (R, G, and B), use the following formula:
\[ \displaylines{ R = \sum_{i=1}^n L^i_R (A_R + D^i_R + S^i_R),\\ G = \sum_{i=1}^n L^i_G (A_G + D^i_G + S^i_G),\\ B = \sum_{i=1}^n L^i_B (A_B + D^i_B + S^i_B), } \]
where \(L^i\) is the color of the ith light, \(A\) is the material’s ambient color, \(D^i\) is the material’s diffuse response to the ith light, and \(S^i\) is the material’s specular response to the ith light. In other words, for each light, we compute the ambient, diffuse, and specular components, and then we apply a component-wise multiplication with the light color. The results are then summed up for all the lights.
Use these values for the light positions and colors:
(1.0, 1.0, 1.0)(0.8, 0.8, 0.8)(-1.0, 1.0, 1.0)(0.2, 0.2, 0.0)When you load the program, before you move the mouse, you should get exactly the figure shown here – the stronger light to the right and a weaker light to the left.
Add keyboard hooks so that you can move the lights. Use the keys l/L to cycle through the lights, and the keys x/X and y/Y to move the selected light in the -X, +X, -Y, and +Y directions respectively. As before, m/M should cycle through the three materials.
Now add a teapot to the scene.
(-0.5f, 0.0f, 0.0f).(0.5f, 0.0f, 0.0f).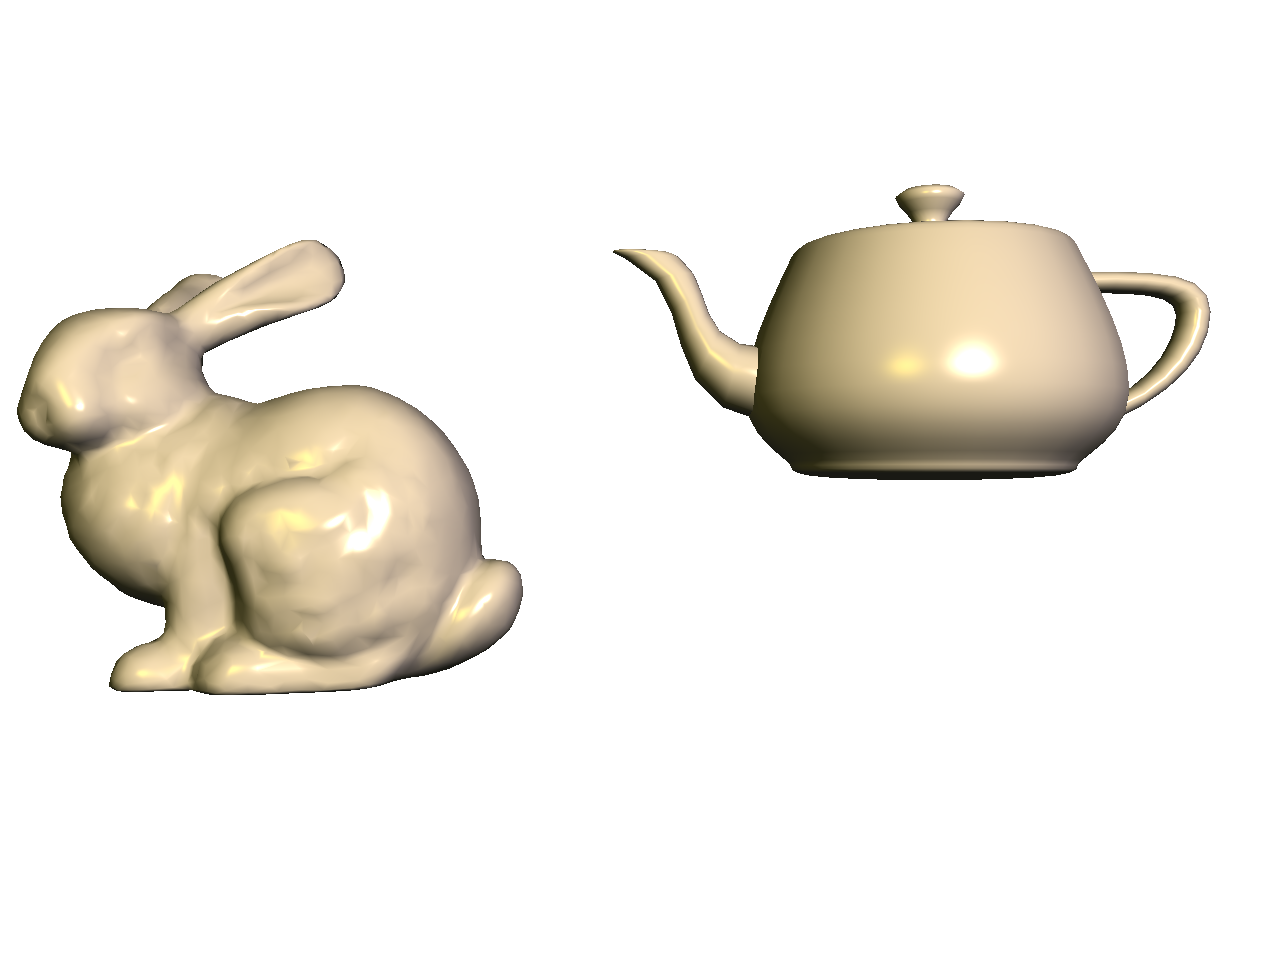
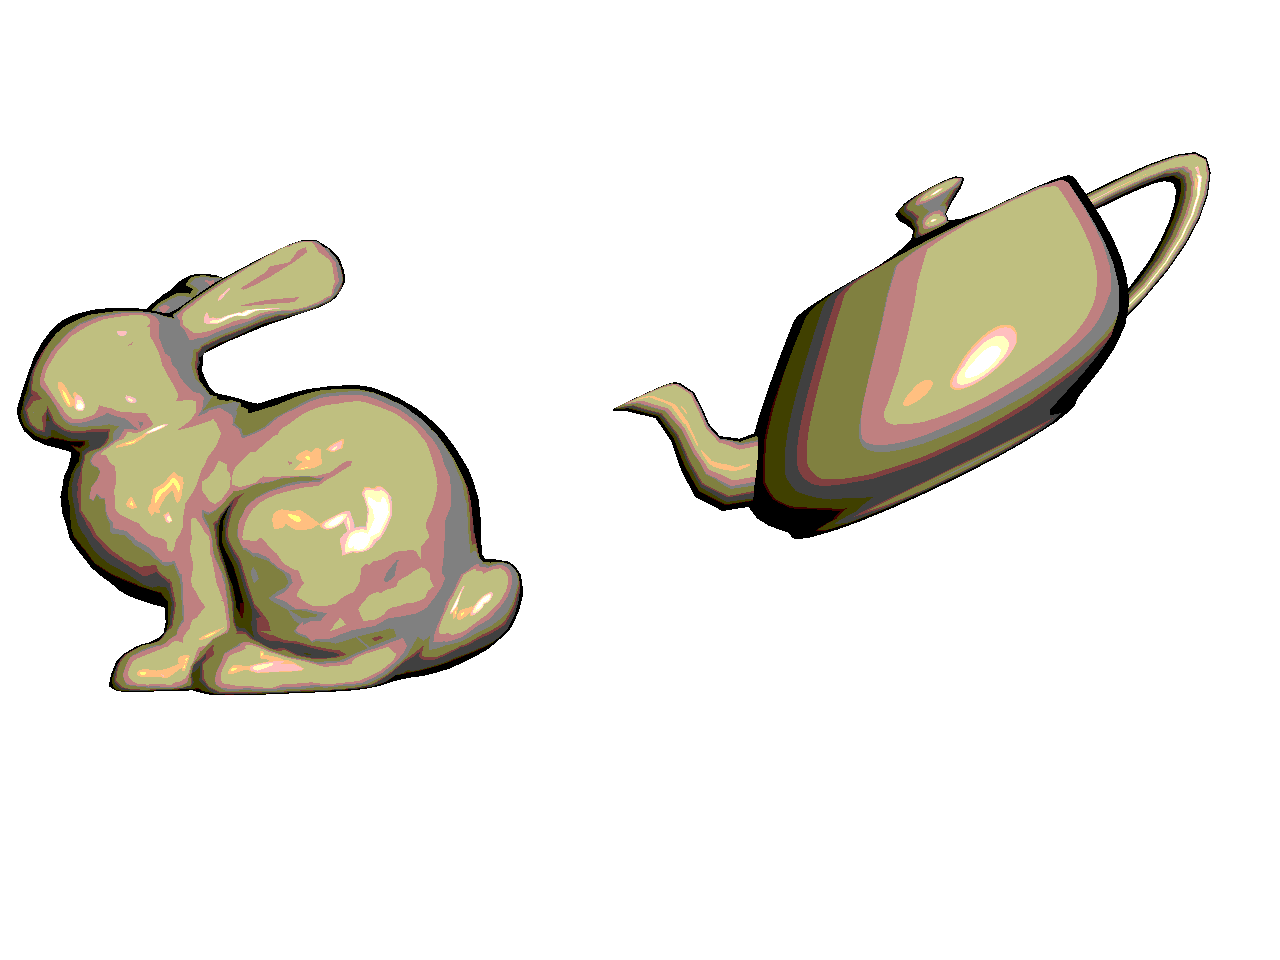
Now shear the teapot, so that it looks like it is about to pour some tea onto the bunny. You can do this with the following code:
glm::mat4 S(1.0f);
S[0][1] = 0.5f;
MV->multMatrix(S);
Remember to use the inverse transpose of the modelview matrix and to normalize the normal in the vertex shader. The interpolated normal should be normalized again in the fragment shader.
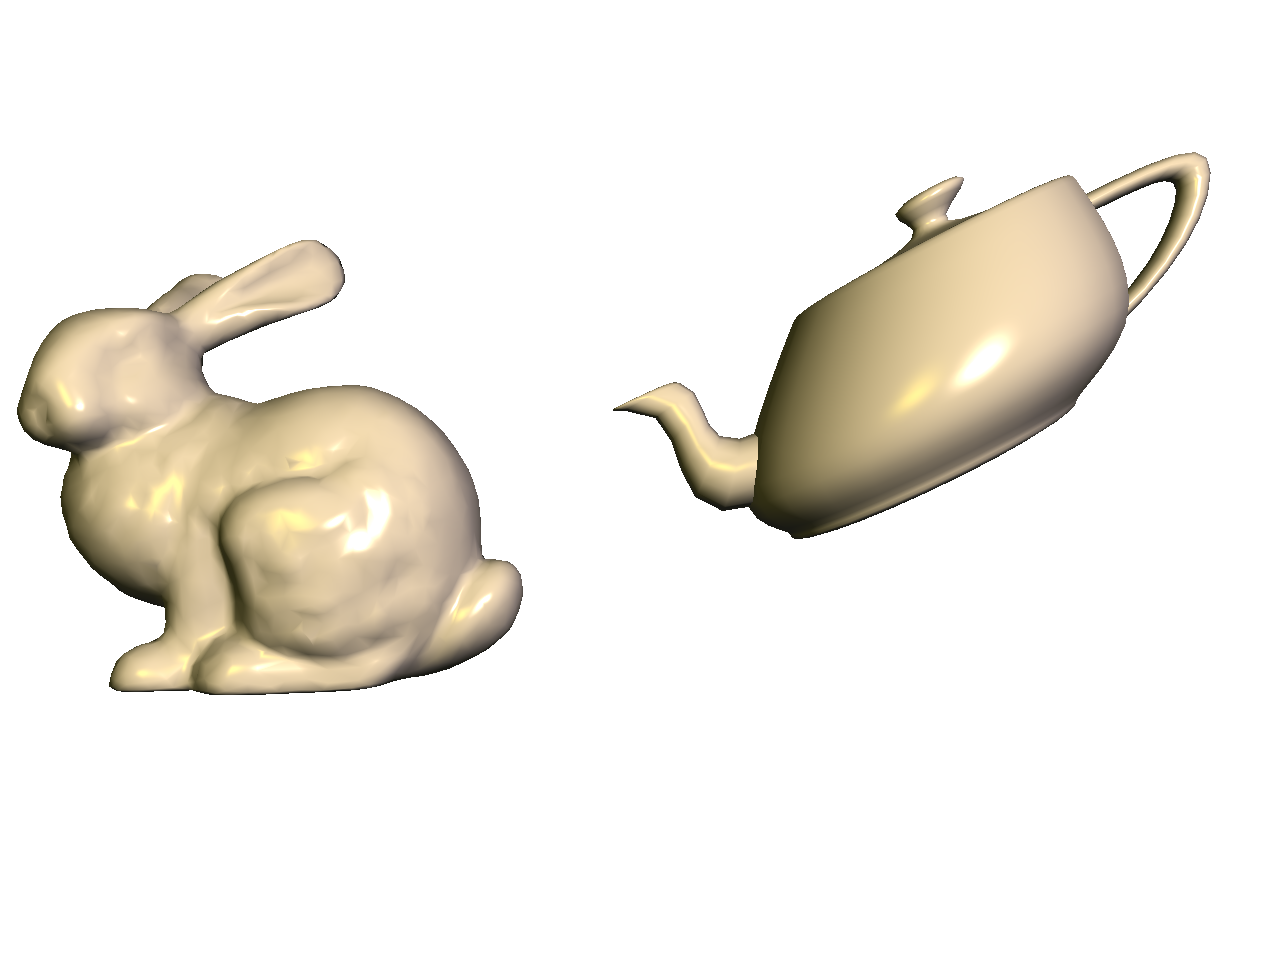
Finally, make the bunny rotate and teapot shear with time, using the time variable t, which is defined in the skeleton code. Pressing the spacebar toggles the value of t to be \(0\) or the time.
MV->rotate(t, 0.0f, 1.0f, 0.0f);.S[0][1] = 0.5f*cos(t);.This should make the teapot’s spout dodge the bunny’s ears.
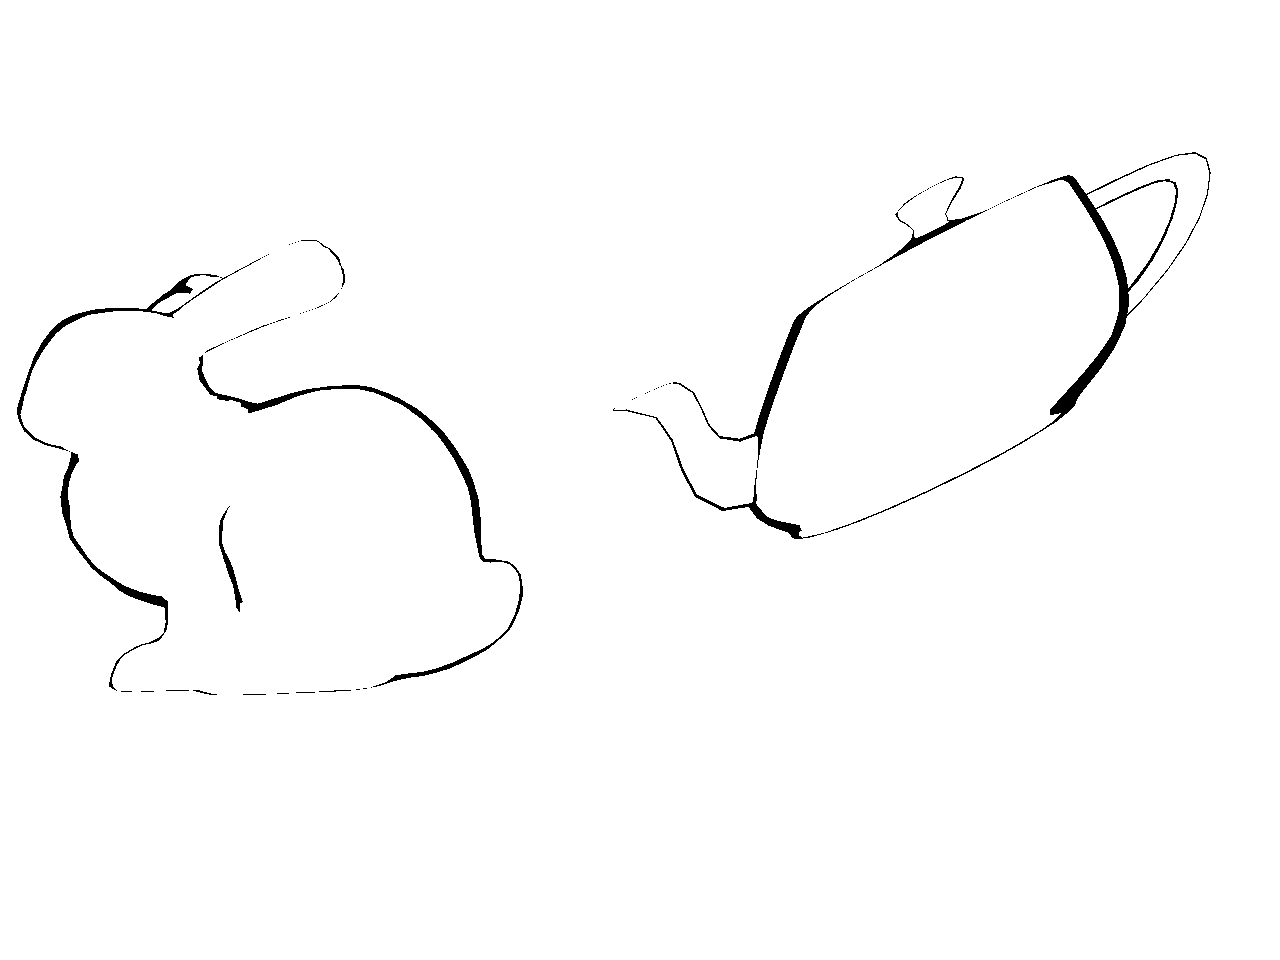
Create a silhouette shader. Set up the code so that pressing the s/S keys cycles through the three shaders (Normal, Blinn-Phong, and Silhouette). The silhouette shader should color all fragments white, except for those fragments whose normals form a right angle with the eye vector.

Take the dot product of the normal and eye vectors and threshold the result. If the result is “close enough” to zero, then color that fragment black. Remember that both of these vectors need to be in the camera space. Use \(0.3\) as the threshold. In other words, if the following is true, then set the color to be black. Otherwise, set the color to be white.
\[ \| \hat{n} \cdot \hat{e} \| < 0.3, \]
where \(\hat{n}\) is the normal, and \(\hat{e}\) is the eye (view) vector.
Finally, add a cel shader. Set up the code so that pressing the s/S keys cycles through the four shaders (Normal, Blinn-Phong, Silhouette, Cel).
The silhouette should be black, like in the previous task. For non-silhouette areas, quantize the colors into \(N\) levels. Quantization should be applied to each of the RGB channels separately. There are many ways to do this, but here is one version that quantizes the red channel into 4 levels:
if(R < 0.25) {
    R = 0;
} else if(R < 0.5) {
    R = 0.25;
} else if(R < 0.75) {
    R = 0.5;
} else {
    R = 0.75;
}
If green and blue are quantized in the same way, this is the result:
Your code should work with all three materials from Task 2.
Since cel shading is often used for artistic purposes, you do not need to get these exact results. The requirements are:
m/M. You can even try messing up the colors a bit, for example by inverting the colors.m/M: cycle through materialsl/L: cycle through lightsx/X: move selected light in xy/Y: move selected light in ys/S: cycle through shadersSet the Program class to be verbose by calling the setVerbose() function. If there is a GLSL compilation error, then you will see the error in the console. For example, if the varying variables of the vertex shader and the fragment shaders do not match up, it will tell you so. Make sure to set verbose to be false after debugging.
Use GLSL::checkError(GET_FILE_LINE); to find which OpenGL call caused an error. This function will assert if there were any OpenGL errors before getting to this line. You can use this to winnow down which OpenGL function is causing an error. For example, if you put this line at the top, the middle, and the bottom of your function, and if the assertion happens in the middle, you know that the error must be happening in the top half of your function. Once find exactly which OpenGL call is causing the error, you can Google the OpenGL function to figure out what caused the error. For example, maybe one of the arguments should not have been zero or null.
Your code only needs to show the highest task completed. In other words, if you complete Task N, points for Tasks 1 through N will be given.
init(), not render().Total: 100 points
Failing to follow these points may decrease your “general execution” score. On Linux/Mac, make sure that your code compiles and runs by typing:
> mkdir build
> cd build
> cmake ..
> make
> ./A3 ../resources
If you’re on Windows, make sure that you can build your code using the same procedure as in Lab 0.
src/, resources/, CMakeLists.txt, and your readme file. The resources folder should contain the obj files and the glsl files.(*.~)(*.o)(.vs)(.git)UIN.zip (e.g., 12345678.zip).UIN/ (e.g. 12345678/).src/, CMakeLists.txt, etc..zip format (not .gz, .7z, .rar, etc.).