For Assignment 1, OpenGL is not required, so you can follow the simpler setup in Lab \(-1\). The setup in Lab 0 is required for Assignment 2 and beyond.
IMPORTANT! In this course, your project must be cross-platform. Follow these guidelines.
windows.h)./ instead of \).src folder and rerun CMake. Do not use the “add” feature of your IDE to add files to your project.
First, download the lab here, and then extract the zip file to a suitable folder. Then go to the section corresponding to your development environment.
rm -r * from the build folder to delete the cache.Download and install these programs.
Download and extract the following libraries. You can extract them to your CSCE441 folder or to a system folder of your choice.
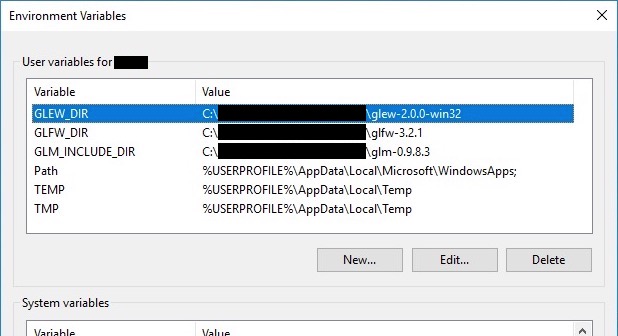
Set up the environment variables. This ensures that your code will work on the TA’s and the instructor’s machines.
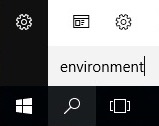
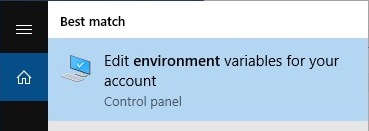
Search for “environment” and then select “Edit environment variables for your account.”
In the dialog box, set the following environment variables. Each of the /path/to/* should point to the absolute path of the libraries that you just installed. These directories should be the “root” directories of the libraries – i.e., they should contain such items as include/, src/, doc/, lib/, readme, etc.
GLM_INCLUDE_DIR to /path/to/GLMGLFW_DIR to /path/to/GLFWGLEW_DIR to /path/to/GLEW
To test your environment variables, open a PowerShell and run the following:
  > $env:GLM_INCLUDE_DIR
  > $env:GLFW_DIR
  > $env:GLEW_DIR
Make sure you see the correct paths in the output.
This is for macOS Catalina. Earlier versions may or may not work.
Download and install the following. You can use homebrew/macports or install these manually.
Make sure the commands g++ and cmake work from the command prompt.
Download and extract the following libraries. You can extract them to your CSCE441 folder or to a system folder of your choice.
make -j4. (This could take a while.)Set up the environment variables. This ensures that your code will work on the TA’s and the instructor’s machines.
Add the following lines to your “run commands” file (zshrc or bashrc).
  export GLM_INCLUDE_DIR=ABS_PATH_TO_GLM
  export GLFW_DIR=ABS_PATH_TO_GLFW
  export GLEW_DIR=ABS_PATH_TO_GLEW
If you are using zsh (Catalina default), then add the lines above to ~/.zshrc. If you are using bash, then add the lines above to ~/.bash_profile (or ~/.bashrc if .bash_profile doesn’t exist). To find out which shell you are using, run the command echo $SHELL from the command prompt.
Set these variables to point to the directories that you extracted GLM, GLFW, and GLEW to. These directories should be the “root” directories of the libraries – i.e., they should contain such items as include/, src/, doc/, lib/, readme, etc. For example, on my machine, ABS_PATH_TO_GLM is /Users/sueda/lib/glm-0.9.9.6.
These environment variables will be set the next time you login. To make this change take effect in your current terminal, run the following
  > source ~/.zshrc    # if you're using zsh
  > source ~/.bashrc   # if you're using bash
To test your environment variables, run the following in the terminal:
  > echo $GLM_INCLUDE_DIR
  > echo $GLFW_DIR
  > echo $GLEW_DIR
Make sure you see the correct paths in the output.
This is for Ubuntu Linux 16.04.1 LTS. Setting up other distributions will be similar but may be slightly different.
You’ll need the following if you don’t have them already.
 > sudo apt-get update
 > sudo apt-get install g++
 > sudo apt-get install cmake
 > sudo apt-get install freeglut3-dev
 > sudo apt-get install libxrandr-dev
 > sudo apt-get install libxinerama-dev
 > sudo apt-get install libxcursor-dev
We are going to install GLM, GLFW, and GLEW manually. (You may also use a package manager to get these libraries, but please do not modify the CMake file.)
Download and extract the following libraries. You can extract them to your CSCE441 folder or to a system folder of your choice.
make -j4. (This could take a while.)Set up the environment variables. This ensures that your code will work on the TA’s and the instructor’s machines.
In ~/.profile, add the following lines.
  export GLM_INCLUDE_DIR=ABS_PATH_TO_GLM
  export GLFW_DIR=ABS_PATH_TO_GLFW
  export GLEW_DIR=ABS_PATH_TO_GLEW
Set these variables to point to the directories that you extracted GLM, GLFW, and GLEW to. These directories should be the “root” directories of the libraries – i.e., they should contain such items as include/, src/, doc/, lib/, readme, etc.
These environment variables will be set the next time you login. To make this change take effect in your current terminal, run the following
> source ~/.profileTo test your environment variables, run the following in the terminal:
  > echo $GLM_INCLUDE_DIR
  > echo $GLFW_DIR
  > echo $GLEW_DIR
Make sure you see the correct paths in the output.
Extract L00.zip into a folder of your choice.
Run CMake (GUI).
CMakeLists.txt file.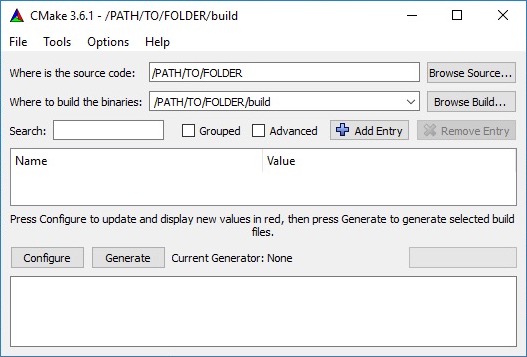
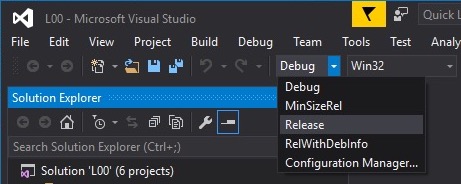
There should now be a file called L00.sln in the build folder. Double click it to open it with Visual Studio.
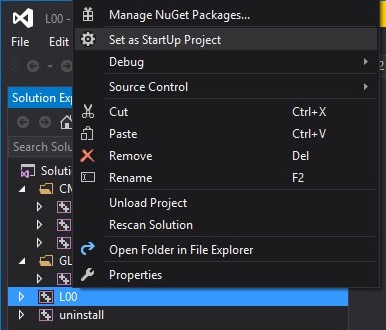
L00 and select “Set as StartUp Project.”
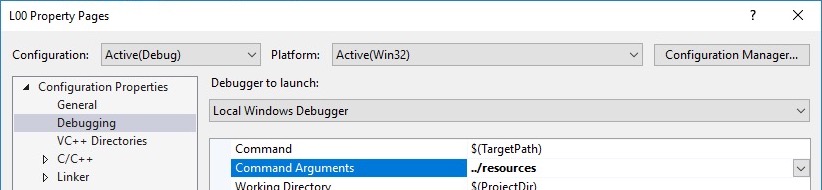
L00 and select “Properties.” Go to “Debugging” then “Command Arguments” and then type ../resources. Click “OK.”
Extract L00.zip into a folder of your choice.
In the folder that contains CMakeLists.txt, run the following.
 > mkdir build
 > cd build
Then run the following from the build folder.
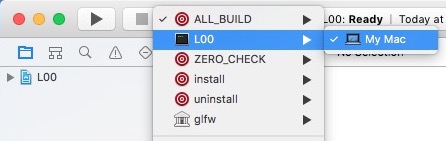
> cmake -G Xcode ..This will generate L00.xcodeproj project that you can open with Xcode.
Open L00.xcodeproj with Xcode.
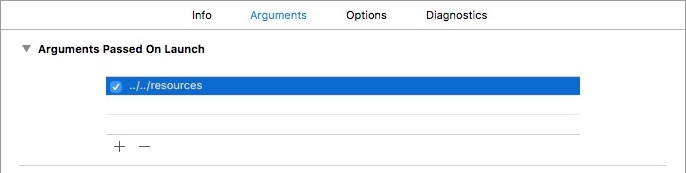
L00.
../../resources).


Extract L00.zip into a folder of your choice.
In the folder that contains CMakeLists.txt, run the following.
 > mkdir build
 > cd build
Then run the following from the build folder.
> cmake ..This will generate a Makefile that you can use to compile your code.
To compile the code, run the generated Makefile.
> make -j4The -j argument speeds up the compilation by multithreading the compiler. This will generate an executable, which you can run by typing
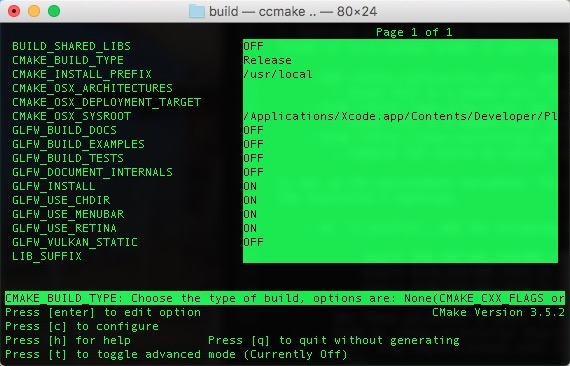
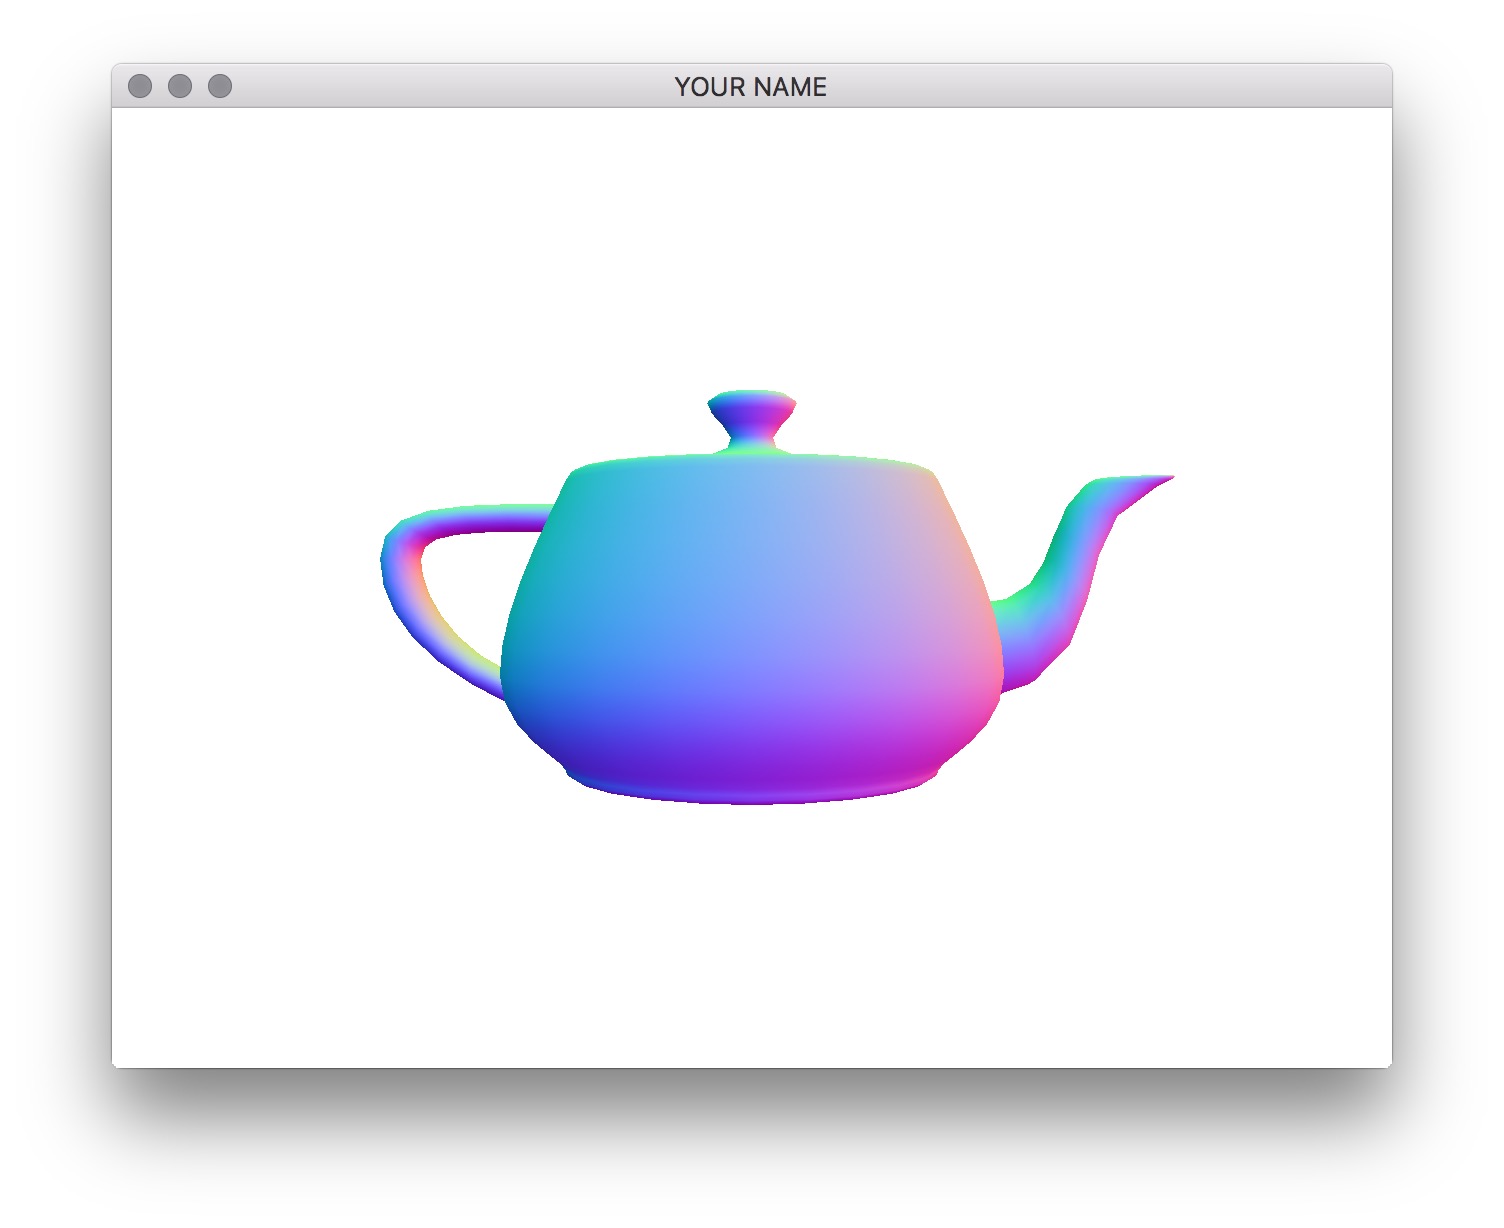
> ./L00 ../resourcesTo build in release mode, use ccmake .. and change CMAKE_BUILD_TYPE to Release. Press ‘c’ to configure then ‘g’ to generate. Now make -j4 will build in release mode.