// About
Particle Based Morphing
CSCE-450 Final Project, Brianna Navas
// Demo Video
In this video I talk a little bit about the project inspiration, general steps I took to make the project, and a demo of how it works.
Backup Google Drive Link >// Inspiration
I got the idea for this project from an assignment in VIST-271. In the assignment, we only used Houdini, a 3D animation software, to create the effects for morphing the objects. With what I’ve learned in Computer Graphics and Computer Animation, I believed this was something I could program.
Watch the Houdini Tutorial >
// Implementation
How I did it
// 1. Editing the Models
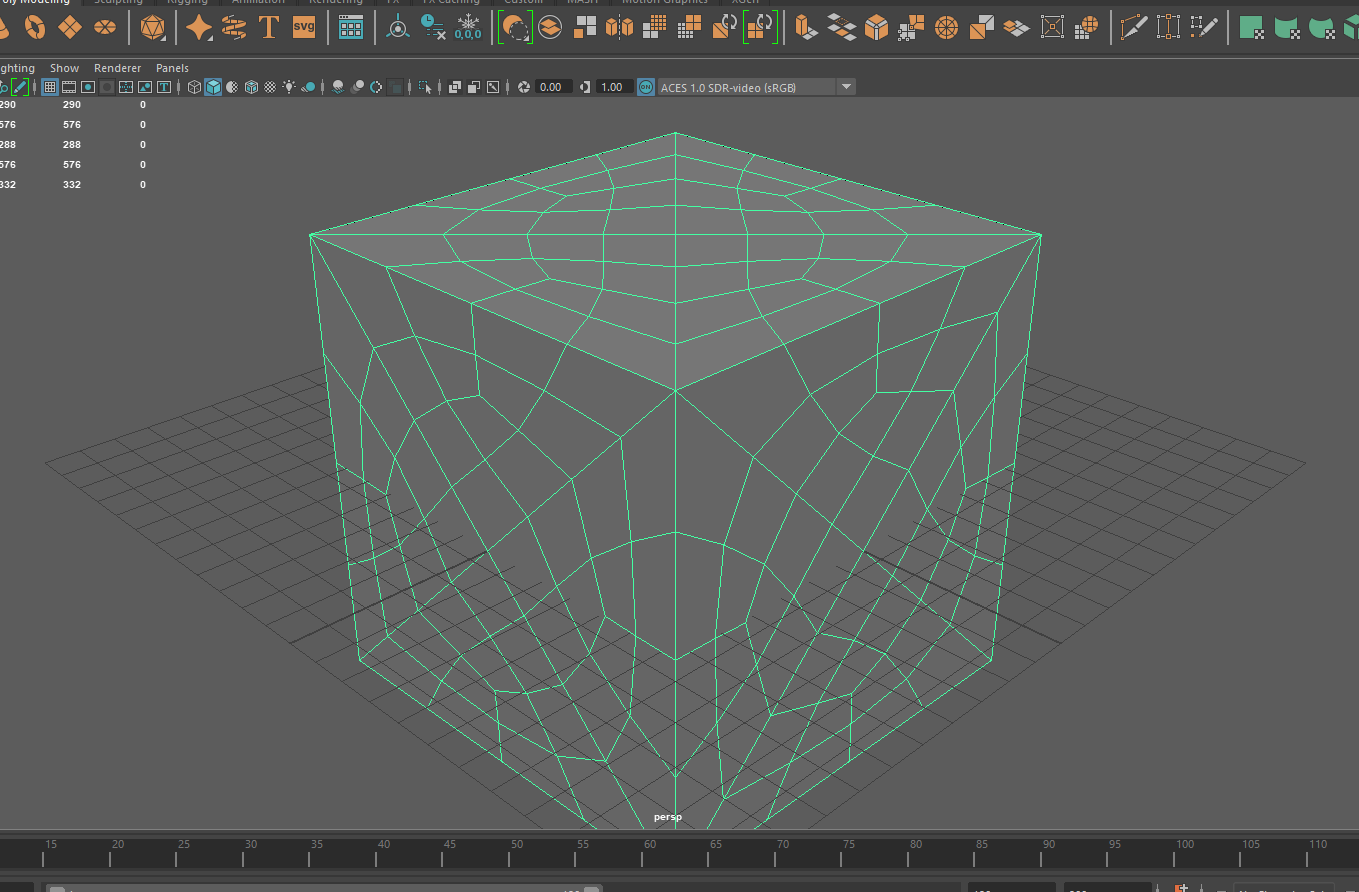
To linearly interpolate particles between the two shapes, I needed to make sure both shapes were made up of the same number of particles. Since I used vertex positions for the location to draw the particles, each shape would need the same number of vertices. I used AutoDesk Maya's Smooth and Reduce tool to play around with models in attempts to get the same number of vertices for two objects.
// 2. Reading the Files and Model Drawing
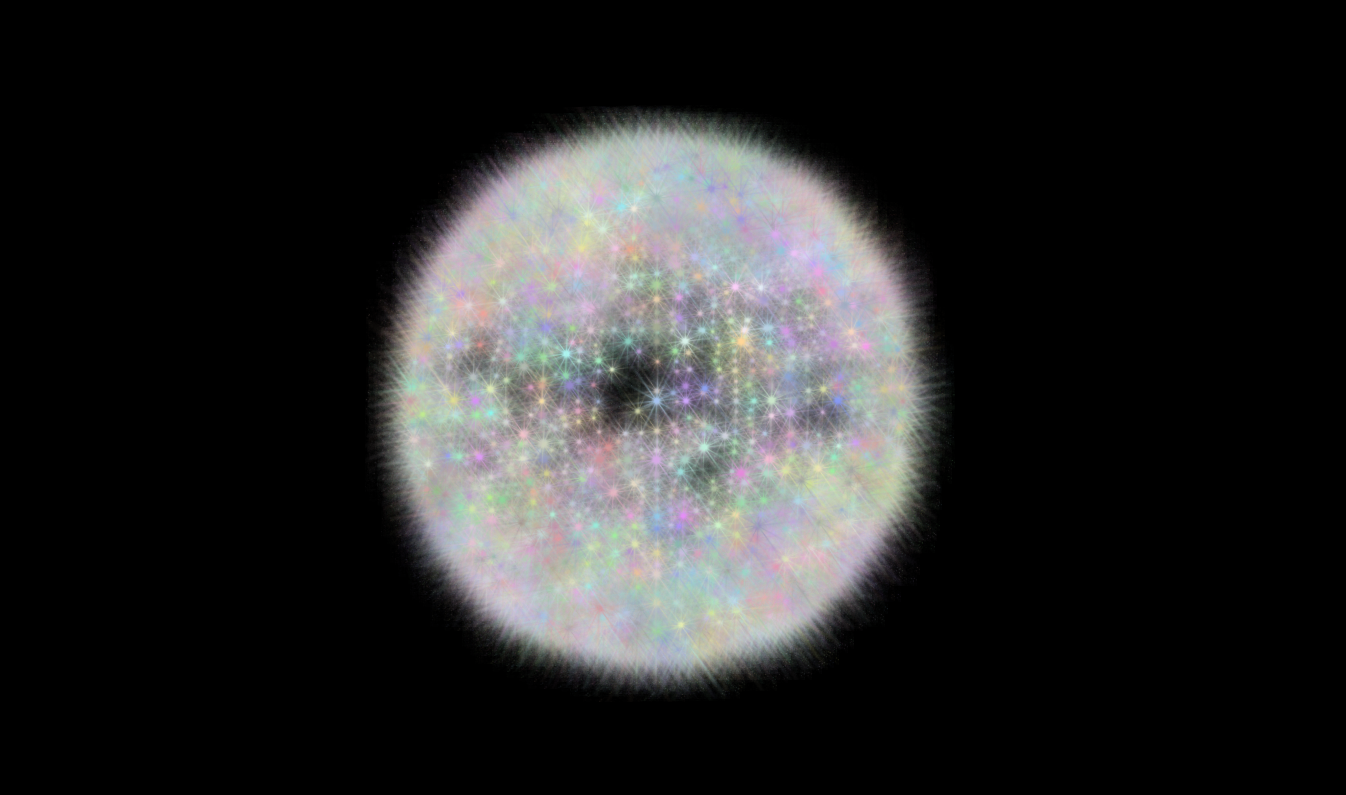
Next, I had to read the obj files for each object and draw particles at each vertex position. Using the Particle Class from L08 helped with this task. A Quicksort Algorithm was then used to sort the vertex positions by the z index, to create a more visually cohesive morph.
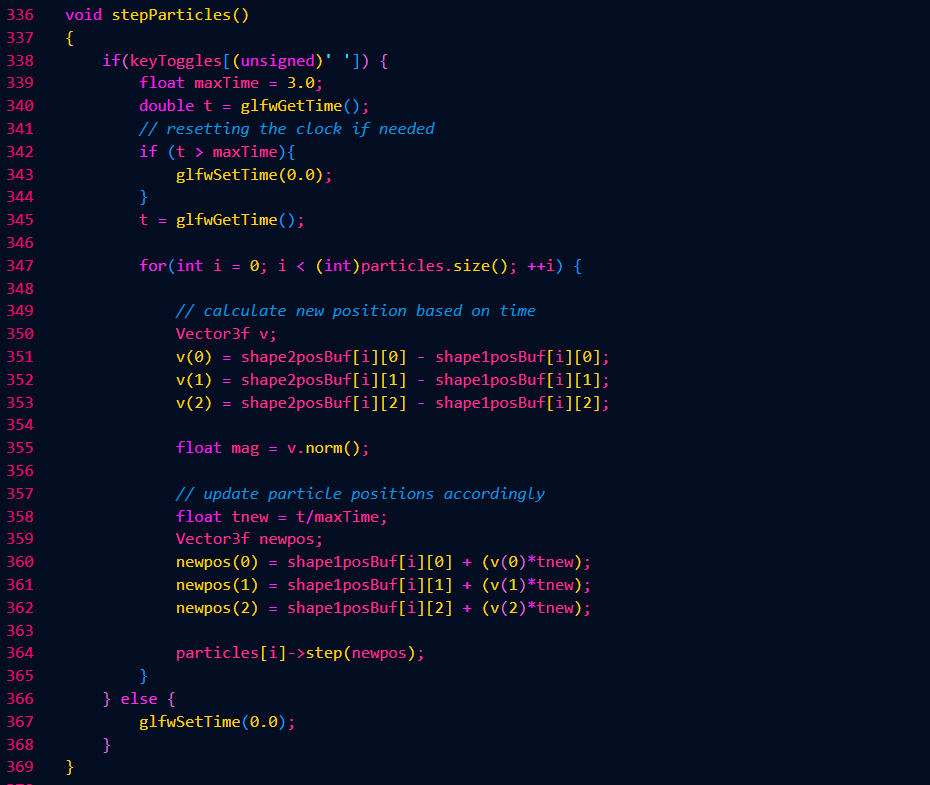
// 3. Linear Interpolation
Once the first shape is drawn, the user can press 'Spacebar' to start the animation. To create the effect of the shapes morphing, the particles linearly interpolate their positions over time from Shape 1 to Shape 2.
// Libraries and References Used
Assignment 1 and Lab 8: Starter Code
Eigen: Vector Calculations
OpenGl: Displaying the models
Geeks for Geeks: Quicksort Algorithm Reference
Cube Model: MaikKlein >