Due Monday, 10/17 at 23:59:59. You must work individually.
In this assignment, you will be using blendshapes to animate a face on the CPU and the GPU.
NOTE: If you are taking Computer Graphics (CSCE 441) concurrently, please let me know and I will give you an extension for the GPU implementation. You will still need to submit the CPU version on time. Please make sure to put any relevant information in your README.
Download the data/code for the assignment. The provided base code loads and displays a static mesh. Run the code with the following arguments (modify as necessary depending on your IDE):
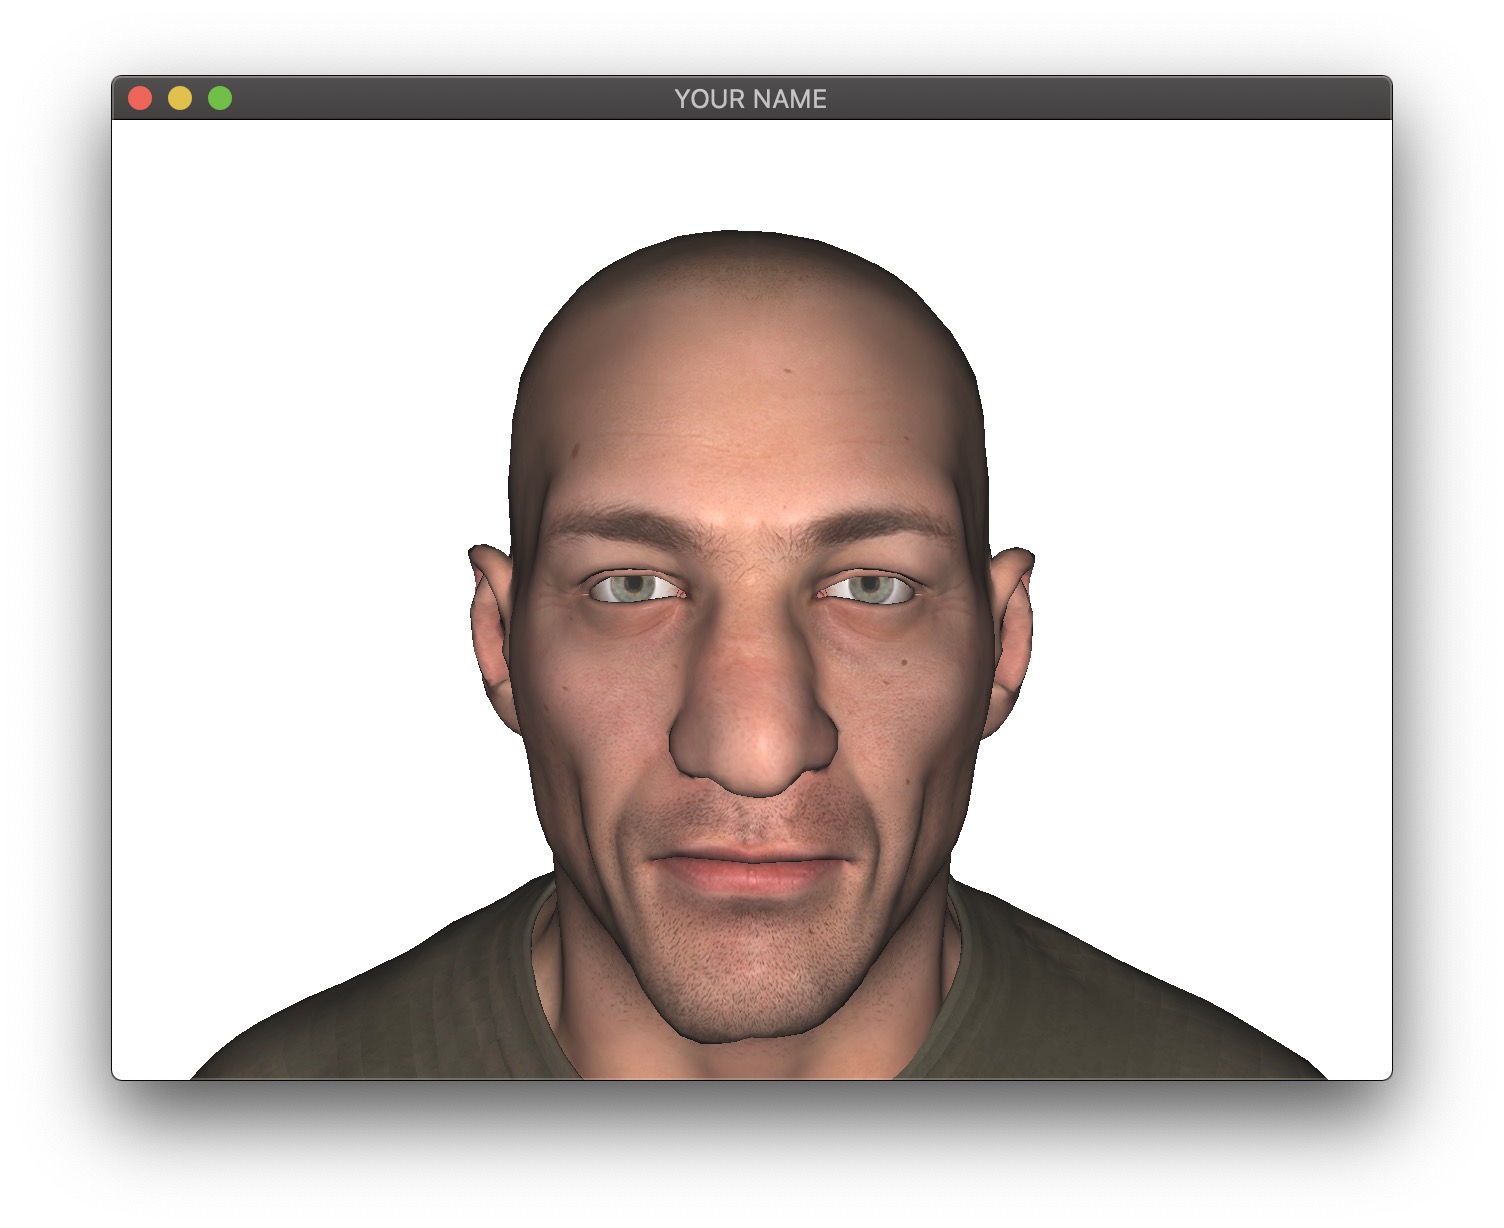
> ./A3 ../resources ../dataA face should appear in its neutral pose. Create a README that contains the sentence, “The input data was downloaded from facewaretech.com.”
Take a look at the files in the data/ folder. The contents are:
input.txt: This is the first file that the program loads. It contains information about what other files to load.Keep in mind that all of the meshes must be drawn, not just the face. This means that two separate shaders will be required – one for rendering the face with blendshapes, and another for rendering the other meshes without blendshapes.
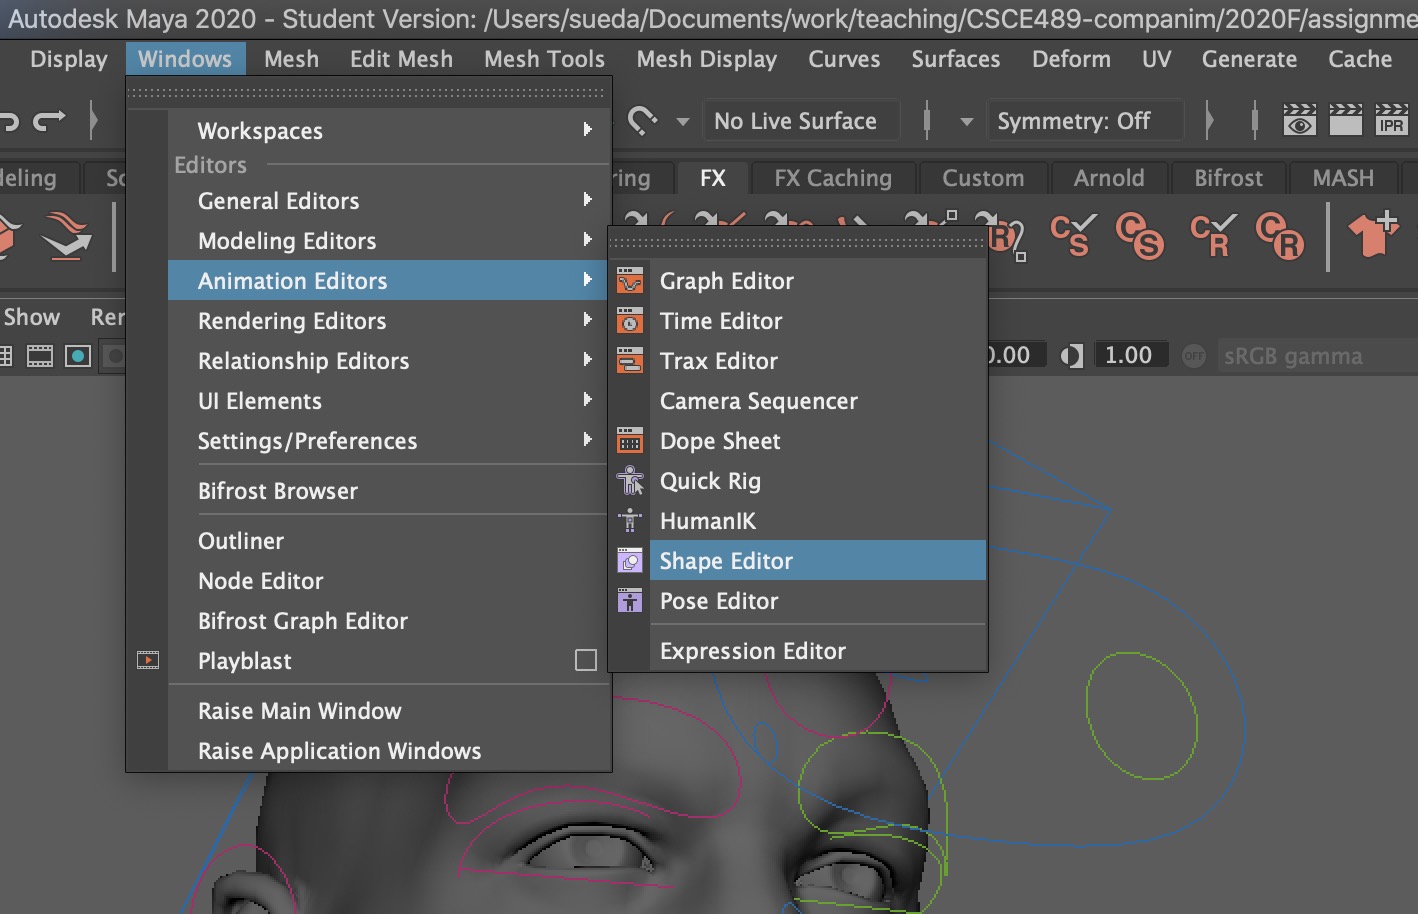
If you don’t already have Maya, install the education version. You should not need to install any extensions for this assignment. Download this file (which was obtained from Faceware Technologies). Open Maya and then open Victor_Maya_FTI.ma, which is included in the zip file. Go to ‘Windows -> Animation Editors -> Shape Editor’.
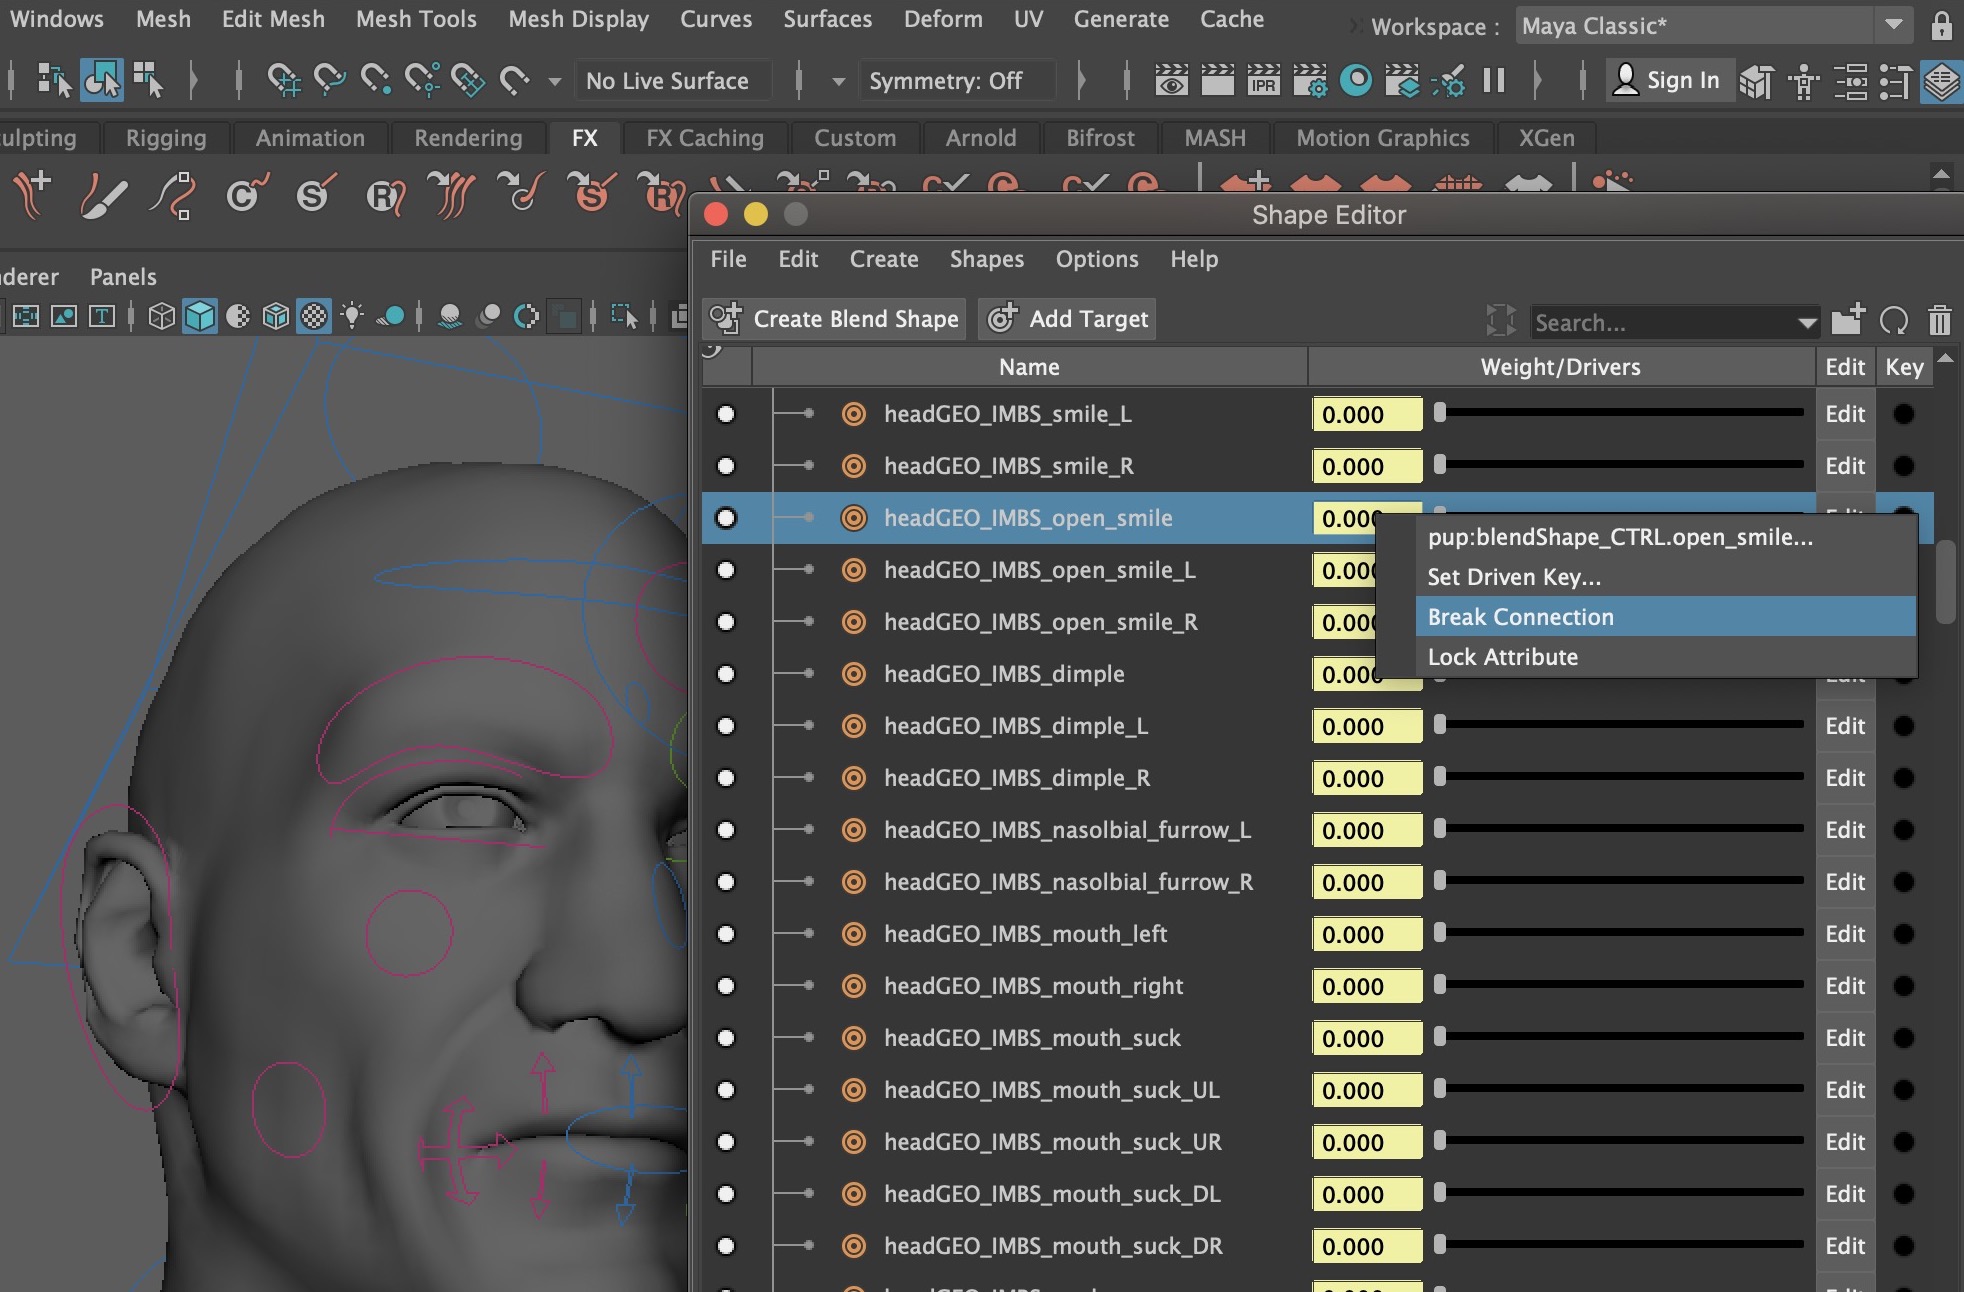
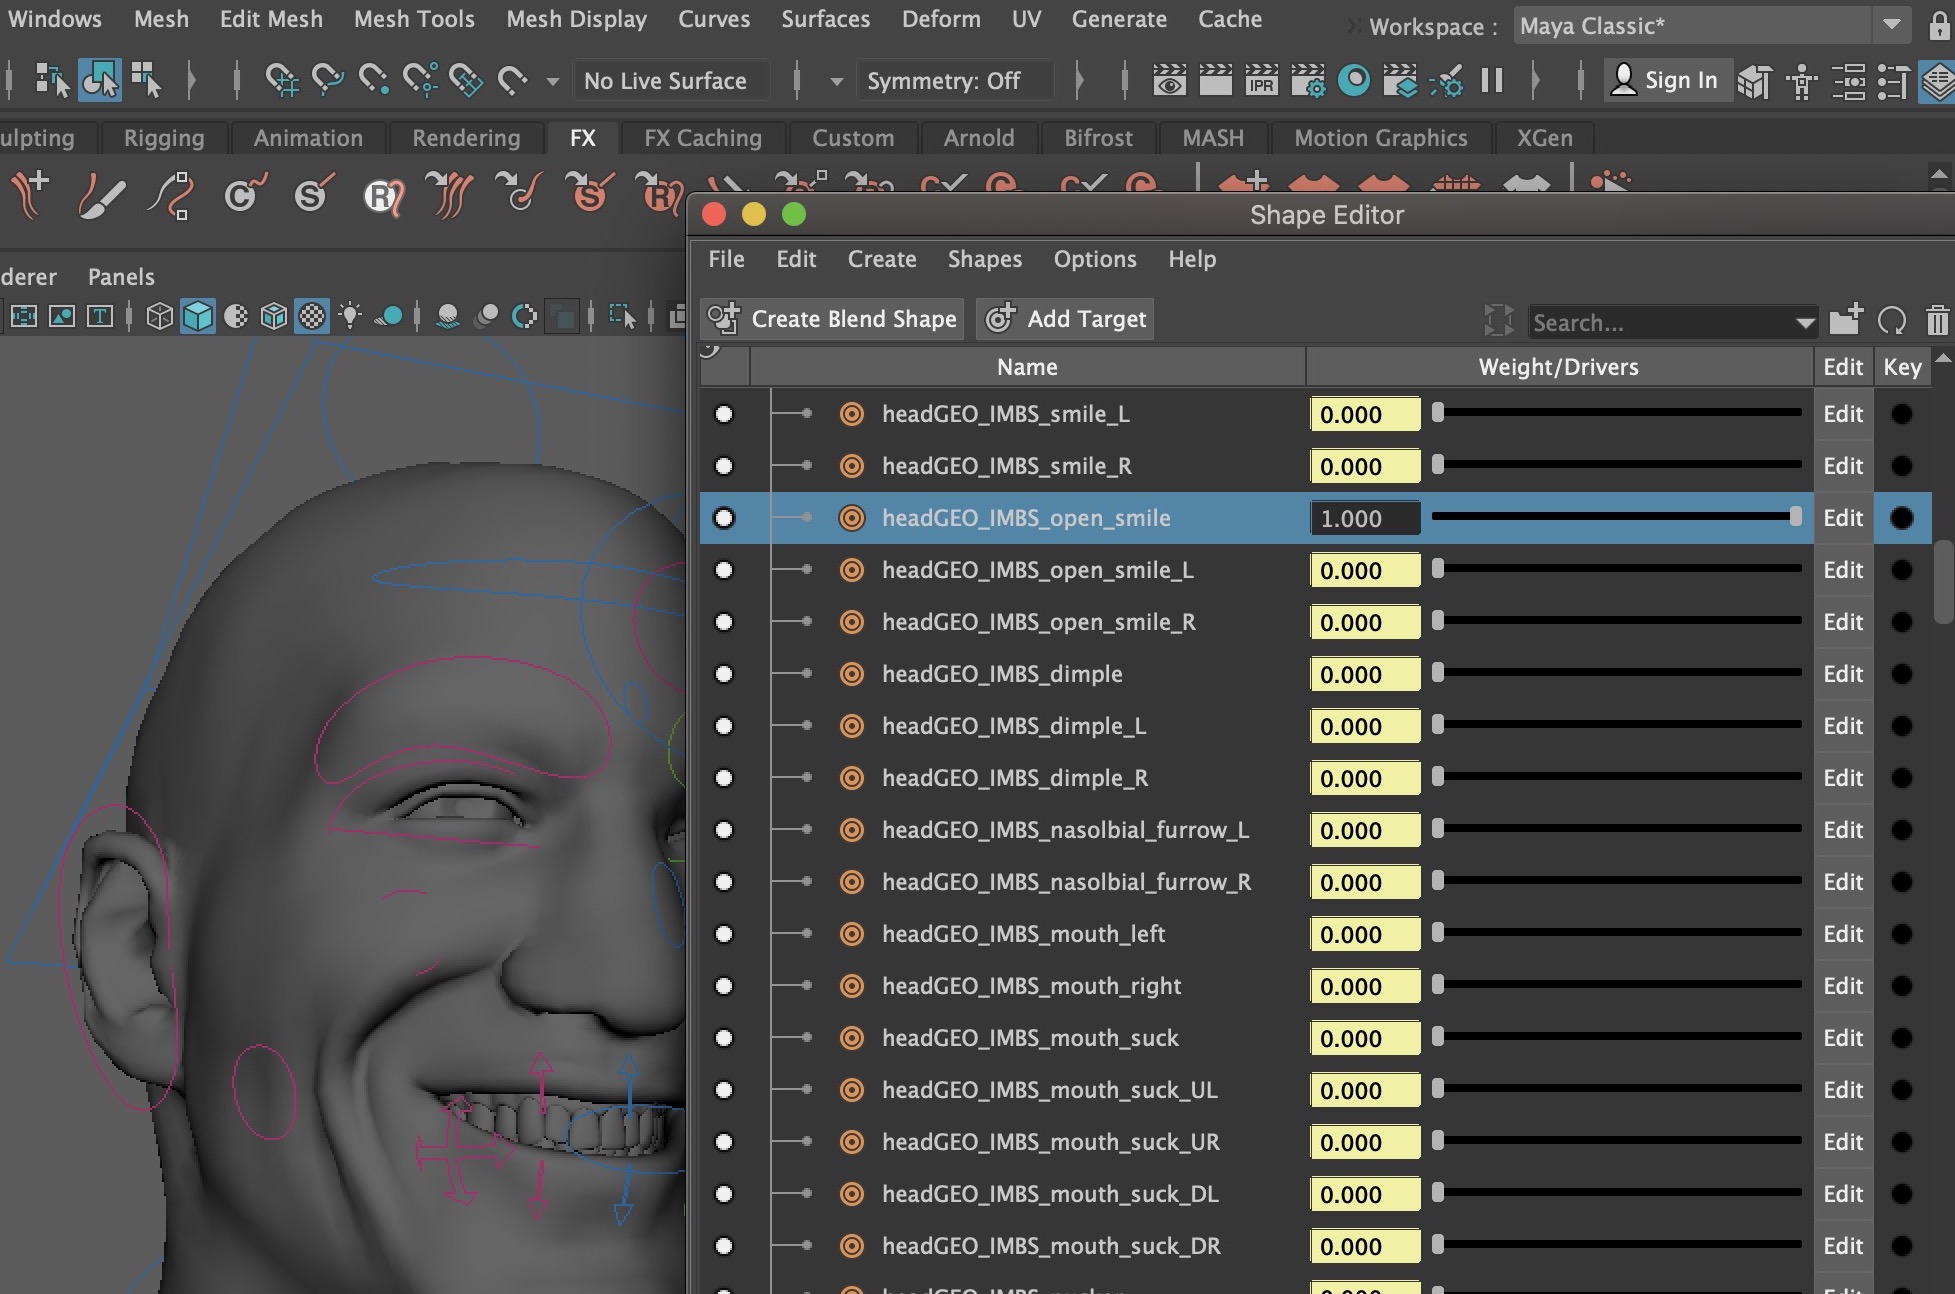
Choose an interesting blendshape, right click on the yellow box, and then select ‘break connection’. Move the slider all the way to the right.
Select the head and then go to ‘File -> Export Selection…’ to save the head mesh as an obj file in the data folder. Modify the line that specifies the head mesh in input.txt to see if this new mesh loads correctly using your C++ code:
MESH some_other_mesh.obj Head_Diff.jpgRepeat to create another blendshape.
Only the head mesh needs blendshapes, and so all other meshes should be rendered as static meshes. You can augment the existing Shape class to handle blendshapes, or you can create a new subclass.
Modify your code so that the blendshape OBJ files are loaded in addition to the head OBJ file. You should add another keyword to input.txt to specify these blendshapes. Once loaded, create the “delta” meshes by subtracting the vertex position and normal of the base mesh from the blendshape mesh:
\[ \displaylines{ \Delta \vec{x}_a = \vec{x}_a - \vec{x}_0\\ \Delta \vec{n}_a = \vec{n}_a - \vec{n}_0, } \]
where the subscript \(0\) corresponds to the base mesh, and subscript \(a\) corresponds to the blendshape. Repeat for the other blendshape (plus more if you have more blendshapes). The texture coordinates should be the same (there is no skin sliding wrt vertex positions), so you can simply use the texture coordinates of the base mesh.
Using the time variable t, add the blendshape deltas to the base mesh. Assuming we have two blendshapes (you can add more), let \(a(t)\) and \(b(t)\) be the scalar blending functions of your choice. (For example, you can use sinusoidal waves of different frequencies. These functions should return a scalar between \(0\) and \(1\).) Then the position and normal of each vertex are computed as:
\[ \displaylines{ \vec{x}(t) = \vec{x}_0 + a(t) \Delta \vec{x}_a + b(t) \Delta \vec{x}_b\\ \vec{n}(t) = \vec{n}_0 + a(t) \Delta \vec{n}_a + b(t) \Delta \vec{n}_b\\ \hat{n}(t) = \frac{\vec{n}(t)}{\|\vec{n}(t)\|}. } \]
Just like in the skinning assignment, when we modify the vertex attributes on the CPU, we need to resend the data to the GPU before drawing. The following lines need to be called from the draw() method after the vertex data are modified:
// Send the position array to the GPU
glGenBuffers(1, &posBufID);
glBindBuffer(GL_ARRAY_BUFFER, posBufID);
glBufferData(GL_ARRAY_BUFFER, posBuf.size()*sizeof(float), &posBuf[0], GL_STATIC_DRAW);

// Send the normal array to the GPU
glGenBuffers(1, &norBufID);
glBindBuffer(GL_ARRAY_BUFFER, norBufID);
glBufferData(GL_ARRAY_BUFFER, norBuf.size()*sizeof(float), &norBuf[0], GL_STATIC_DRAW);
Move the computation to the vertex shader. You will need to send the vertex deltas (positions and normals) to the GPU as attribute variables. This needs to be done just once and should not be done every time render is called. The blending weights \(a\) and \(b\) should be sent in as uniform variables. Also, be careful about the homogeneous coordinate of the blended position and normal vectors. You should set these to \(1\) and \(0\), respectively.
Extract two blendshapes that operate on the same area of the mesh. For example, use two blendshapes that modify the mouth. What happens when both weights are set to \(1\)? In the readme, write a brief paragraph explaining why the resulting animation does not look good.
Also, explain in your readme how to switch between compatible blendshapes and incompatible blendshapes. The exact format of input.txt is up to you, but switching should be as easy as commenting/uncommenting a couple of lines in input.txt. After this experiment, make sure to change your input.txt back to use compatible blendshapes.
Go to the Facial Action Coding System (FACS) – A Visual Guidebook, and then go to the “Emotions and Action Units” section of this page. Add support in your code for playing back two sets of emotions (e.g., happy and sad).
You may need to add new keyword(s) to input.txt to enable FACS. Again, the exact format is up to you, but it should be easy to switch it on and off. In other words, you should be able to comment on or off the new lines that correspond to the new emotions in input.txt and the result should show the uncommented emotion. Note that previous tasks can be thought of as an emotion with two blendshapes.
Update your readme with instructions on how to edit input.txt to show FACS.
Add support to load two different FACS emotions and blend between them. The exact implementation (e.g., keywords and keyboard hooks) is up to you. Make sure to update your README with any relevant information.
Rotate the eyes so that the character looks left and right over time with a sinusoidal wave.
Try another dataset from faceware.
Total: 100+15 points.
Failing to follow these points may decrease your “general execution” score.
If you’re using Mac/Linux, make sure that your code compiles and runs by typing:
> mkdir build
> cd build
> cmake ..
> make
> ./A3 <SHADER DIR> <DATA DIR>
If you’re using Windows, make sure your code builds using the steps described in Lab 0.
(*.~)(*.o)(.vs)(.git)UIN.zip (e.g., 12345678.zip).UIN/ (e.g. 12345678/).src/, CMakeLists.txt, etc..zip format (not .gz, .7z, .rar, etc.).