
In this lab, we are going to practice using multiple render targets (MRT). We are going to render the scene with two passes. The overall steps are:


NOTE: For maximum compatibility with student computers/drivers, we are only going to use OpenGL 2.1.
The following resources were used for this lab:
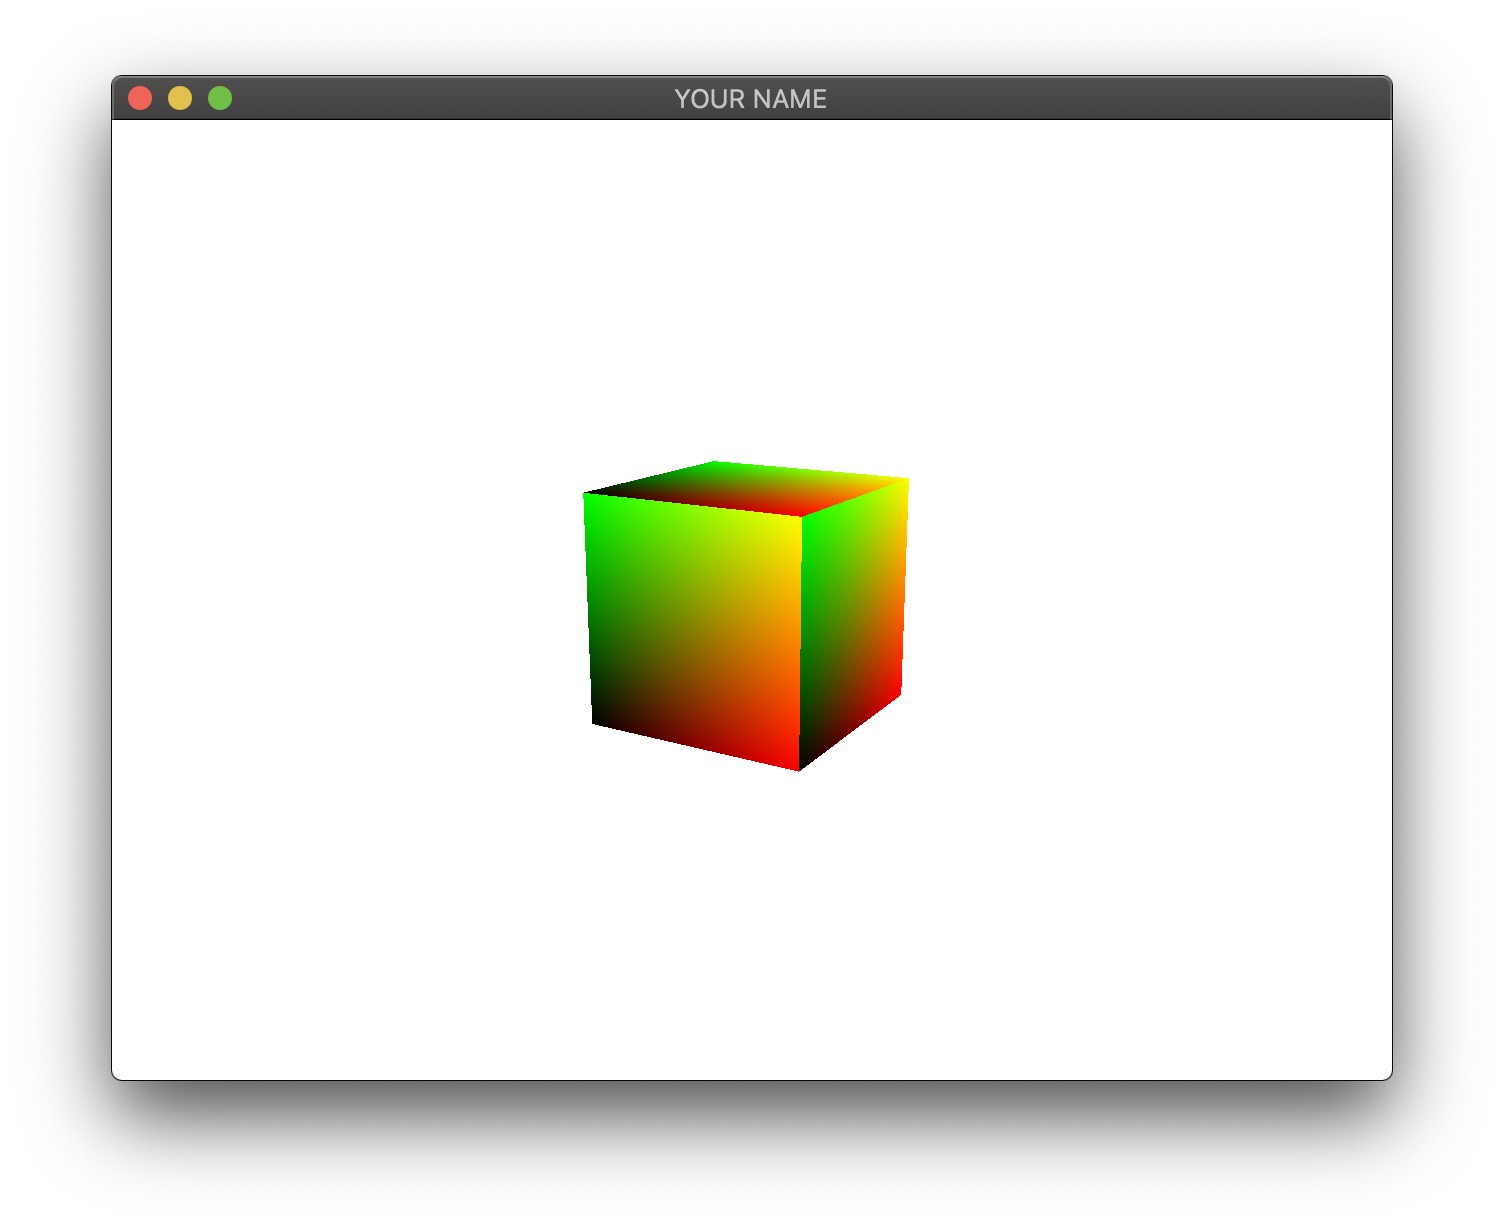
Take a look at the starter code. When you run the code, you will see a red/green cube. This initial task simply involves copying and pasting code from this page into the starter code, but please take your time to understand what is happening under the hood.

Currently, the render function is only using the second pass to render the cube. If you take a look at pass2_frag.glsl, you’ll see that the fragment color is set using the texture coordinates. Ultimately, we want to use the textures created in the first pass to set this fragment color.
This requires some non-trivial setup before we can see any useful output. First, create the following global variables in main.cpp:
int textureWidth = 640;
int textureHeight = 480;
GLuint framebufferID;
GLuint textureA;
GLuint textureB;
These variables will be used to set up the output of the first pass. We want the resulting texture to be 640 by 480. (We’re using this relatively small size to match the window size in A6.) The two textures will be called textureA and textureB. The framebuffer of the first pass will be referred to as frameBufferID.
Go to the last part of init() to set up the offscreen framebuffer for the first pass. First, we generate and bind the framebuffer. From this point on, until we call glBindFramebuffer(GL_FRAMEBUFFER, 0);, OpenGL state changes will be happening for this offscreen framebuffer.
glGenFramebuffers(1, &framebufferID);
glBindFramebuffer(GL_FRAMEBUFFER, framebufferID);
Next, we create textureA as the first output of the offscreen framebuffer.
glGenTextures(1, &textureA);
glBindTexture(GL_TEXTURE_2D, textureA);
glTexImage2D(GL_TEXTURE_2D, 0, GL_RGBA8, textureWidth, textureHeight, 0, GL_RGBA, GL_FLOAT, NULL);
glTexParameterf(GL_TEXTURE_2D, GL_TEXTURE_WRAP_S, GL_CLAMP_TO_EDGE);
glTexParameterf(GL_TEXTURE_2D, GL_TEXTURE_WRAP_T, GL_CLAMP_TO_EDGE);
glTexParameterf(GL_TEXTURE_2D, GL_TEXTURE_MAG_FILTER, GL_LINEAR);
glTexParameterf(GL_TEXTURE_2D, GL_TEXTURE_MIN_FILTER, GL_LINEAR);
glFramebufferTexture2D(GL_FRAMEBUFFER, GL_COLOR_ATTACHMENT0, GL_TEXTURE_2D, textureA, 0);
To set up the other texture as the second output of the offscreen framebuffer, repeat the above code, replacing textureA with textureB. Use GL_COLOR_ATTACHMENT1 in the last line.
Since we want depth tests to happen in Pass 1, we also bind the depth buffer. Add the following code after setting up textures A and B.
GLuint depthrenderbuffer;
glGenRenderbuffers(1, &depthrenderbuffer);
glBindRenderbuffer(GL_RENDERBUFFER, depthrenderbuffer);
glRenderbufferStorage(GL_RENDERBUFFER, GL_DEPTH_COMPONENT, textureWidth, textureHeight);
glFramebufferRenderbuffer(GL_FRAMEBUFFER, GL_DEPTH_ATTACHMENT, GL_RENDERBUFFER, depthrenderbuffer);
We now tell OpenGL that we want two textures as the output of this framebuffer.
GLenum attachments[] = {GL_COLOR_ATTACHMENT0, GL_COLOR_ATTACHMENT1};
glDrawBuffers(2, attachments);
After all of this setup, we should make sure that we did everything OK.
if(glCheckFramebufferStatus(GL_FRAMEBUFFER) != GL_FRAMEBUFFER_COMPLETE) {
    cerr << "Framebuffer is not ok" << endl;
}
Finally, we set the OpenGL state back to the default, onscreen framebuffer.
glBindFramebuffer(GL_FRAMEBUFFER, 0);Now we move on to setting up Pass 2. In init(), after the creation of progPass2, add the following:
progPass2->addUniform("textureA");
progPass2->addUniform("textureB");
progPass2->bind();
glUniform1i(progPass2->getUniform("textureA"), 0);
glUniform1i(progPass2->getUniform("textureB"), 1);
progPass2->unbind();
This means that we’ll be using texture unit \(0\) for one texture and unit \(1\) for the other texture. We call these glUniform functions here because we don’t ever change these settings after this point. In the render function, we need to activate these texture units and bind the appropriate textures:
glActiveTexture(GL_TEXTURE0);
glBindTexture(GL_TEXTURE_2D, textureA);
glActiveTexture(GL_TEXTURE1);
glBindTexture(GL_TEXTURE_2D, textureB);
shape2->draw(progPass2);
glActiveTexture(GL_TEXTURE0);
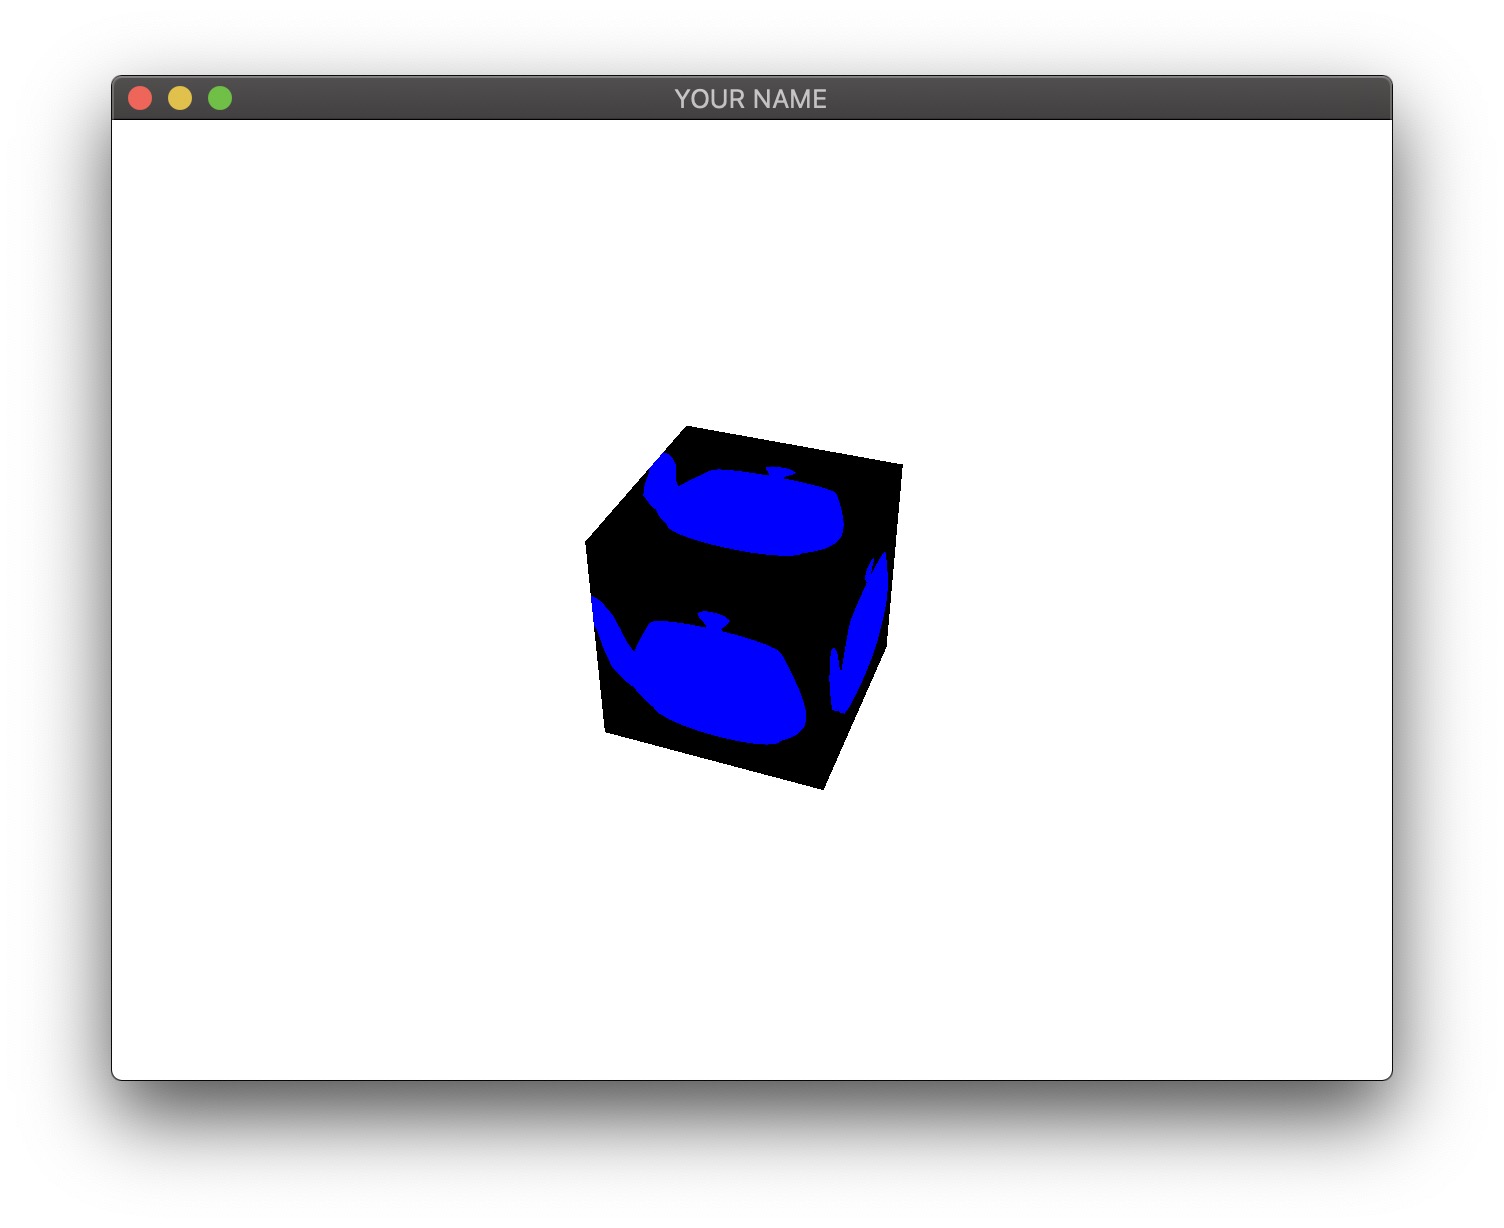
Also add the corresponding uniform variables textureA and textureB to pass2_frag.glsl, where these textures will be used to color the cube. For example, the following would simply use textureA to color the cube.
uniform sampler2D textureA;
uniform sampler2D textureB;

...

void main()
{
    gl_FragColor.rgb = texture2D(textureA, vTex).rgb;
}
We’re almost done! We need to render the teapot to the offscreen framebuffer.
glBindFramebuffer(GL_FRAMEBUFFER, framebufferID);
glViewport(0, 0, textureWidth, textureHeight);
glClearColor(0.0f, 0.0f, 0.0f, 1.0f);
glEnable(GL_DEPTH_TEST);
glClear(GL_COLOR_BUFFER_BIT | GL_DEPTH_BUFFER_BIT);
progPass1->bind();
camera->setAspect(1.0f);
P->pushMatrix();
camera->applyProjectionMatrix(P);
MV->pushMatrix();
MV->translate(0.0, 0.0, -1.0);
glUniformMatrix4fv(progPass1->getUniform("P"), 1, GL_FALSE, value_ptr(P->topMatrix()));
glUniformMatrix4fv(progPass1->getUniform("MV"), 1, GL_FALSE, value_ptr(MV->topMatrix()));
shape1->draw(progPass1);
progPass1->unbind();
MV->popMatrix();
P->popMatrix();

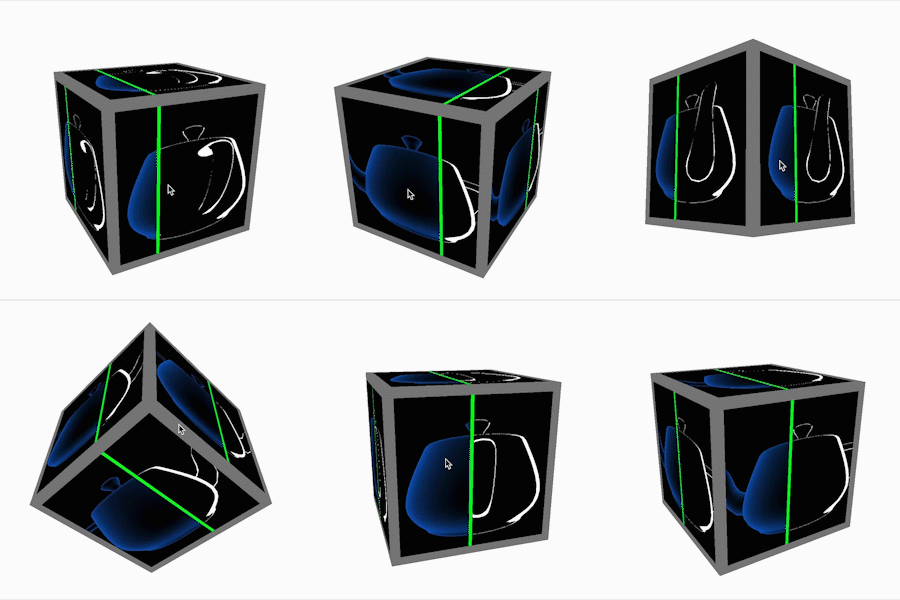
Modifying the two passes to get a result that looks like the images at the top of the page. Here is a video as well:

In the first pass, rather than writing red to gl_FragData[0] and blue to gl_FragData[1], write values that depend on the lighting and the normal. In my example code, I am writing a Phong-like color and a silhouette color. In the second pass, combine these two textures in an interesting way. In my example code, I am sending in the current time as a uniform variable and switching between the two textures depending on the texture coordinates.