In this lab, we are going to implement Phong shading in the fragment shader. This is also known as per-pixel lighting, as opposed to per-vertex lighting from the last lab.
Please download the code for the lab and go over the code.
We’ll be mainly editing the two GLSL files.
Before we can start computing the necessary values for Phong shading, we need to make sure that the input vectors and points are in the same coordinate space. The positions and normals are passed into the vertex shader in object space. These quantities are then multiplied by the modelview matrix, which transforms them into camera space (model transform followed by view transform). Then they are transformed by the projection matrix into the canonical view volume, defined to be between \(-1\) and \(1\) in x, y, and z. We will be doing all of our lighting calculations in camera space. This is convenient, because then, the position of the camera is \((0, 0, 0)\).
Currently, there is a varying parameter called color in the shaders, hard coded to be grey. Remove this variable from both shaders, since we will be computing the color in the fragment shader. Create two varying variables for the vertex position and normal in camera space. You’ll have to modify both shaders to do this. Remember, a varying variable is the output of the vertex shader and the input of the fragment shader. OpenGL automatically interpolates these varying parameters for each fragment (pixel) using barycentric coordinates. In the fragment shader, set the final color to be the normal in camera space with the following:
vec3 n = normalize(normal);
vec3 color = 0.5 * (n + 1.0);
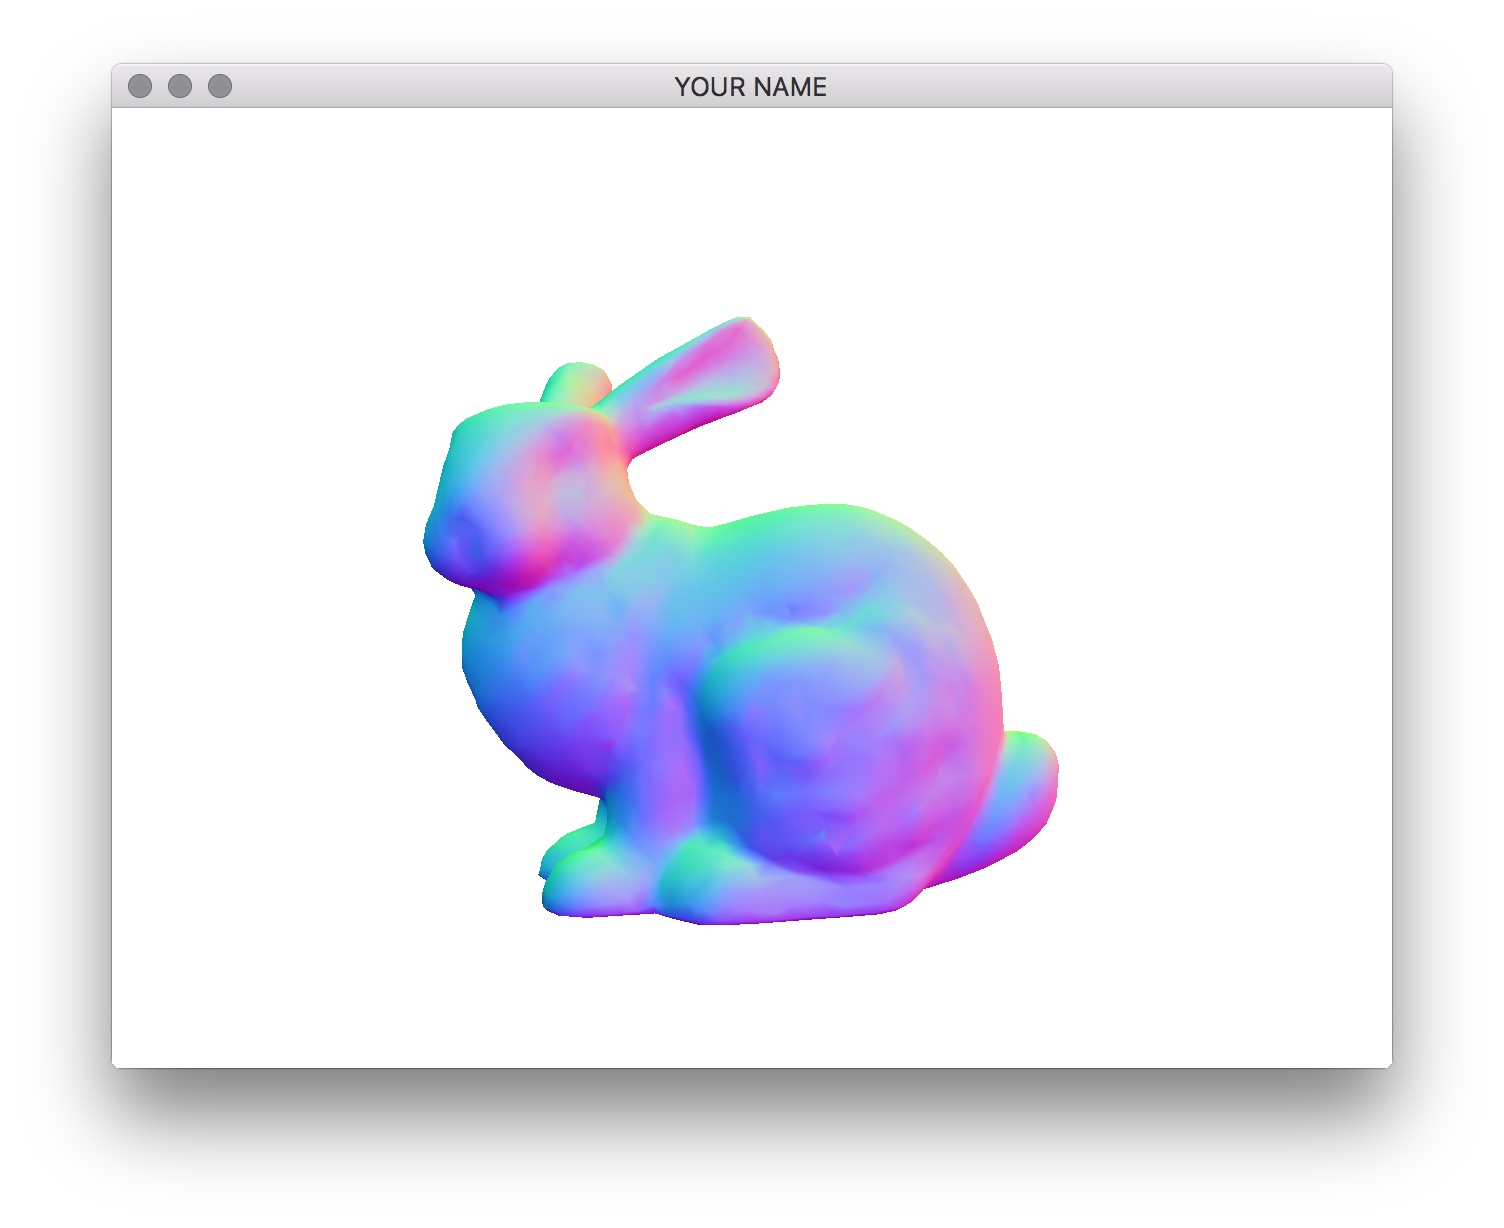
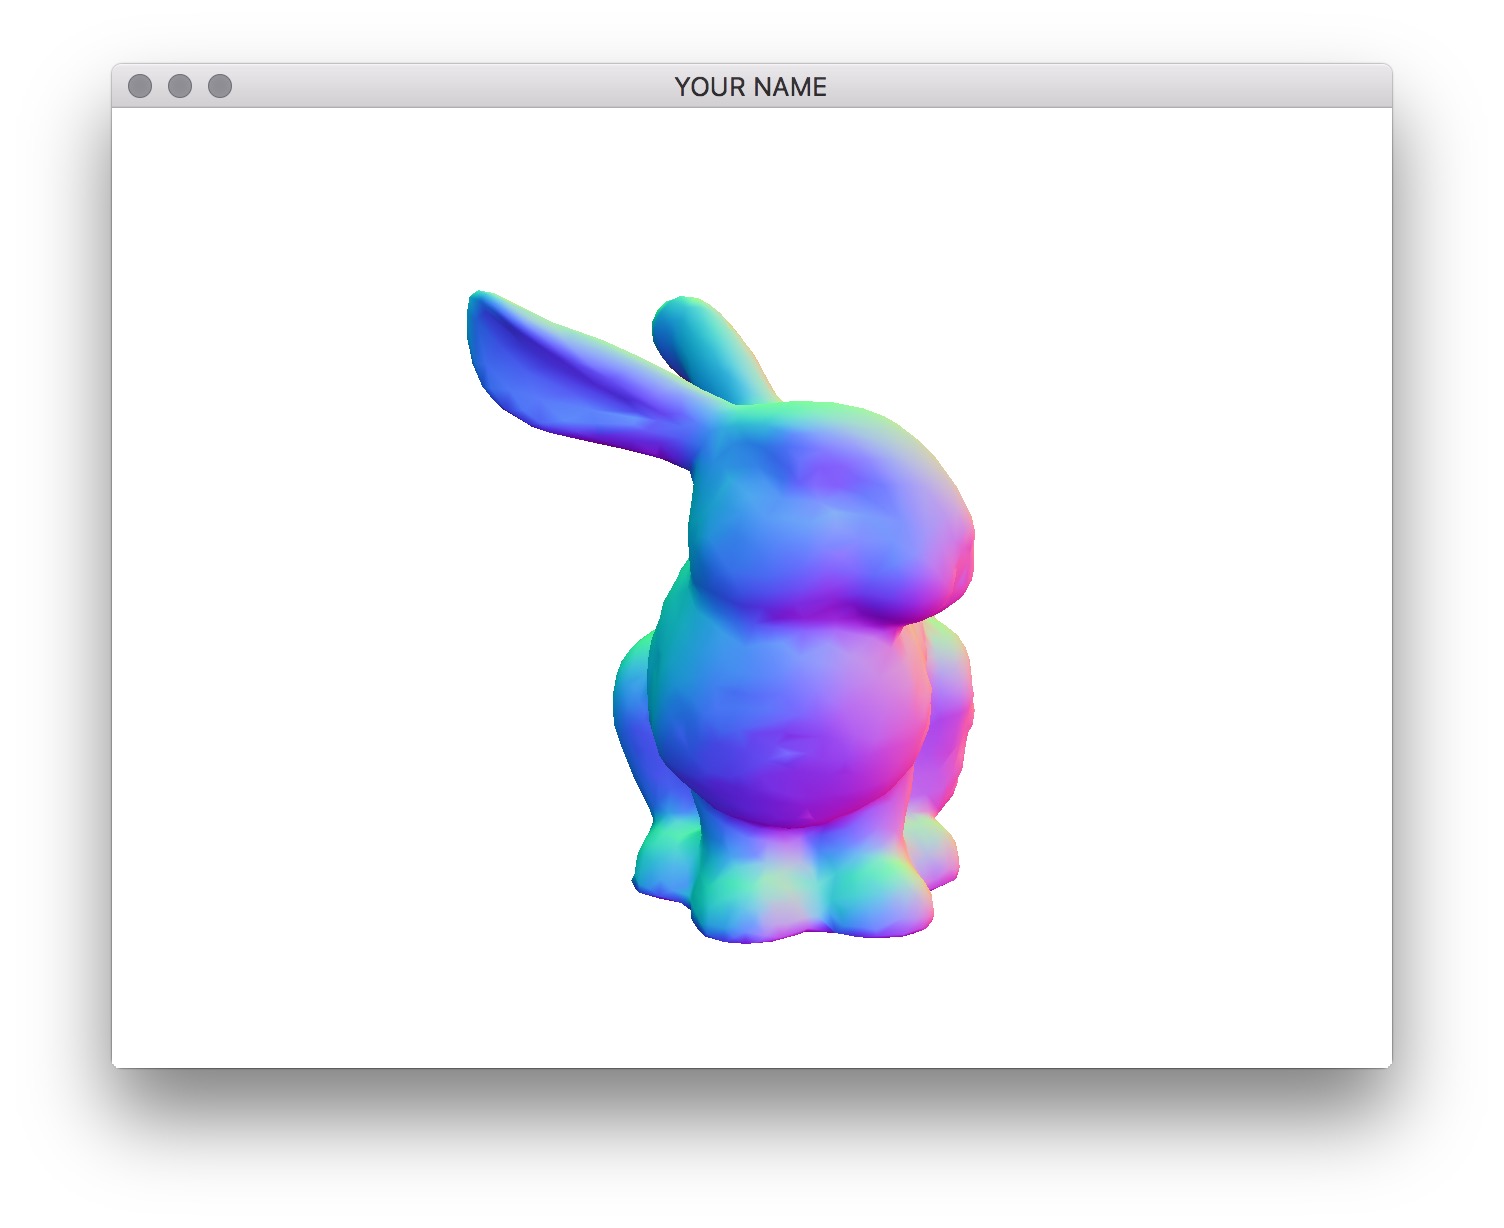
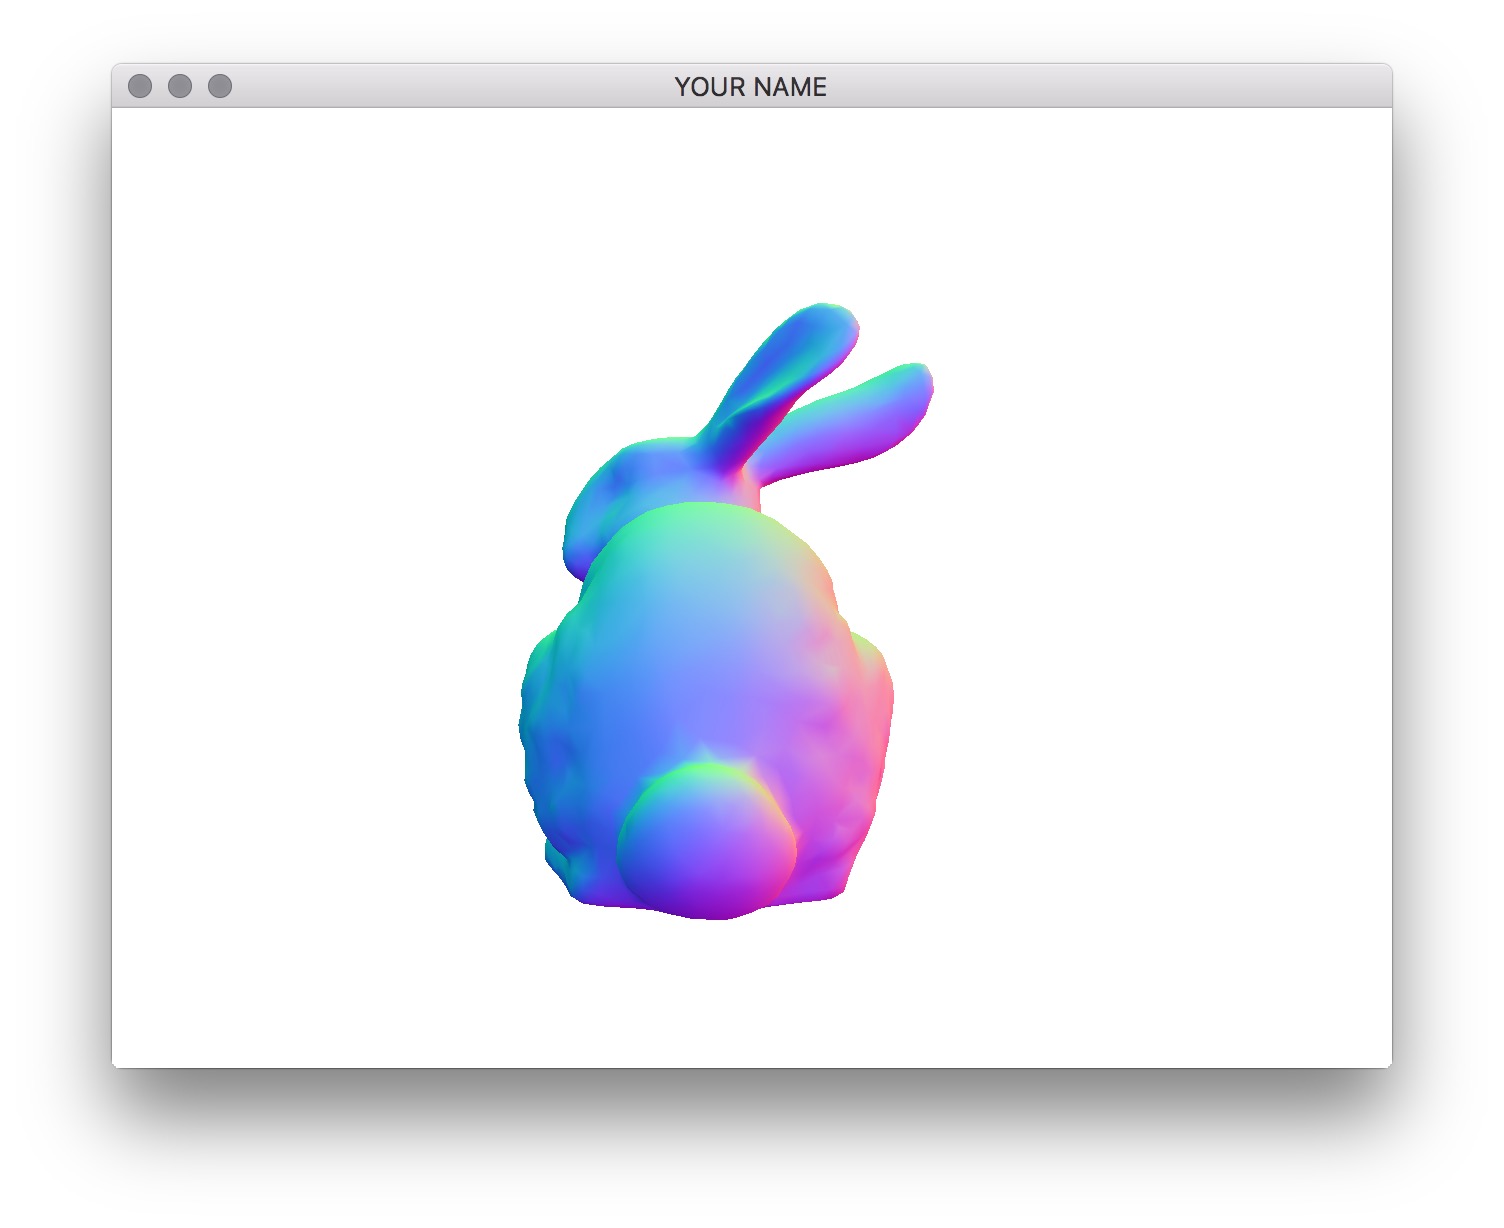
gl_FragColor = vec4(color.r, color.g, color.b, 1.0);Here, normal refers to the camera space normal you computed. We need to normalize this quantity, since barycentric interpolation makes interpolated vectors at the fragments shorter than their values at the vertices. The 2nd line above maps the normal from the range \((-1, 1)\) to \((0, 1)\). (This line is only used to map a normal to be a valid color. You don’t need this line later.) If the normals are computed properly, you should get something like the images below.
Because we’re using camera space normals to set the color, the parts of the bunny that is facing the right side as seen from the camera should be red, no matter how you rotate the scene. If the color seems to be “stuck” to the bunny, then the normal is still in object space.
NOTE: Read the “Debugging OpenGL & GLSL” section in Assignment 2.
Now we’re ready to do the actual lighting computation. Recall that in Phong shading, there are three components: ambient, diffuse, and specular. We’re not going to do attenuation (division by \(r^2\)) in this lab.
\[ c = c_A + c_D + c_S. \]
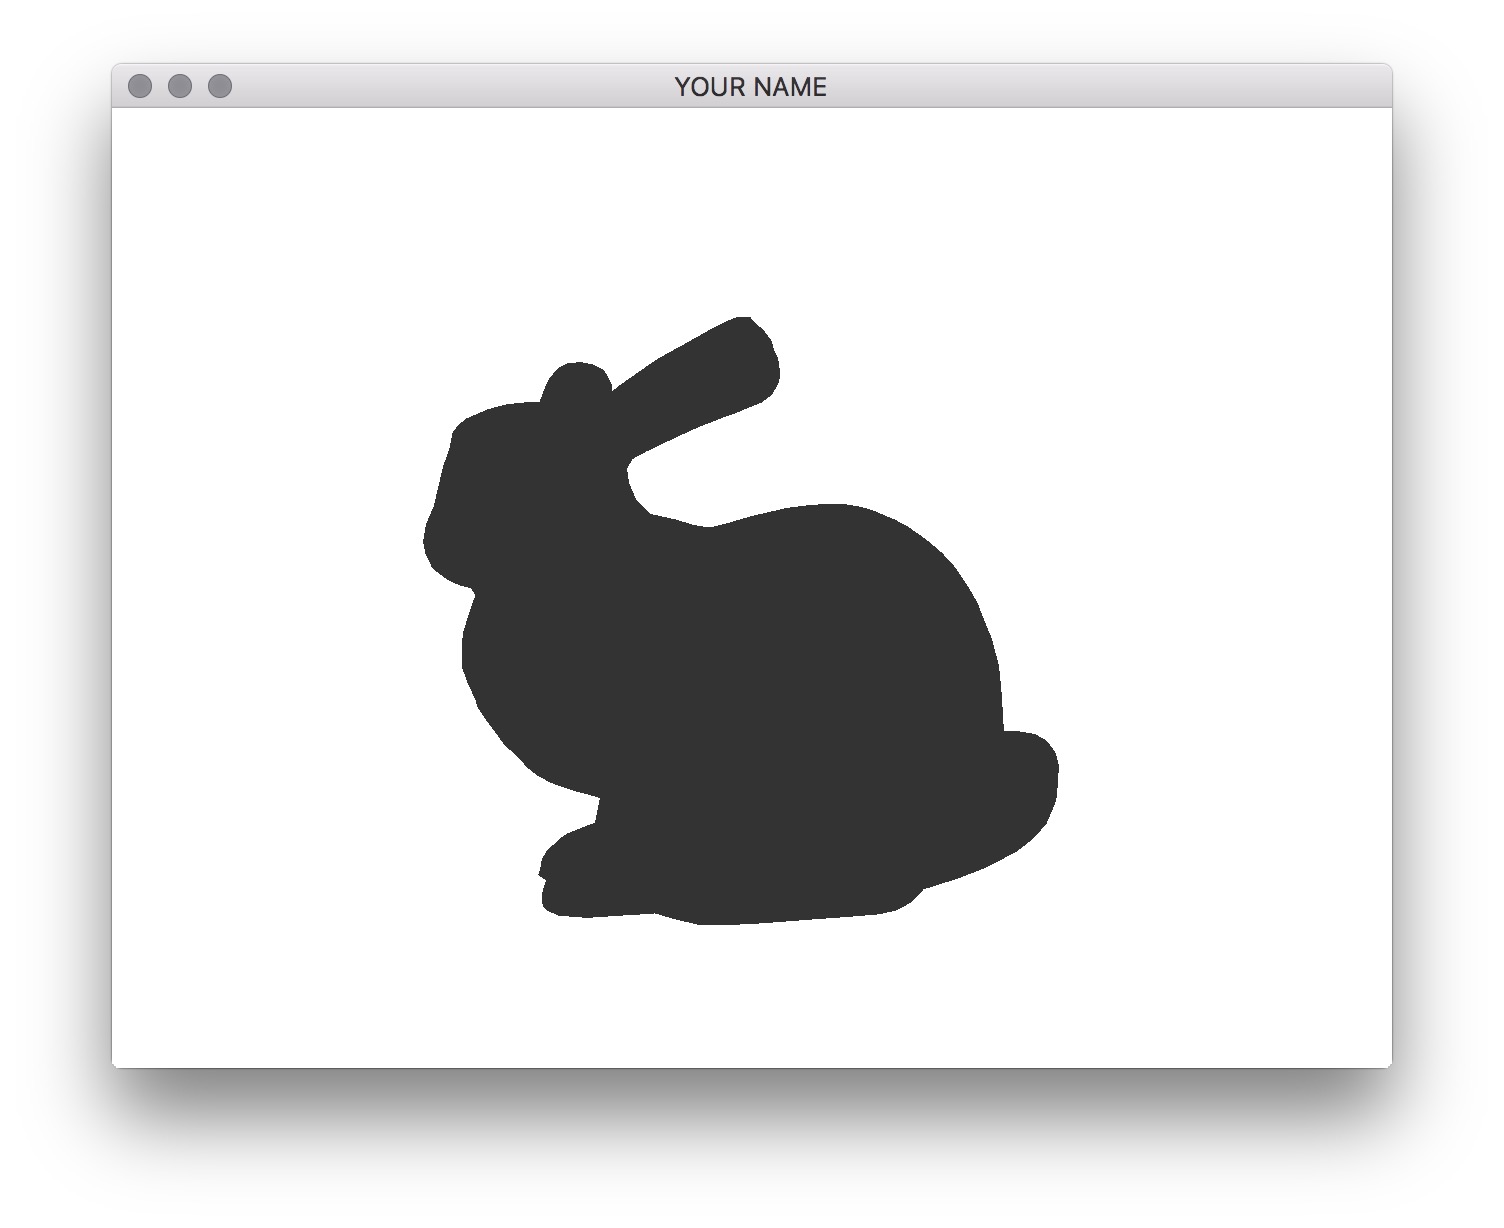
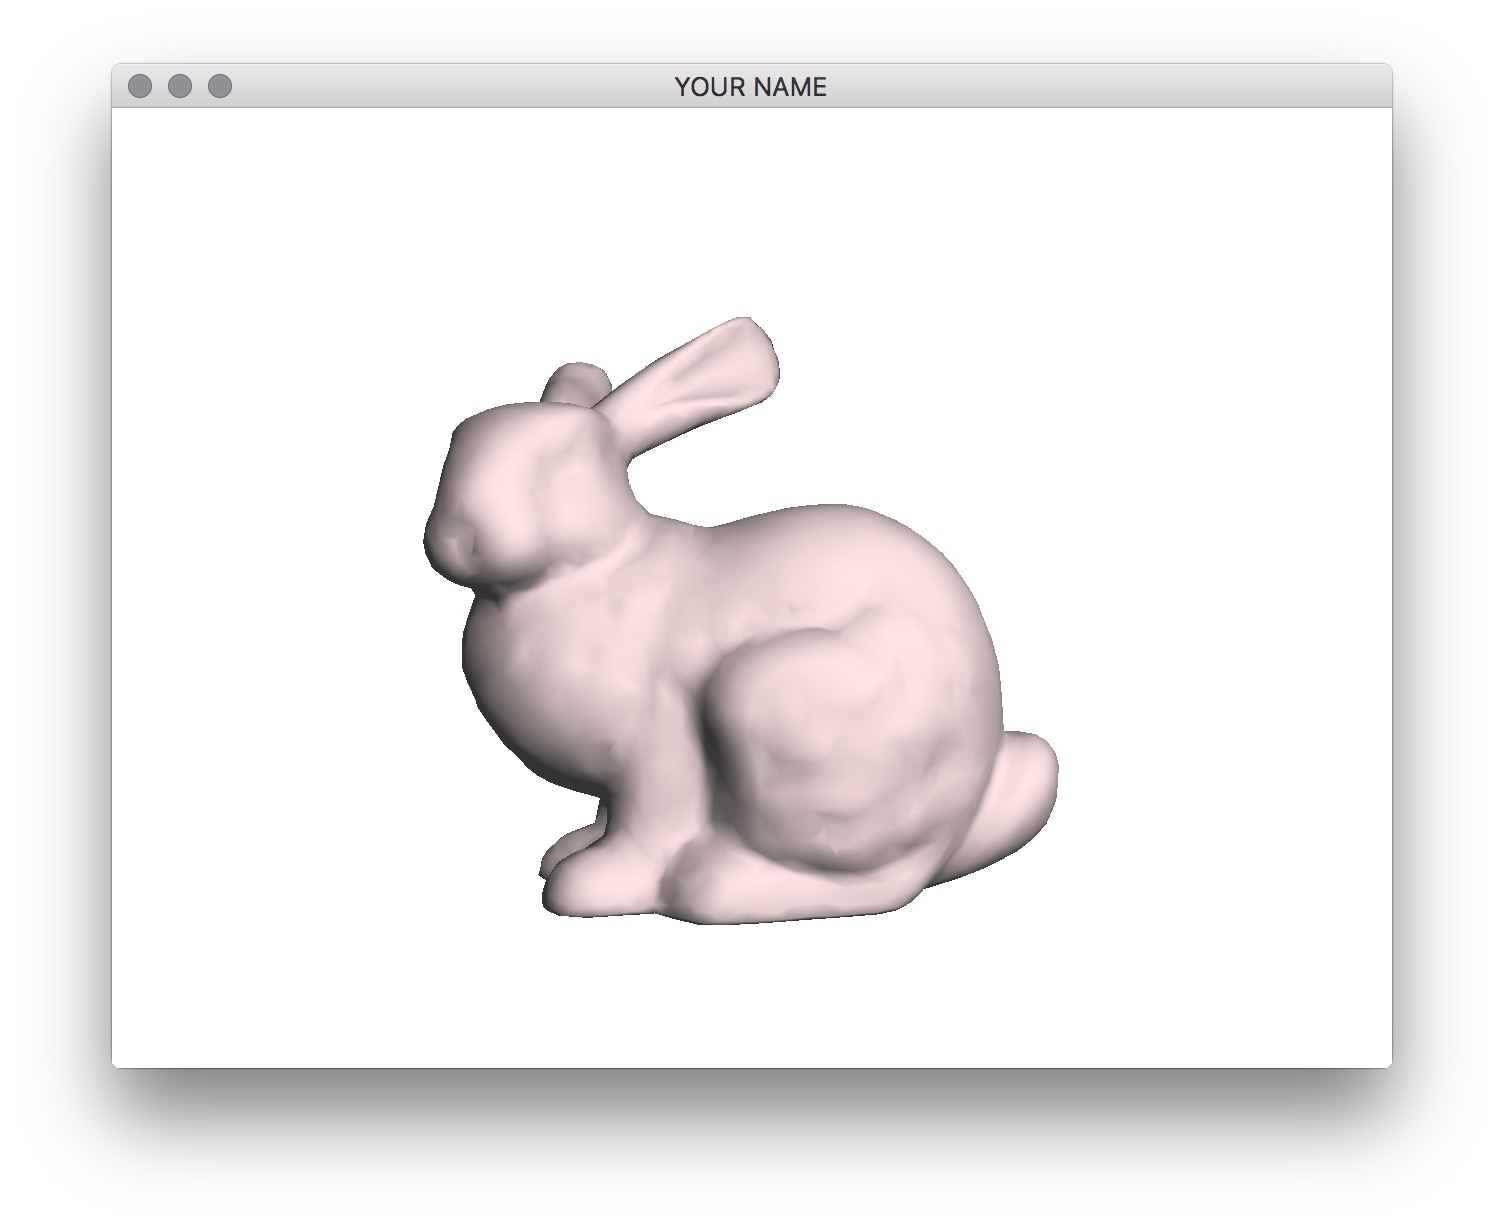
The equation above should be used for red, blue and green channels separately. The ambient color is simply a global color that is added to model the contribution of the light from the general environment. In main.cpp, change the value of the uniform variable for ambient color to \((0.2, 0.2, 0.2)\). In the fragment shader, set the final color to be just the ambient color. You should get a flat looking bunny as shown in the figure.
Next, add the diffuse component. The equation is
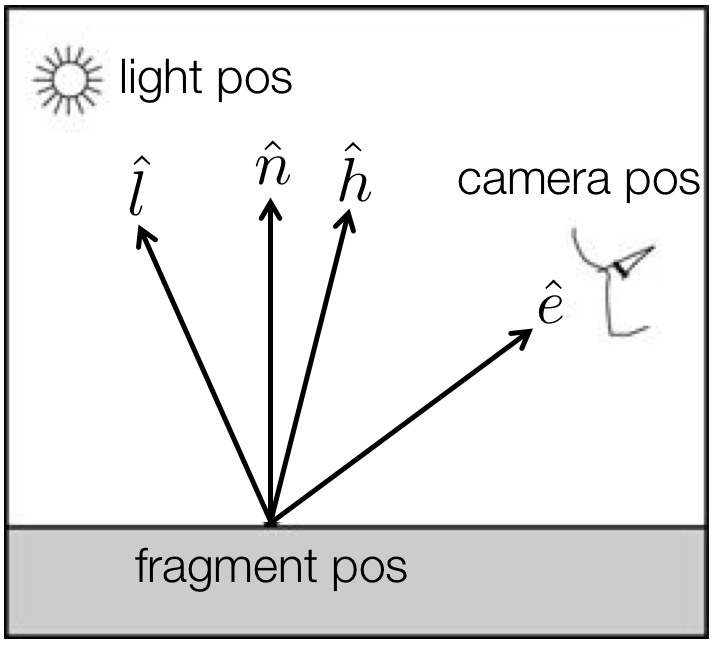
\[ c_D = k_D \, \max \big( 0, \text{dot}(\hat{l}, \hat{n}) \big), \]
where \(\hat{n}\) is the normalized normal vector from Task 1, and \(\hat{l}\) is the light vector. See the figure below. Both of these vectors must be in camera space. To compute these vectors, you need to use the light position (in camera space!), the camera position (in camera space!), and the fragment position (in camera space!). HINT: where is the camera in camera space?
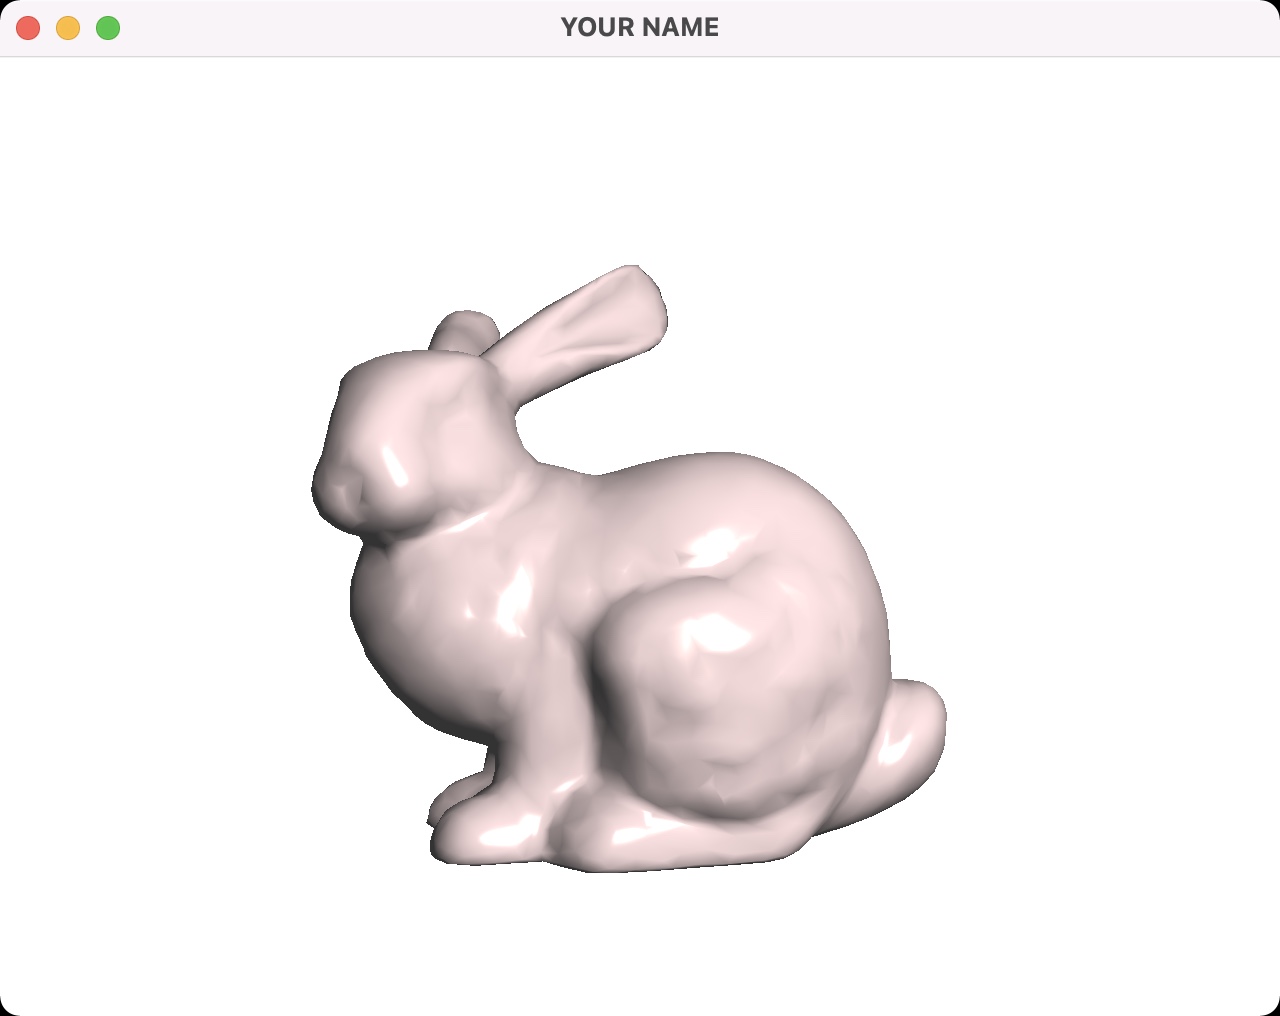
Set the diffuse color of the material, \(k_D\), to be \((0.8, 0.7, 0.7)\) in main.cpp. The light position should be set to \((1.0, 1.0, 1.0)\). (Note: this is interpreted as being in camera coordinates.) To compute the light vector, you need to use both the light position and the interpolated fragment position. Make sure the light vector is normalized. With the diffuse component added, you should see a non-shiny bunny as shown in the figure below.
Finally, we’ll add the specular component. The equation is
\[ c_S = k_S \, \text{pow} \Big( \max \big( 0, \text{dot}(\hat{h}, \hat{n}) \big), s \Big), \]
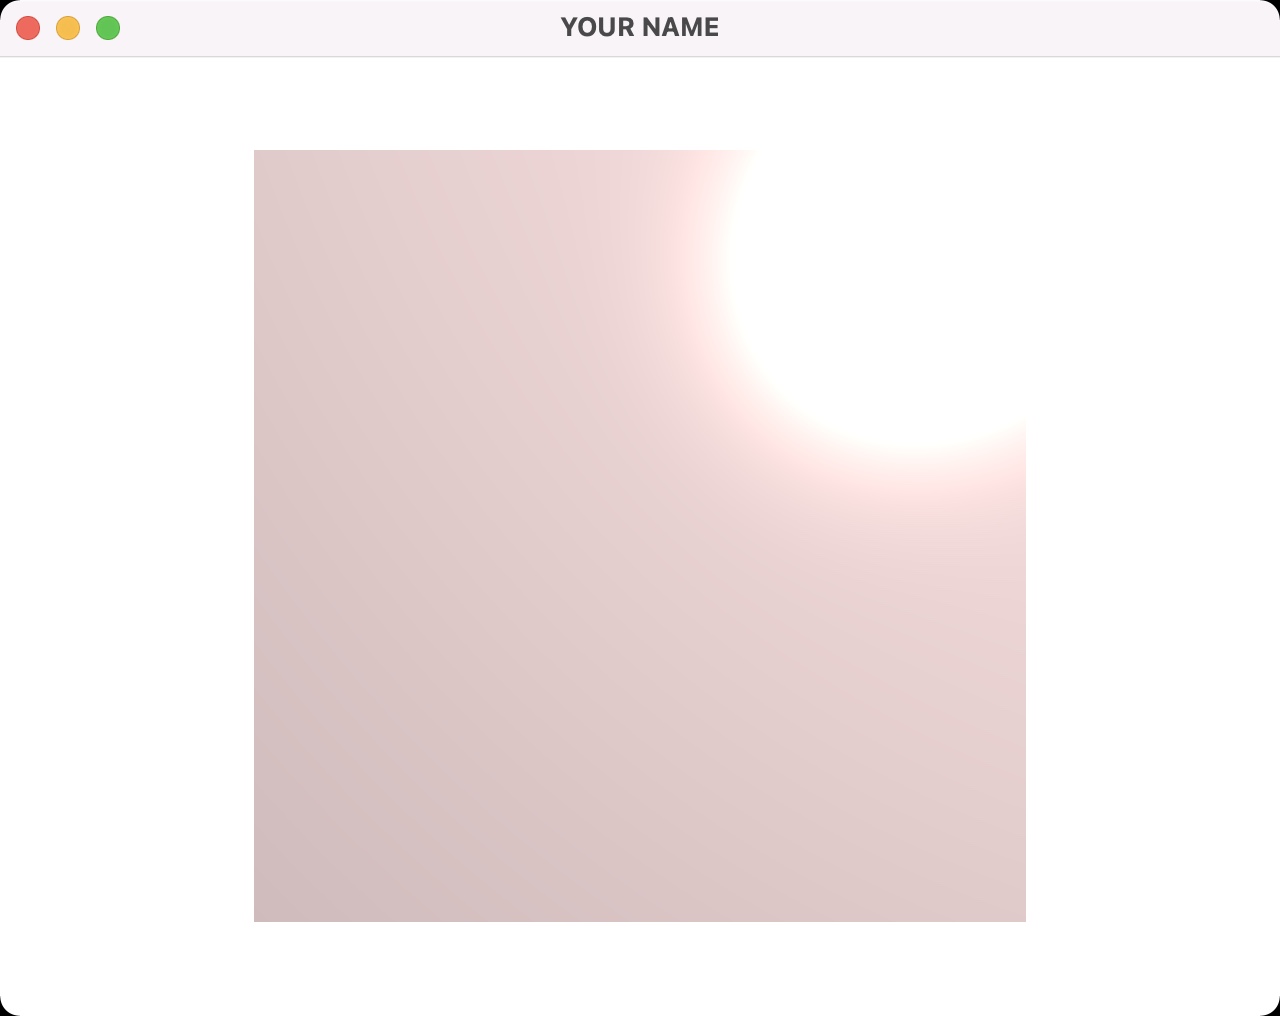
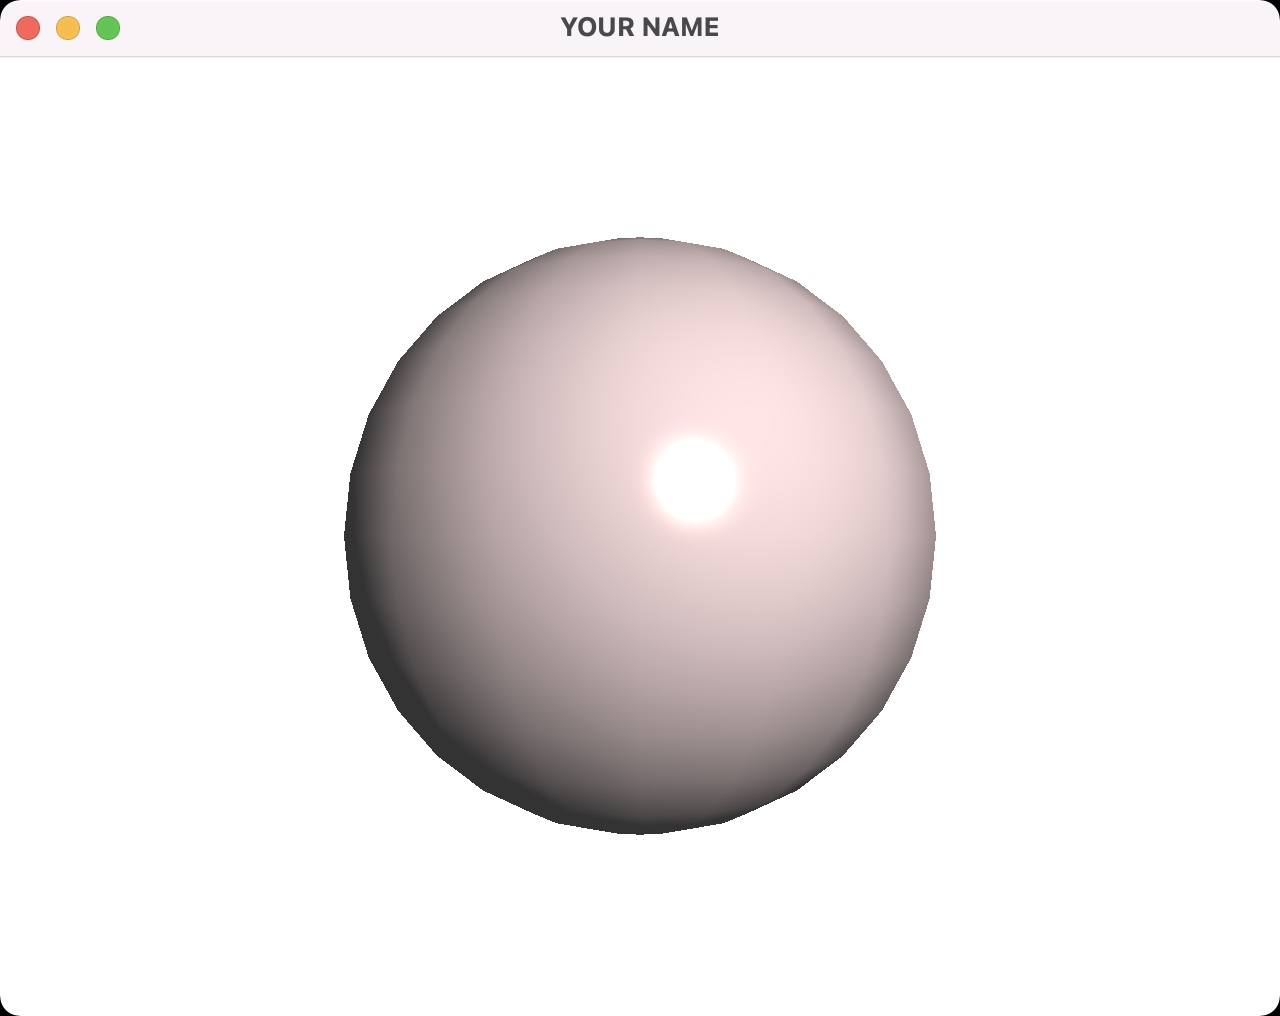
where \(s\) is the shininess factor, and \(k_S\) is the specular color of the material. Set these values to \(200\) and \((1.0, 0.9, 0.8)\) respectively. The vector \(\hat{h}\) is the halfway vector between the eye vector and the light vector. (This is the Blinn variation of Phong shading.) You can compute this vector from the light and eye vectors using an addition and a normalization. To test, load cube.obj and make sure you get exactly the result shown here. There should be a bright specular circle that covers the top right corner. Also test with sphere2.obj.