
Due Wednesday 2/26 at 11:59 pm. You must work individually.
Integrate the various concepts learned in the lectures and create a program that can color the mesh with various materials, lights, and shaders.
Complete Lab 7. Make sure you can get the cube to render exactly as shown in the lab.
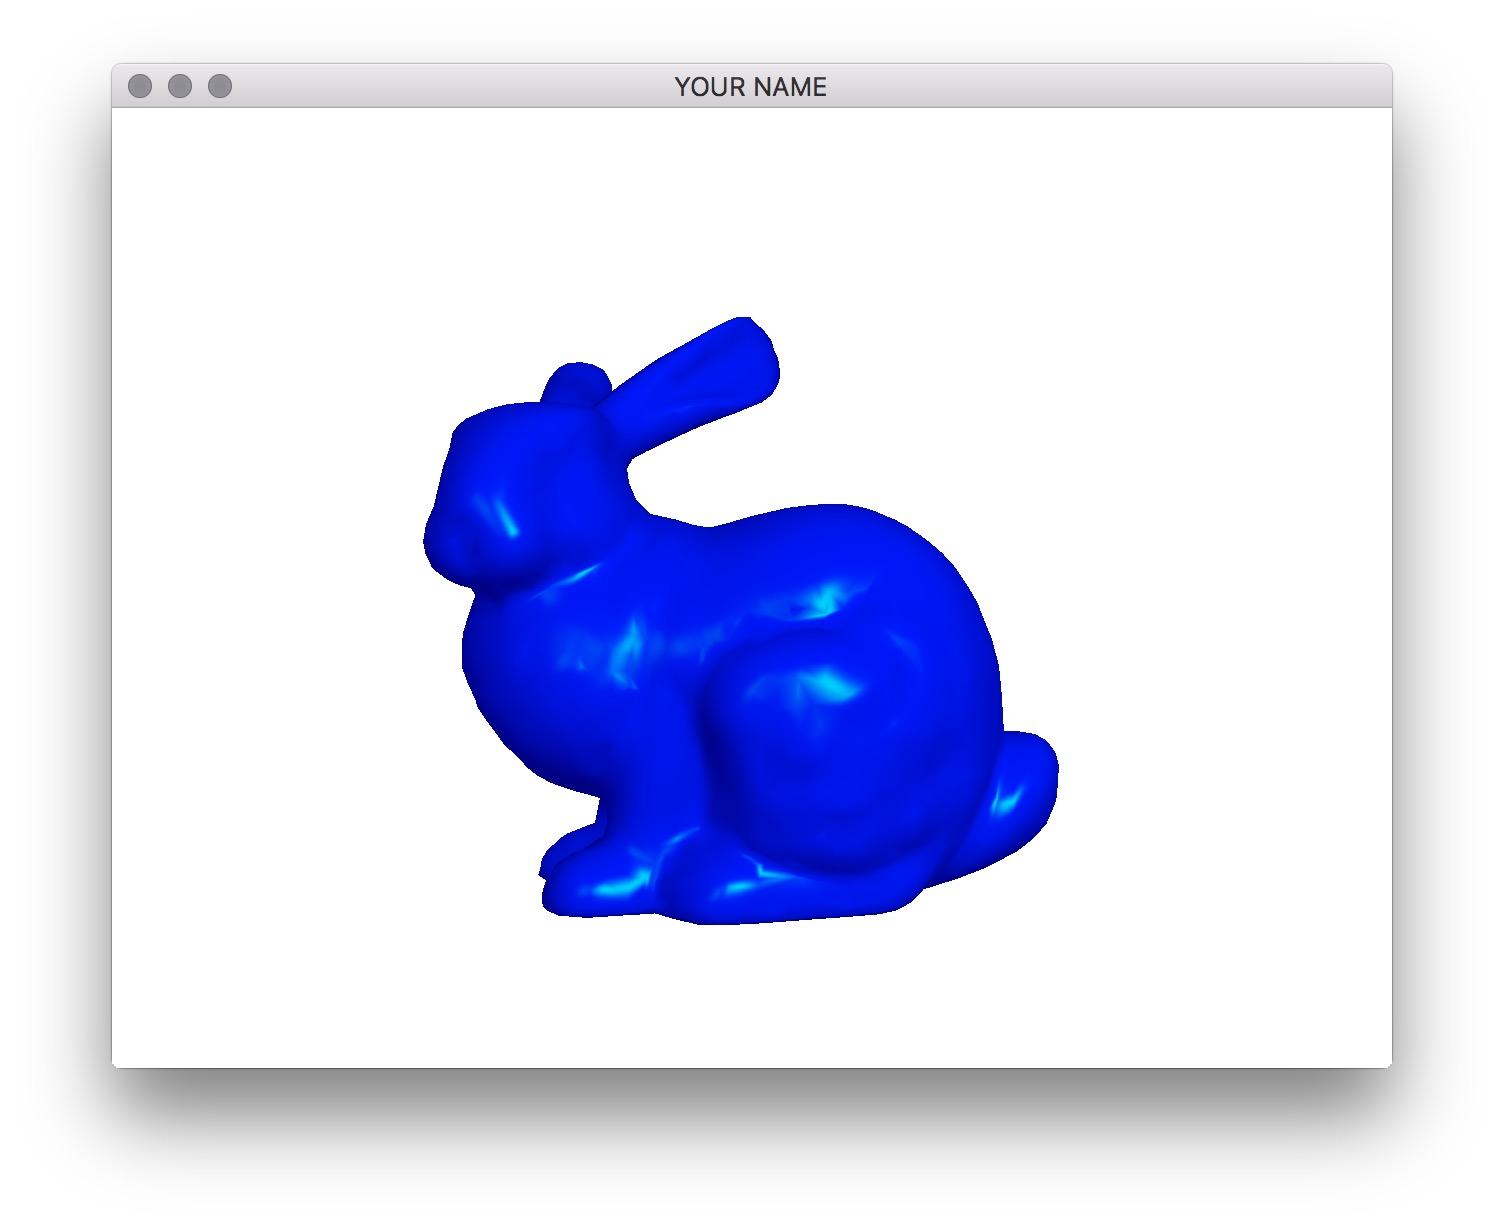
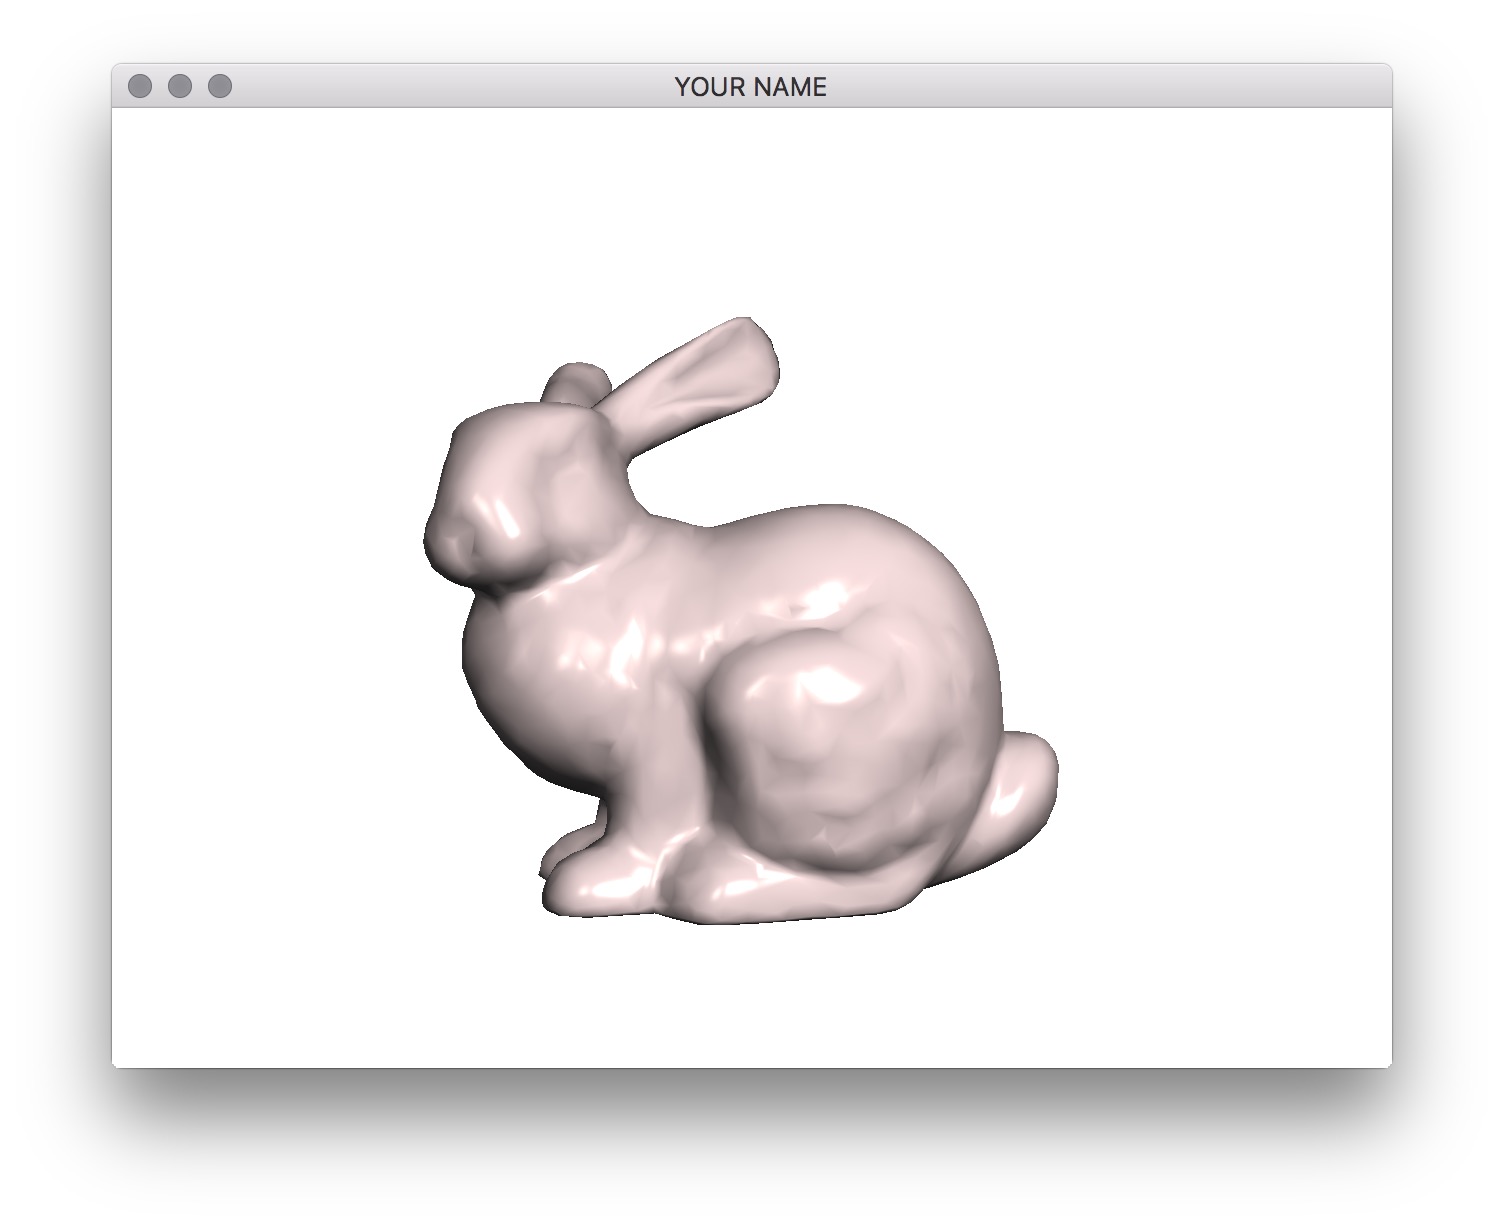
Then, create three materials and add keyboard hooks to cycle through them using the m/M keys. You should create a Material class for this. The three materials should roughly look like the following.
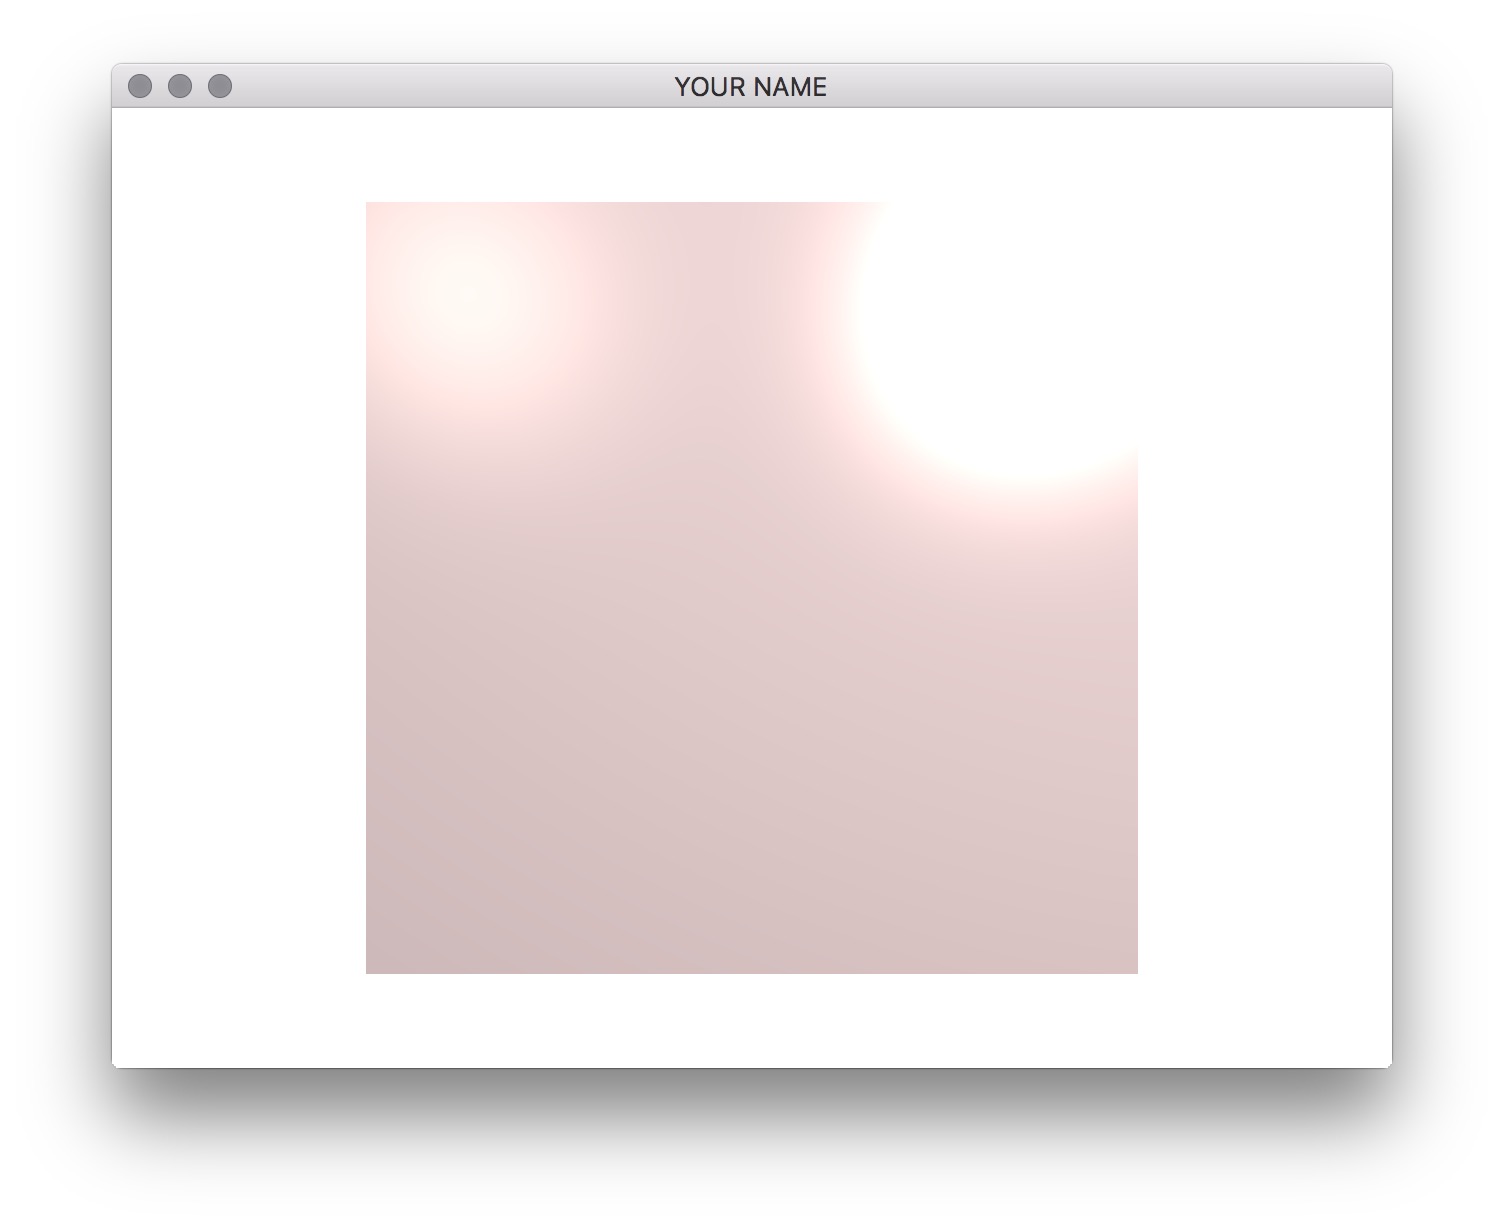
In these examples, the light is set at (1, 1, 1) in camera space. The first material should be blue with green highlights. The second material should be grayish with low shininess. The third material should be pinkish with very strong highlights. You don’t need to match the 1st and 2nd colors exactly to the images, but the 3rd one must be exactly the same as the Lab 7. (See the bottom of Lab 7 for the values.) As before, we’re not going to do attenuation in this assignment.
Add an extra light to the Phong shader. You should create a Light class for this. The final fragment color is going to be a simple sum over the lights. Since our light is going to have no color (R=G=B), we can use the following formula.
\[ c = \sum_{i=1}^n c_L (c_{Ai} + c_{Di} + c_{Si}), \]
where \(c_L\) is the scalar intensity of the ith light. Use these values for the light positions and intensities:
Add keyboard hooks so that you can move the lights. Use the keys l/L (lower and upper L) to cycle through the lights, and the keys x/X and y/Y to move the selected light in the -X, +X, -Y, and +Y directions respectively. Test your program with cube.obj. (Add a commandline argument for the input obj file.) When you load the program, before you move the mouse, you should get exactly the figure shown here — the stronger light to right and a weaker light to the left. Make sure the materials are exactly the same as from the lab.
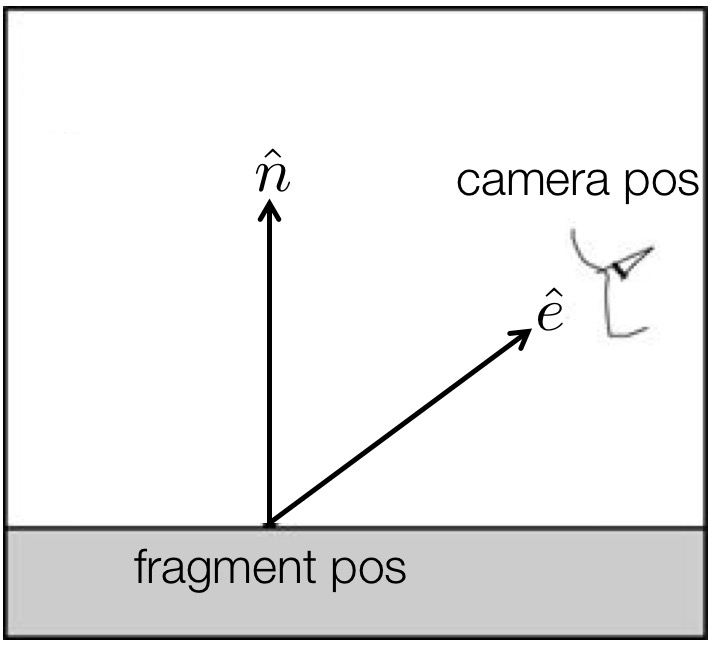
Create a silhouette shader. This shader should color all fragments white, except for those fragments whose normals form a right angle with the eye vector. Take the dot product of the normal and eye vectors and threshold the result. If the result is “close enough” to zero, then color that fragment black. Remember that both of these vectors need to be in the camera space. Use the s/S keys to cycle through the two shaders (Phong and Silhouette).
Make sure you create separate handles for the attribute and uniform parameters for each GLSL program you create. For example, the call
glGetAttribLocation(pid, "aPos")should be made for each pid you create. In other words, you need to call addAttribute(...) in each Program instance you create even if the attribute name is the same for the two programs. Ditto for uniform.
You should not use an if/switch statement in the vertex/fragment shader to toggle between Phong and Silhouette shaders. Even though this works fine, it is not the right way to do things. First, it adds an extra conditional in the fragment shader, which is executed for every single vertex or fragment, which is bad from an efficiency point of view. Second, this may work for a simple assignment, but in a bigger project with multiple objects, this will get ugly quickly. The proper way is to put the if/switch inside the CPP file. You should do something like this:
if(something) {
    glUseProgram(pid0);
} else {
    glUseProgram(pid1);
}
Of course, there are other ways to do this as well. The important thing is to not have the if/switch statement in your shaders for toggling between Phong/Silhouette. We want the shaders to be as simple as efficient as possible, since they are run for each vertex and fragment.
Also, be sure to send in only the uniform variables that are needed for the currently bound program. If you set verbose to true, then you’ll see warnings if you try to send in uniform variables that do not exist in the currently bound program.
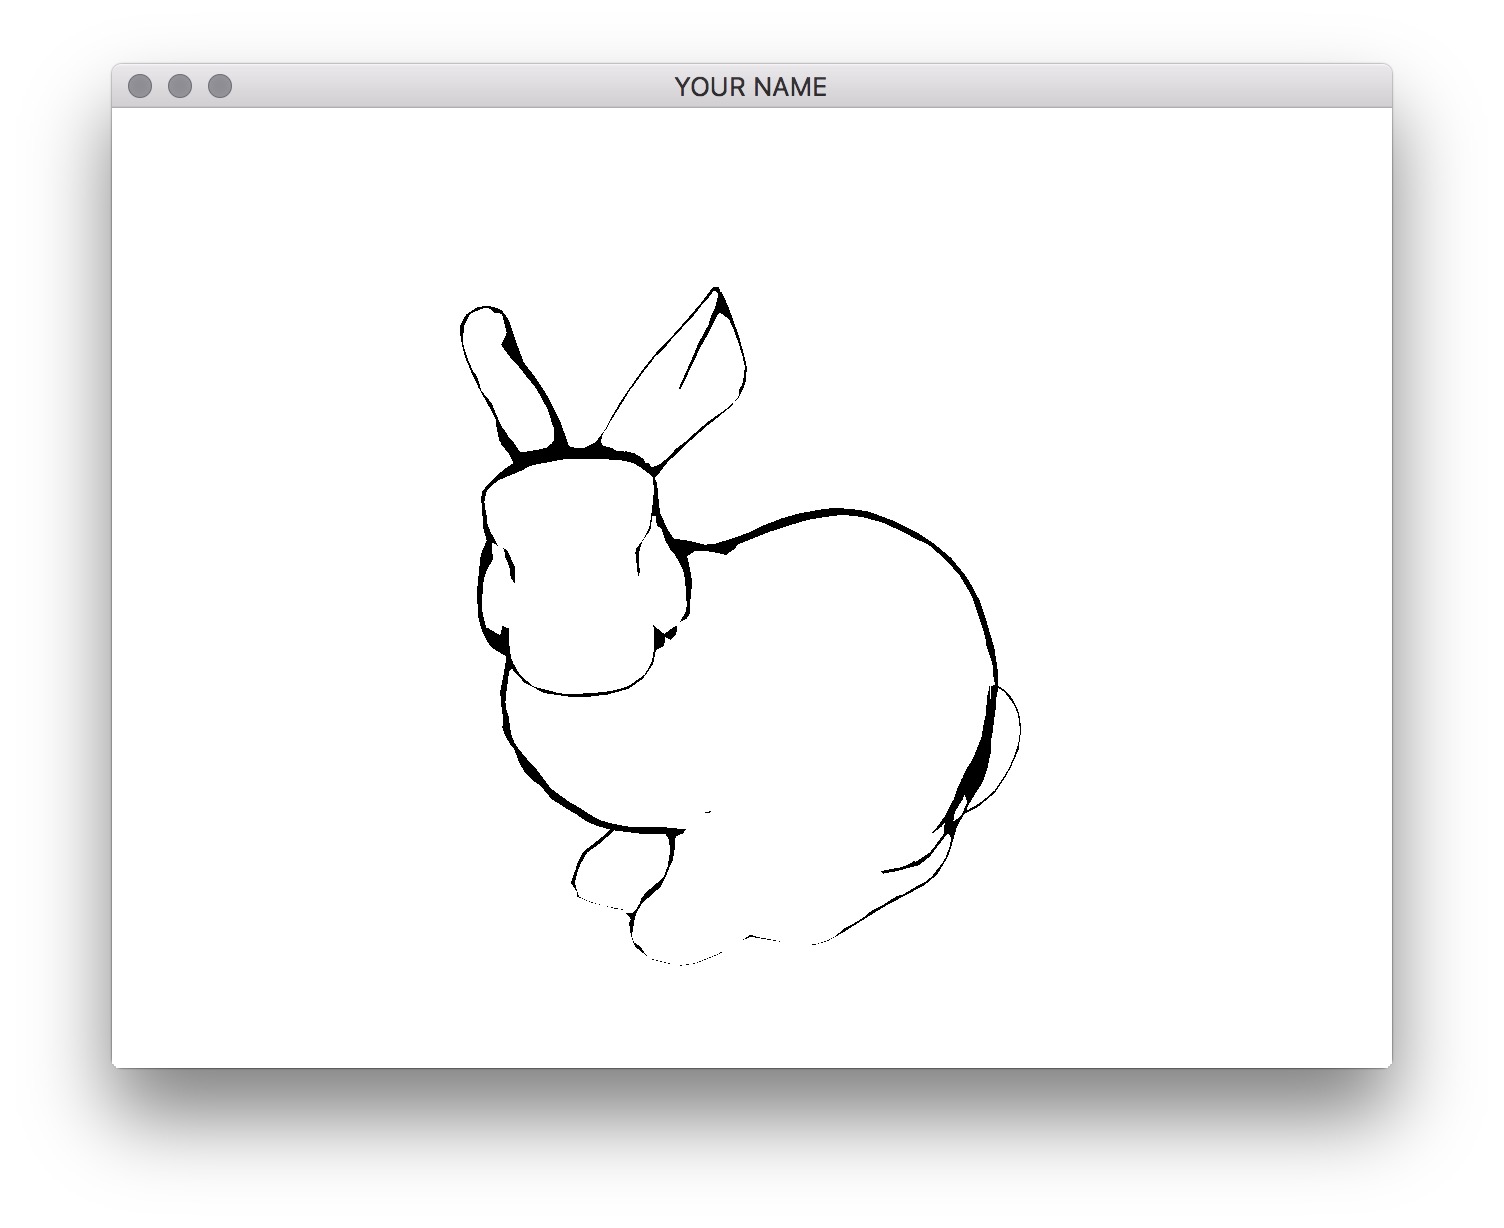
Note: The silhouette shader does not work well for the cube because it has sharp edges. Test your code on the bunny.
Add a cel shader.
Set the Program class to be verbose by calling the setVerbose() function. If there is a GLSL compilation error, then you will see the error in the console. For example, if the varying variables of the vertex shader and the fragment shaders do not match up, it will tell you so. Make sure to set verbose to be false after debugging.
Use GLSL::checkError(GET_FILE_LINE); to find which OpenGL call caused an error. This function will assert if there were any OpenGL errors before getting to this line. You can use this to winnow down which OpenGL function is causing an error. For example, if you put this line at the top, the middle, and the bottom of your function, and if the assertion happens in the middle, you know that the error must be happening in the top half of your function. Once find exactly which OpenGL call is causing the error, you can Google the OpenGL function to figure out what caused the error. For example, maybe one of the arguments should not have been zero or null.
Your program will be tested using both the bunny and the cube.
Total: 105 points
Failing to follow these points may decrease your “general execution” score. Make sure that your code compiles and runs by typing, for example:
> mkdir build
> cd build
> cmake ..
> make
> ./A3 ../resources ../resources/bunny.objsrc/, resources/, CMakeLists.txt, and your readme file. The resources folder should contain any input obj files.(*.~), or object files (*.o).USERNAME.zip (e.g., sueda.zip). The zip file should extract everything into a folder named USERNAME/ (e.g. sueda/).
src/, resources/, CMakeLists.txt, and your README file to the current directory.