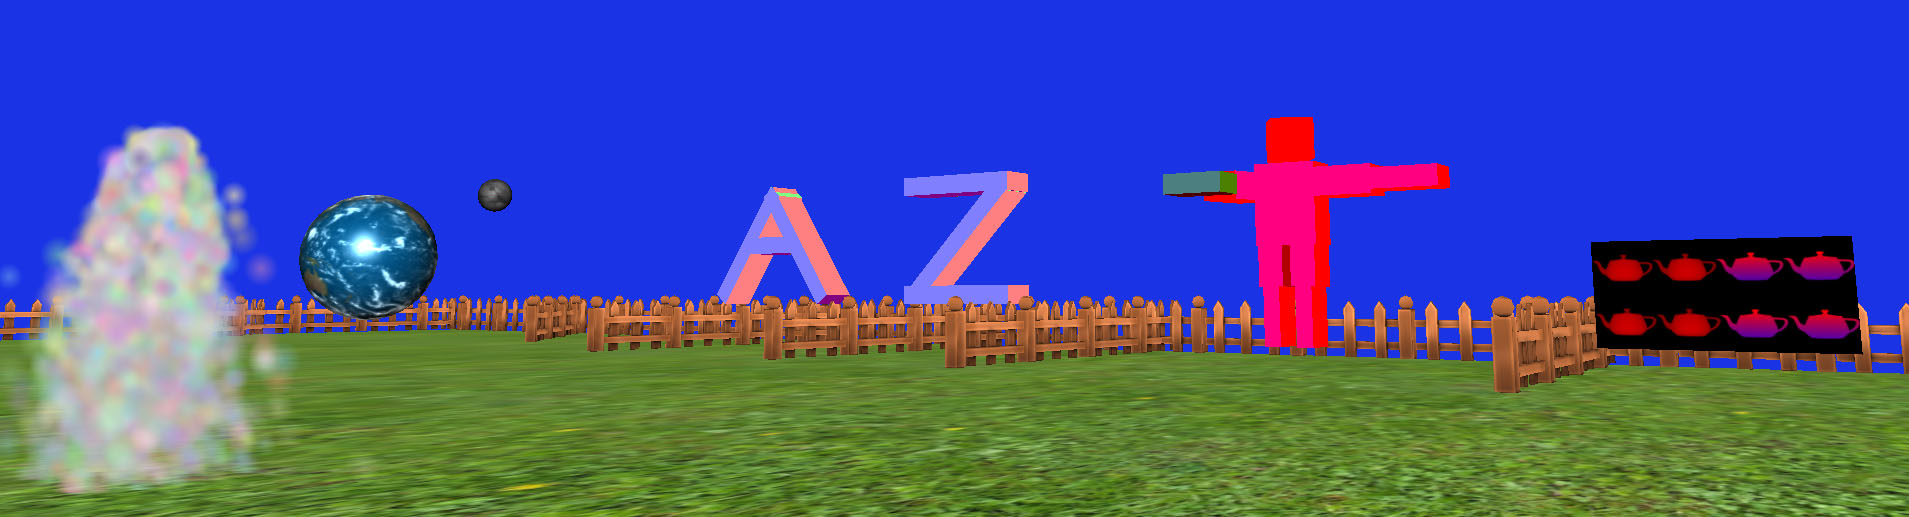
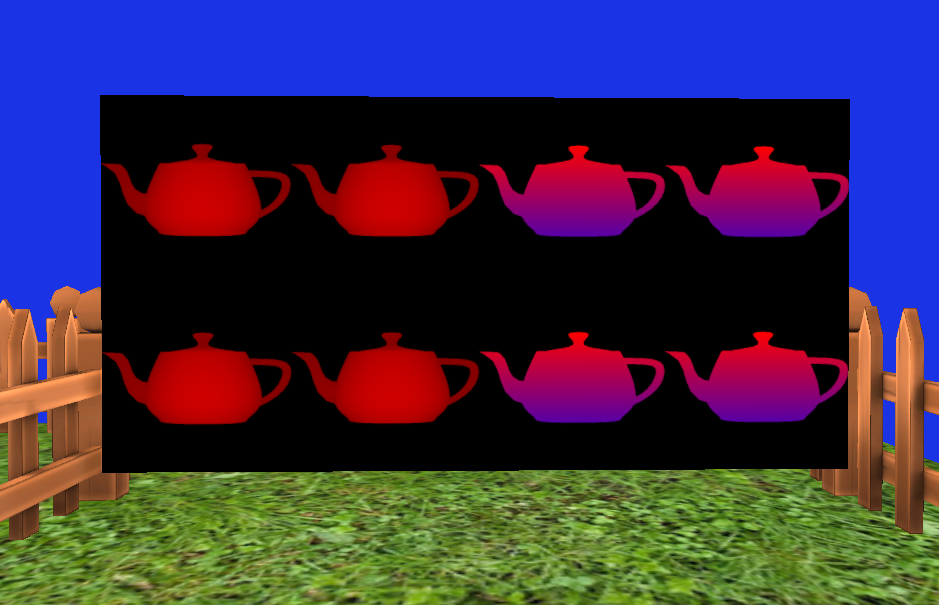
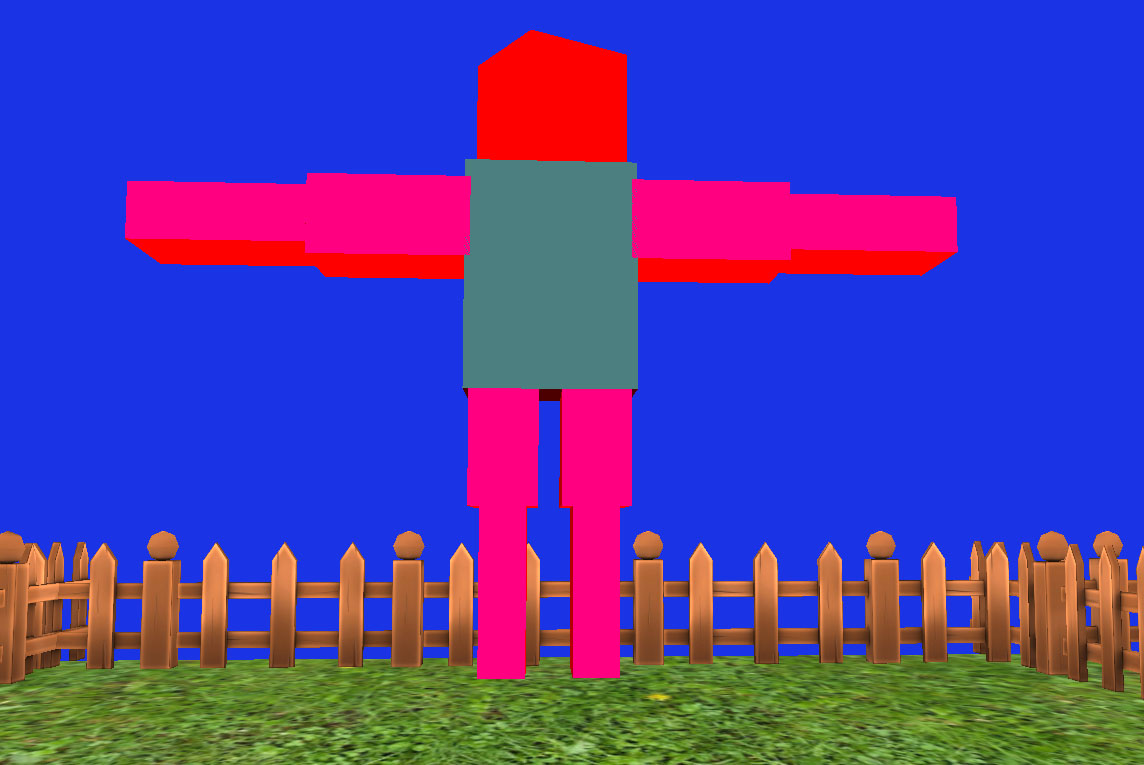
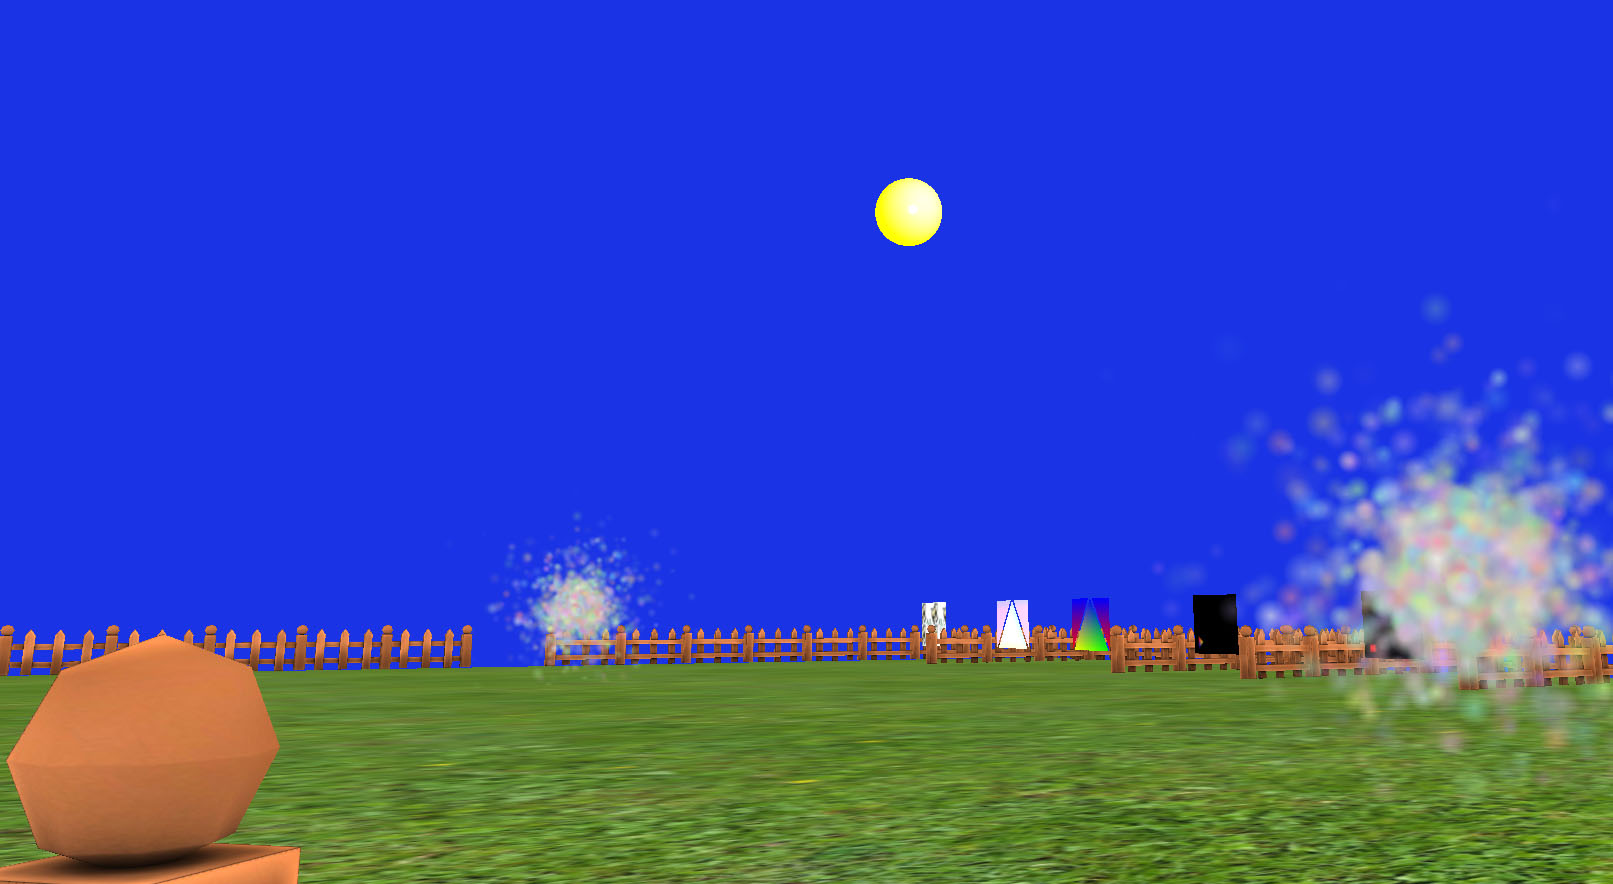
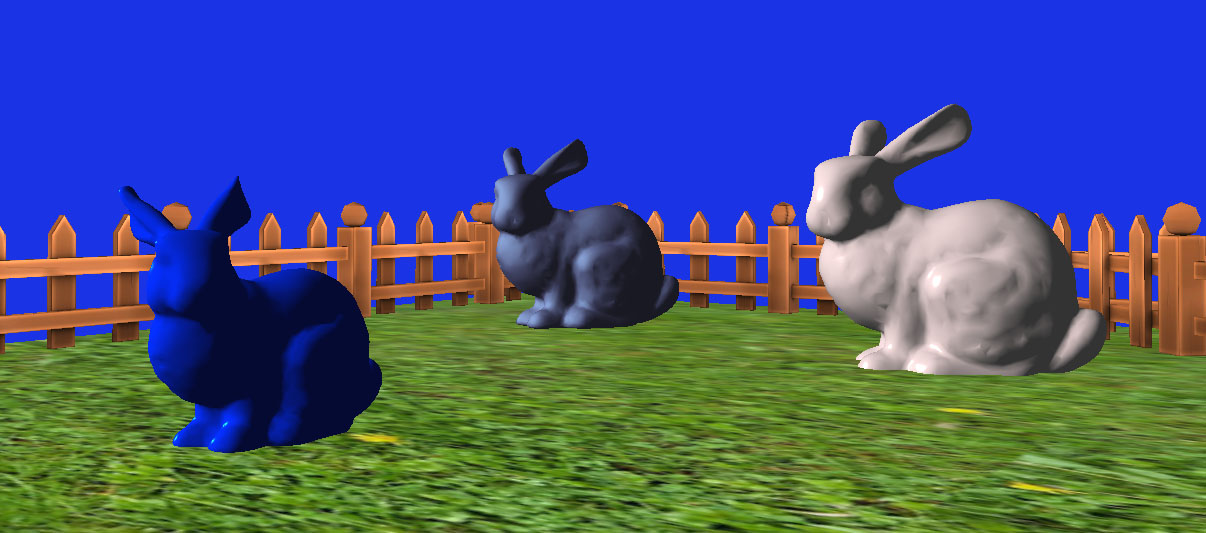
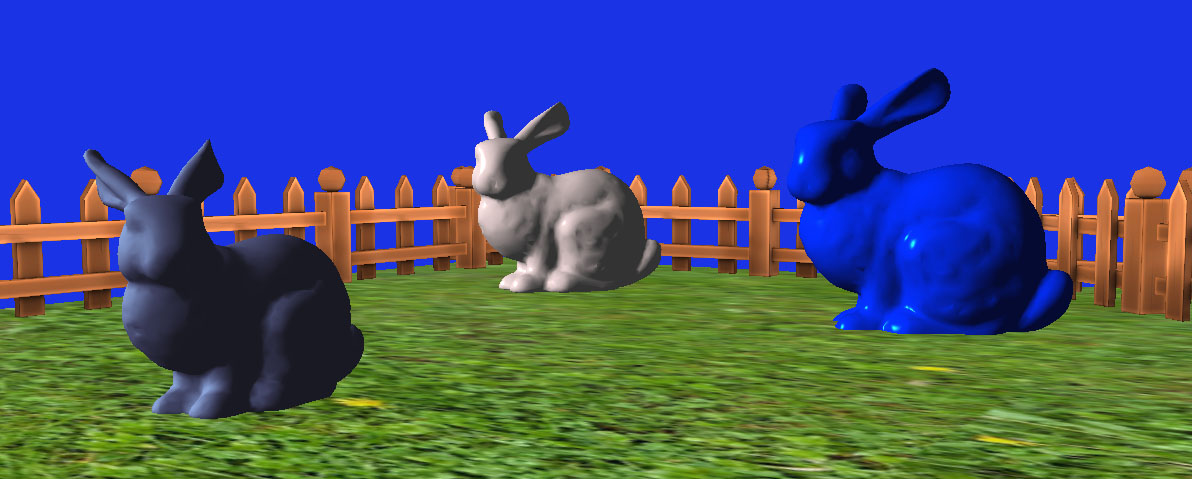
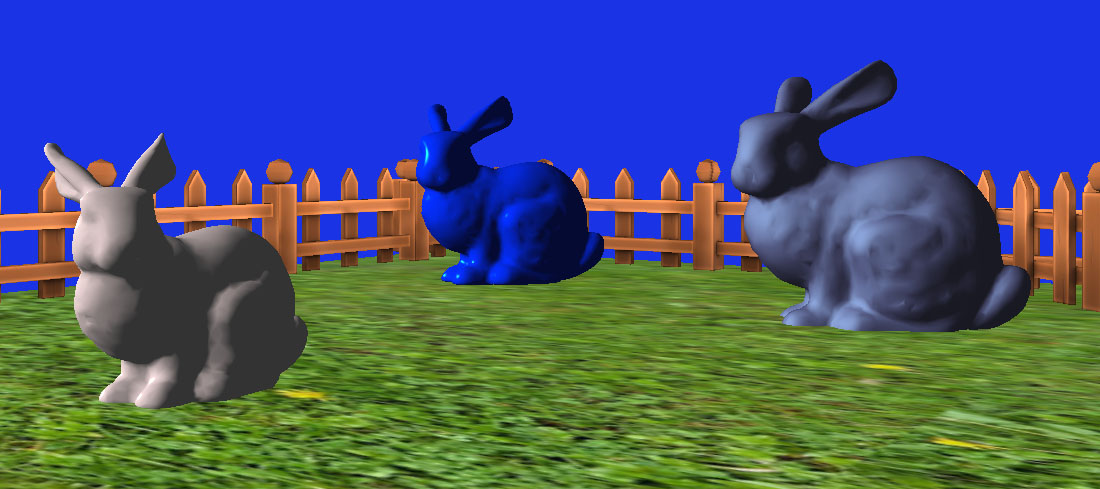
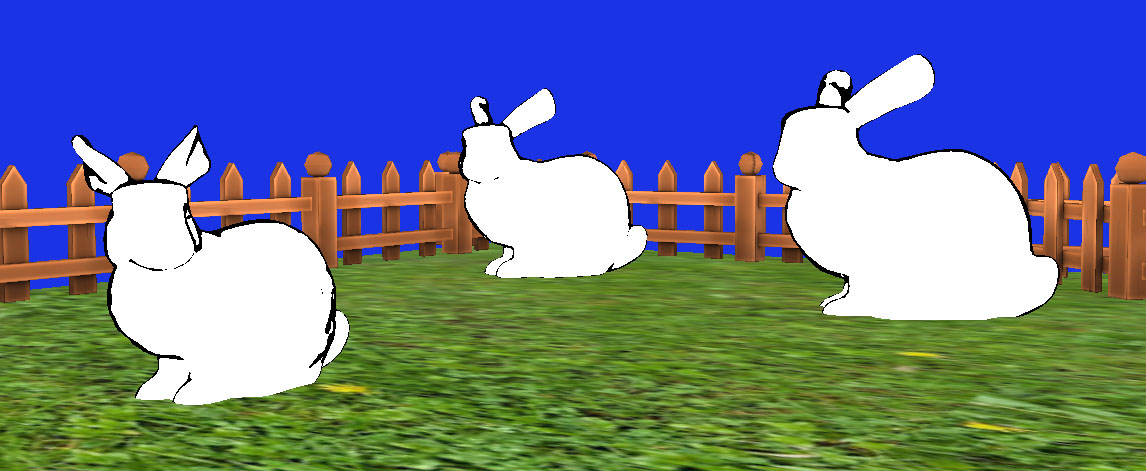
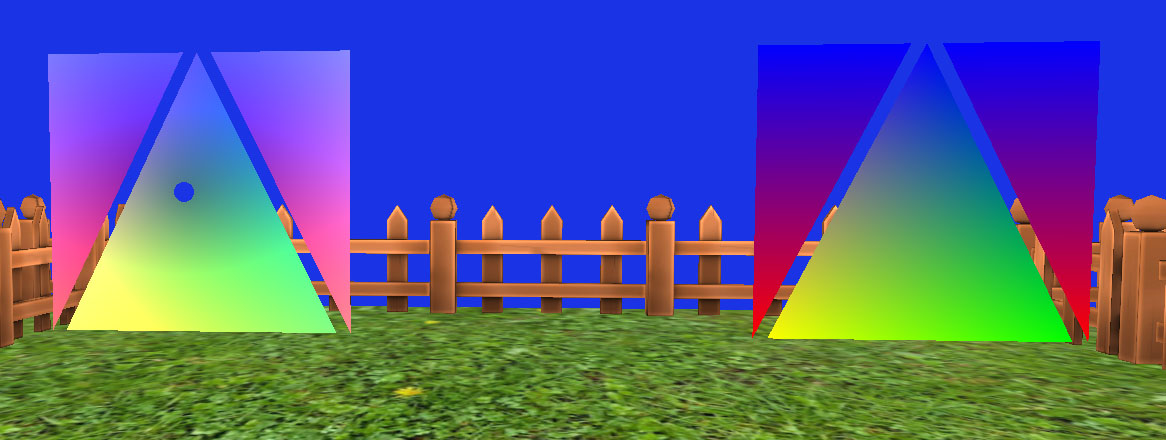
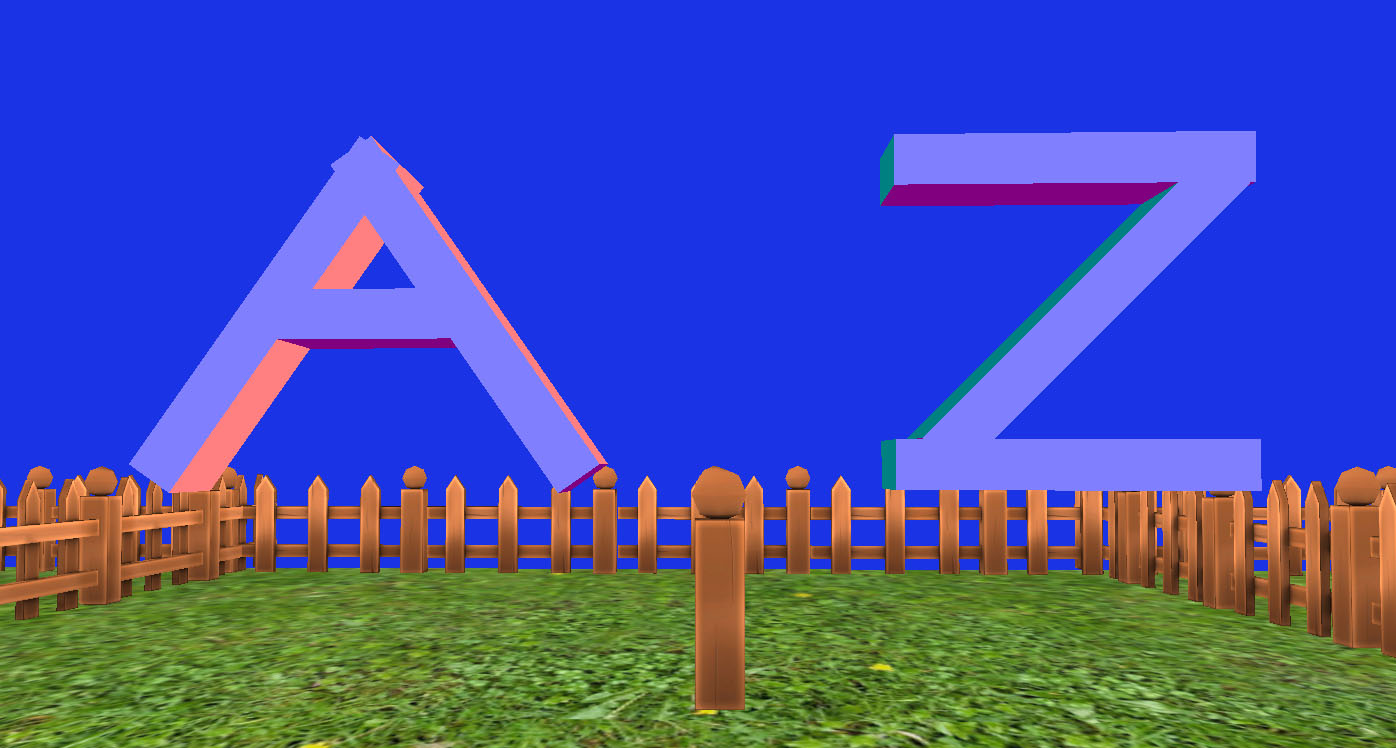
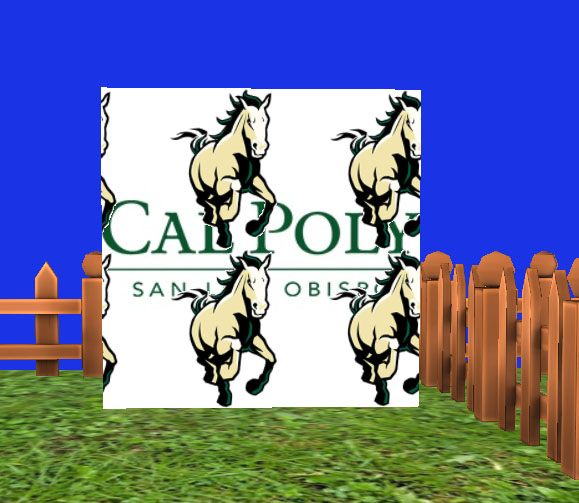
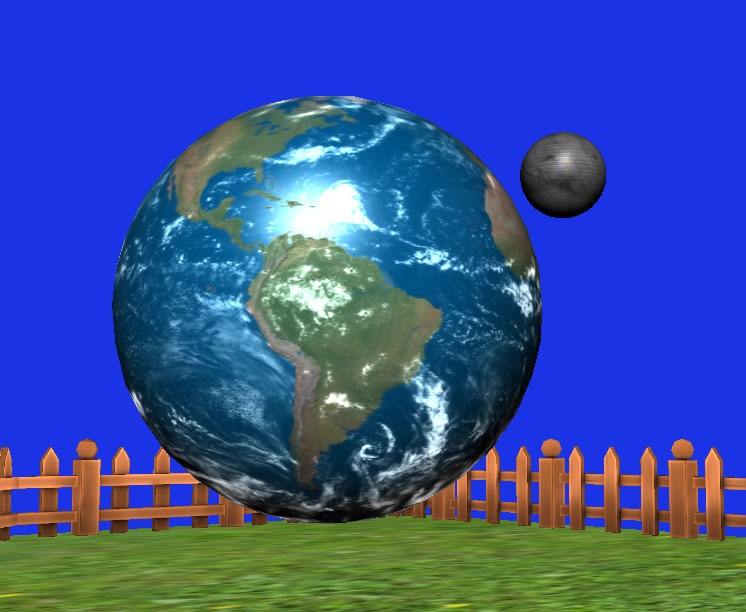
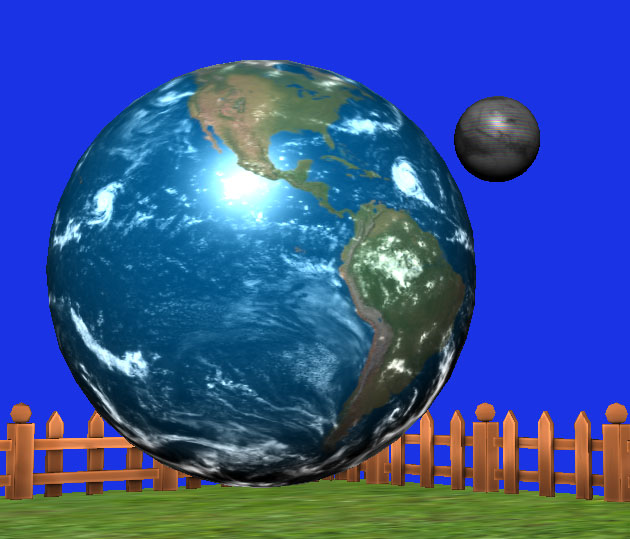
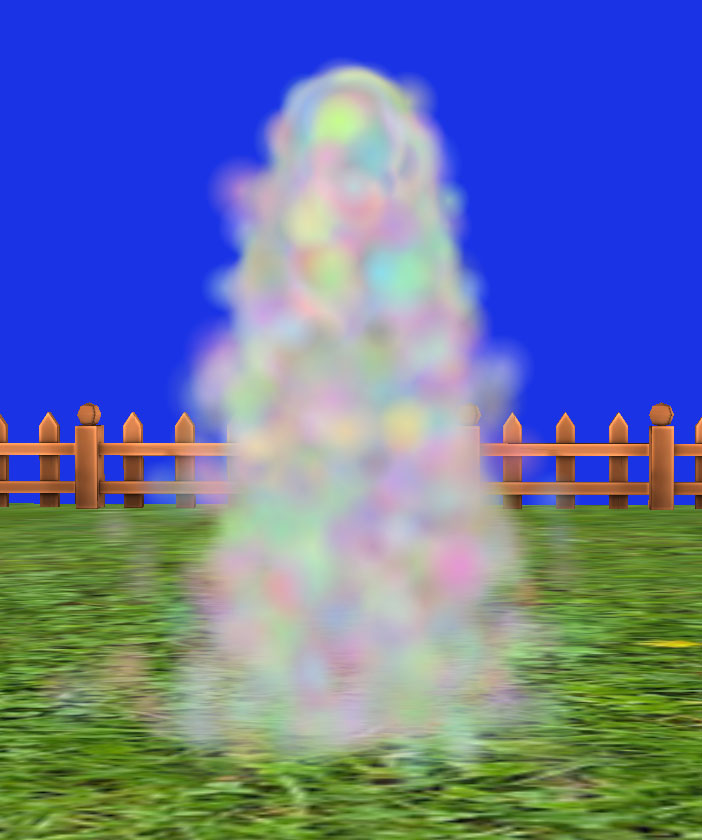
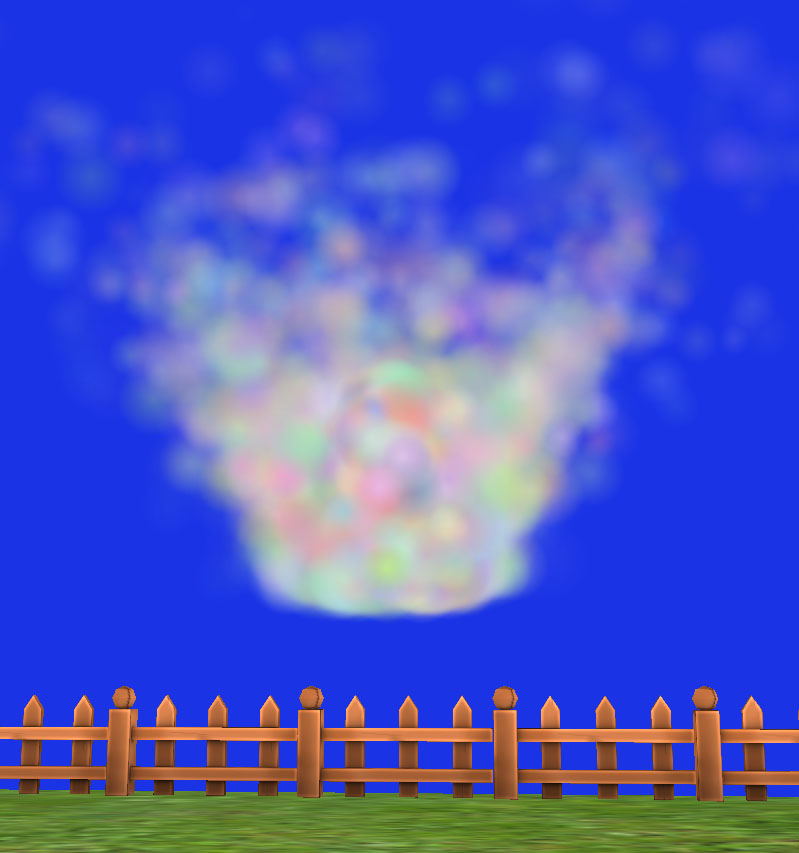
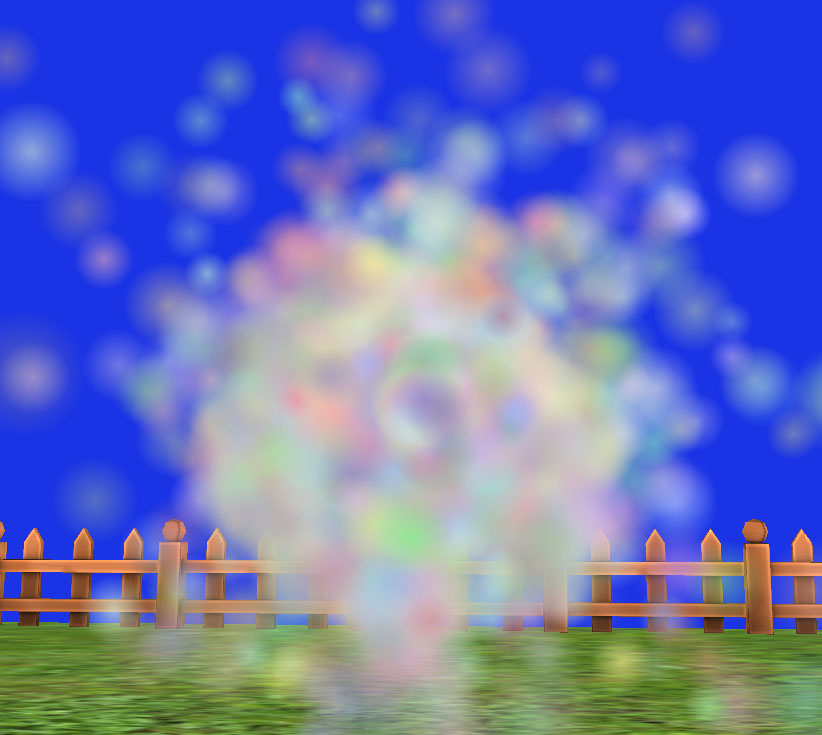
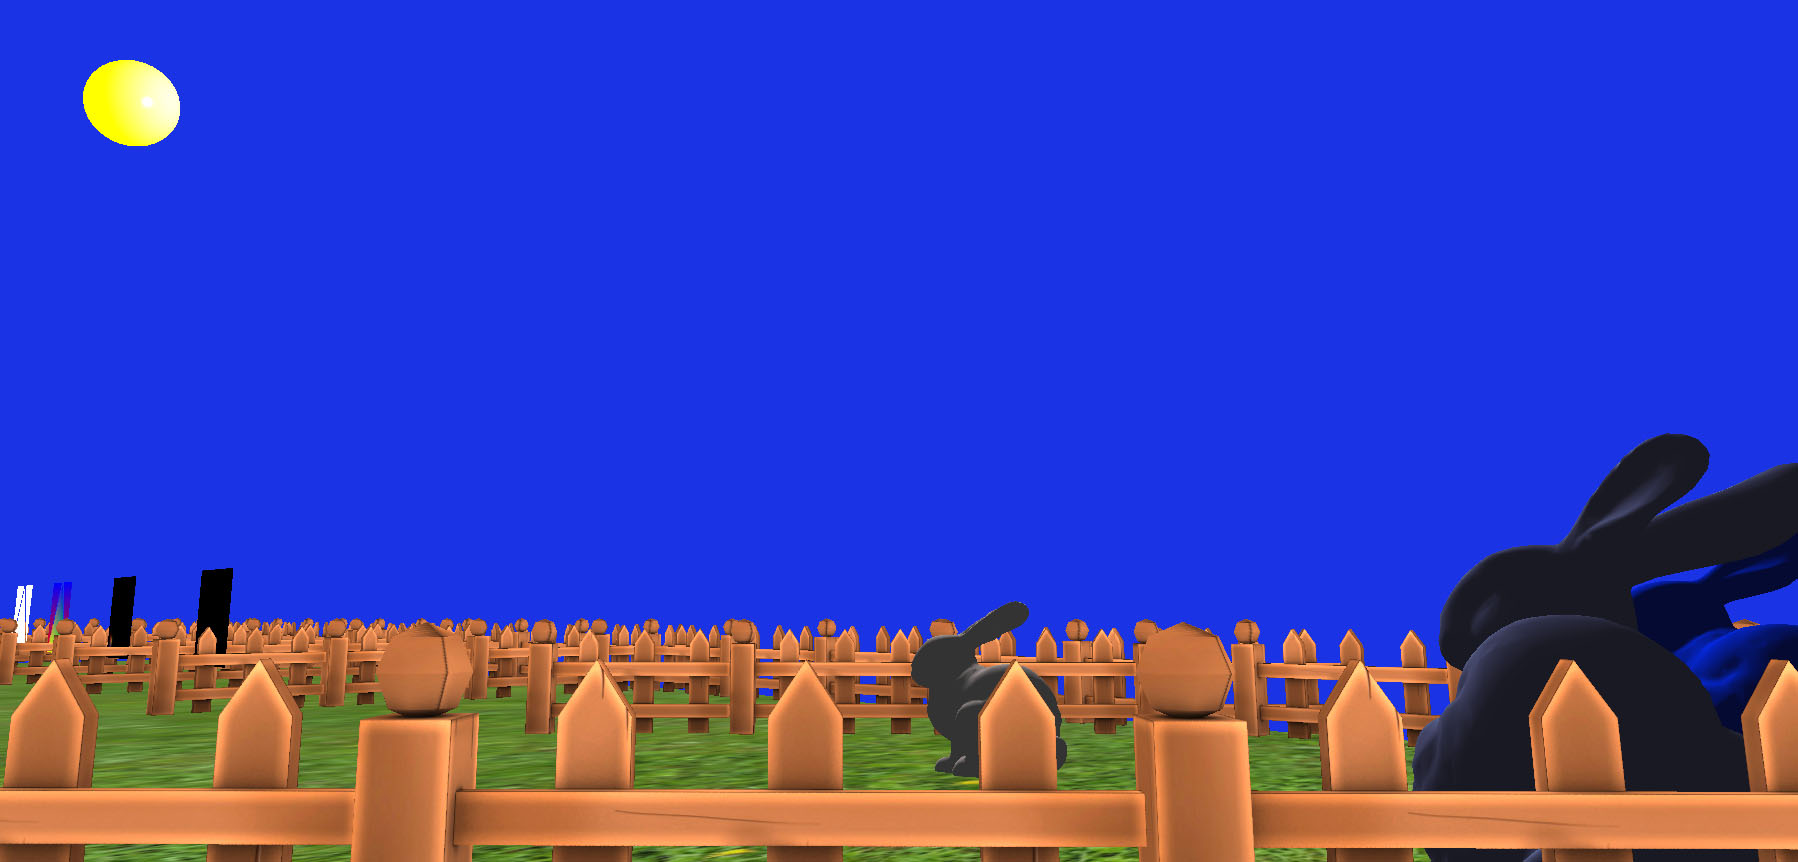
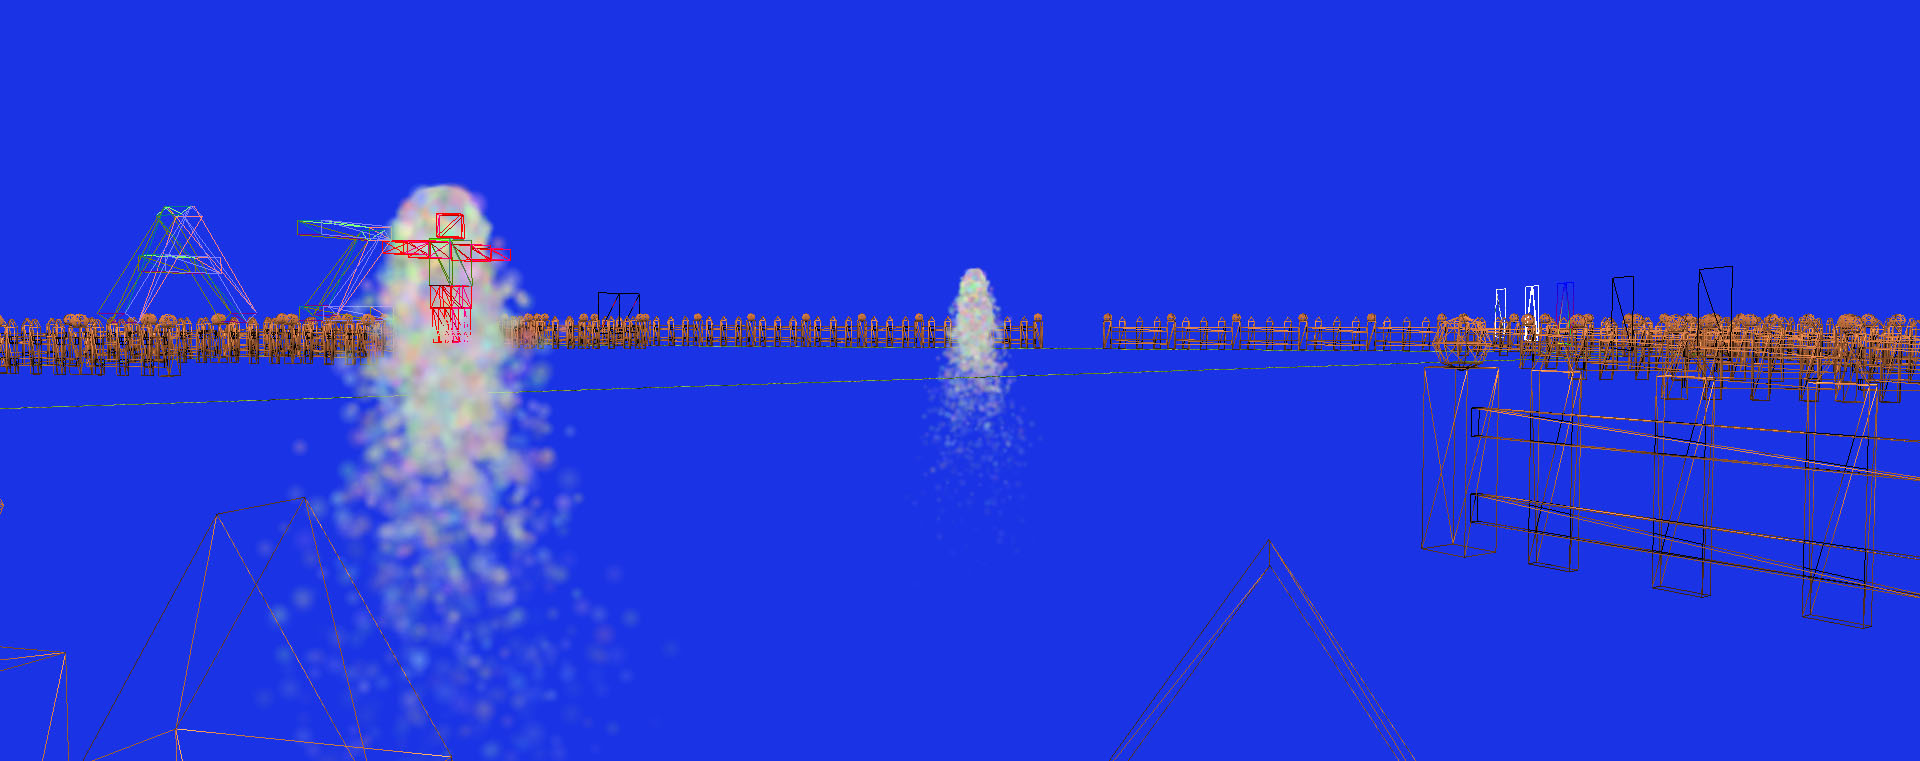
CPE471 Freeworld Showcase by Matthew Davis

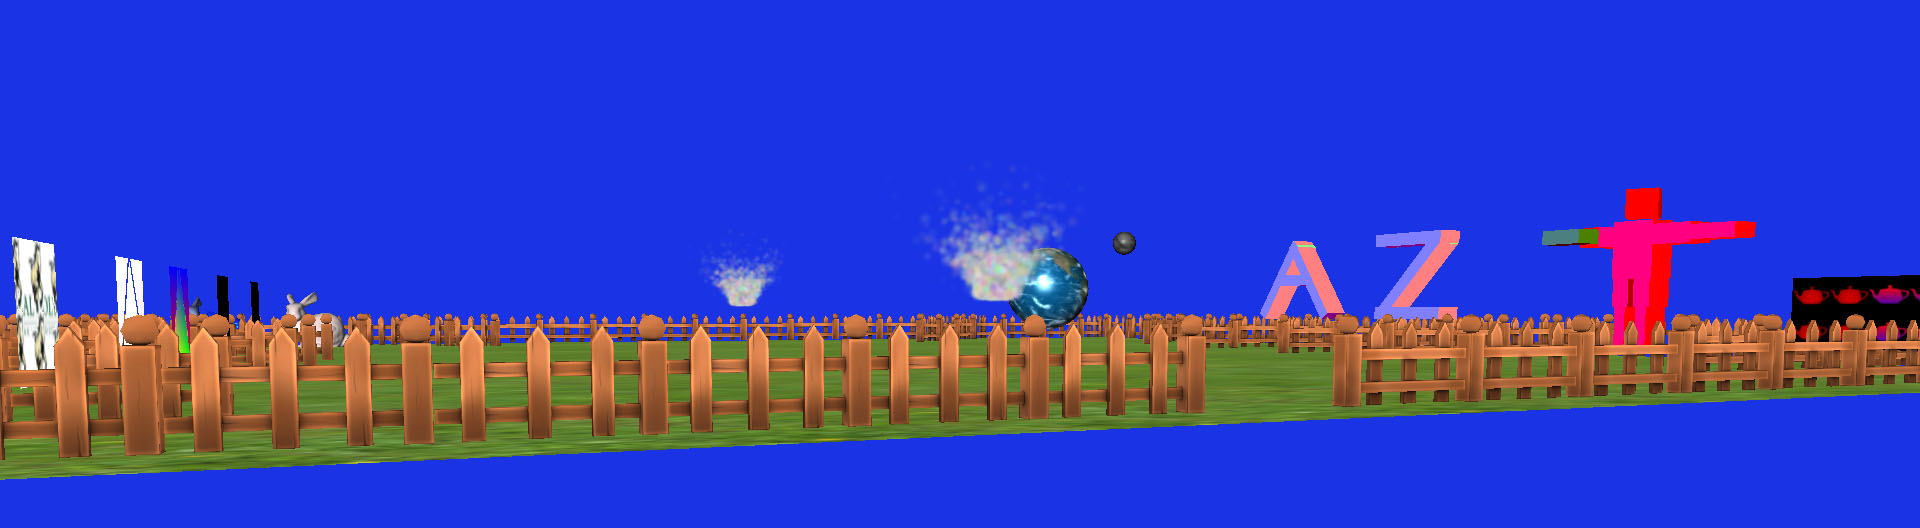
My final project consisted of a free range world that showcases all of the labs and assignments associated with our cpe471 class. Every single technique that we used in our labs in implemented in this program. From Blinn Phong Shading to Texture Mapping with hundreds of Barycentric Coordinates in between.

Techniques Used

Technical Difficulties Encountered

Most of the issues that I encountered were due to the binding of textures and making all the code appear appropriately in the free world. Most of the earlier labs were done in 2D so making them appear in the 3D world was very difficult. Along with this, the code conversion so everything works on the Matrix Stack was also difficult and took lots of time. One main issue that was encountered was not having the appropriate object files to wrap textures with. Lesson learned: ALLOWS CHECK YOUR OBJECT FILES!


World Overview

Basically there is a free range world presented to you where you can walk around using the 'wasd' keys just like that in assignment4. Clicking and dragging the mouse on the x-axis allows for left and right rotation of the camera, and on the y-axis allows for up and down rotation. The light source (the sun) will apply to the lighting and shadows of a few objects in the world (the bunnies from Assignment 3, and the Earth from Lab 10).

Assignments:

Seen above are 3 of the 4 assignments implanted. The robot in the middle is based off of hierarchical models. It will rotate just like in the lab with the keys ‘xyz’ which represent each type of axis in a 3D world. You can also change the selected body parts of the robot with the ‘,.’ keys.

Interchangable Materials

Above is the example of Assignment 3. Each bunny is light by a Blinn Phong shader (the light source is the sun in this world however). By pressing the ‘m’ key you can toggle through each of the types of materials we had to implement for the assignment. Also the ‘l’ key will switch all of the bunnies to silhouette shading. Pressing the ‘L’ key will change the bunnies back again.


Labs:

Labs 1, 2, 3, 4, 5, and 6 are shown above. Lab 4 has a moving circle parameter with time that shades it within a certain radius just like in lab.

Lab 9 has two textures applied to the surface. The mustang texture moves to the right as time progresses. The texture is also set to repeat.

Lab 10 was the implementation of applying multiple textures to the earth and using the light to highlight the areas of Earth. The clouds and the earth are also set up with a texture timing that gives the impression that the Earth and clouds are rotating. I also threw in a little moon for fun, this has its own texture and also rotates with time.

The final lab (lab 11) was the particle fountain. Two of these can be found in the world. Pressing the 'space bar' at the start of the world will enable the particles and they will begin to fall with the rate of gravity. Pressing 'space bar' again will pause the particles. Using the 'f' key will enable a type of floor and the particles will react accordingly to the center image above. Pressing 'f' again will release the particles. Finally pressing the 'g' key will result in the final image above that puts a black hole type of gravitational force on the particles.

World Lighting Example:

Mesh Example:

By pressing 'i' you can see the mesh of all the objects in the world. This mesh shows all of the triangles that make up each object.